Reading time: 8 minutes
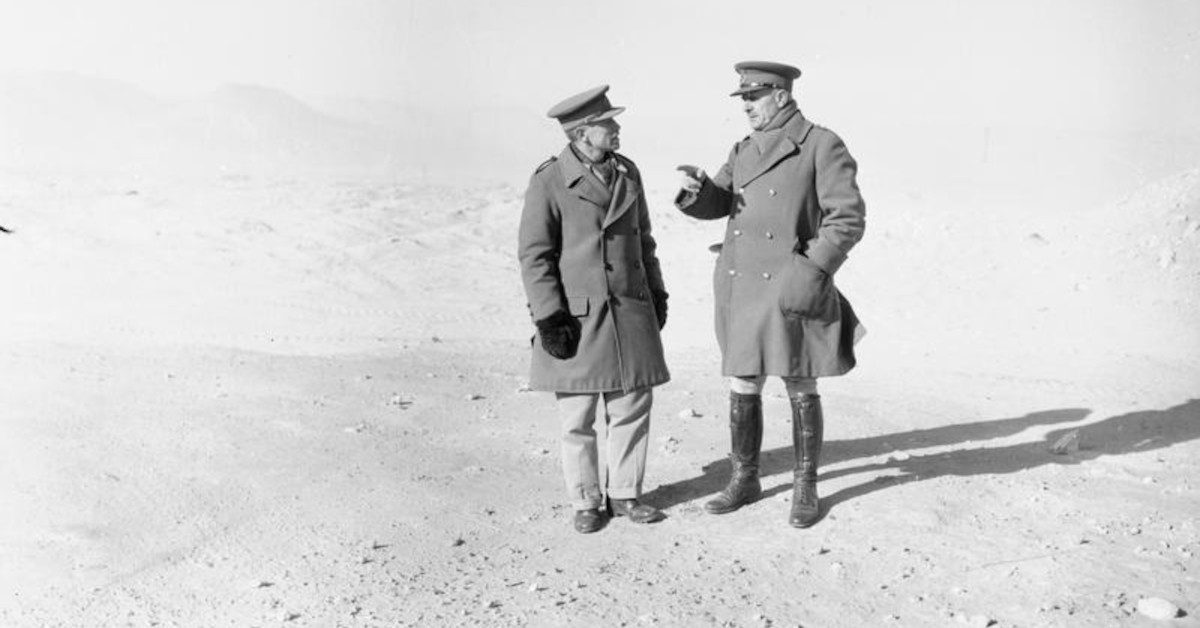
Early in the Second World War, when Britain’s empire stood alone, one man was responsible for the early successes which broke the myth of Axis invincibility. His name was Richard O’Connor.
By Morgan Dunn
Outnumbered ten-to-one and leading a disparate army of troops from across the Empire — including an untried Australian division which quickly proved its worth — O’Connor pulled off one of the most stunning and surprising feats of arms in modern history.
O’Connor Arrives in the Desert
By June 1940, the Royal Air Force had prevented a crisis over British skies and the shattered remnants of the expeditionary force which had fled Dunkirk were being reforged into a wartime army. But the danger was far from past: just a handful of British and Commonwealth divisions faced the full force of Italy’s armies in North Africa.
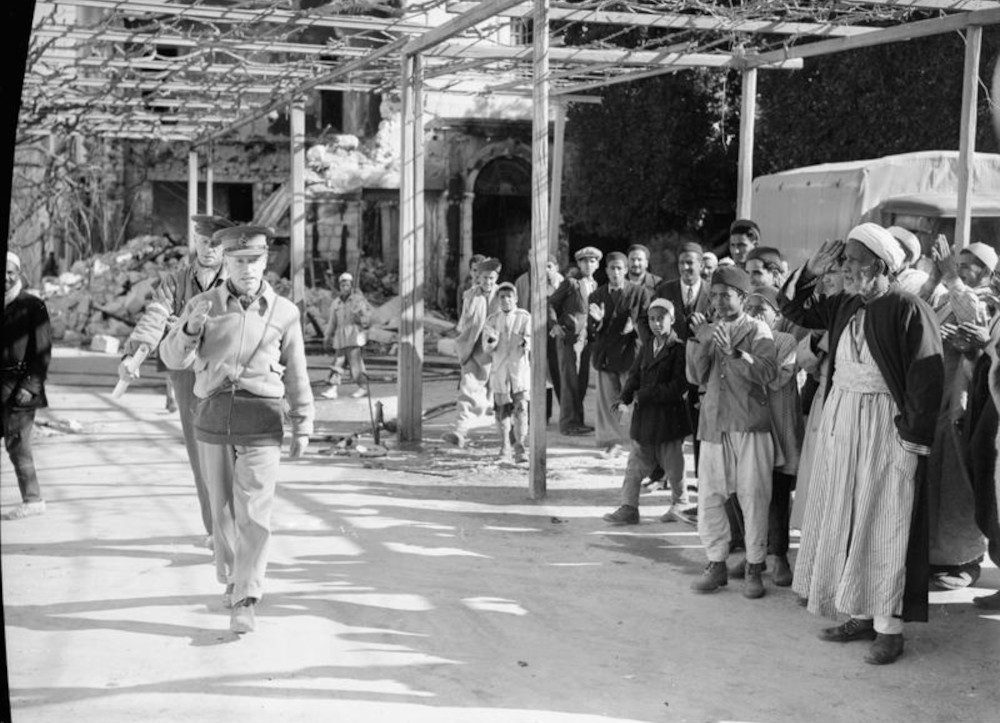
On 7th June 1940, Henry Maitland “Jumbo” Wilson, commander of British forces in Egypt, needing an active and daring General to lead them, sent for Major General Richard Nugent O’Connor, a quiet, thoughtful man whose peaceful demeanour belied a ferocious and creative military mind.
Wilson gave O’Connor a seemingly impossible task: he was to take command of the 50,000-strong Western Desert Force and with them defend Egypt at all costs against half a million Italians. “I was given very sketchy instructions as to policy,” O’Connor later wrote, “I did not object, really, as I don’t mind being left on my own.”
Early Successes
O’Connor had arrived just in time: on 10th June, Benito Mussolini declared war on Britain. The 150,000 poorly-equipped Italians of Marshal Rodolfo Graziani’s 10th Army were slow to attack, giving O’Connor time to reconnoitre the area, personally travelling far behind enemy lines.
On 9th September, the Italians finally started to advance eastward, only to grind to a halt at Sidi Barrani, just 50 miles inside Egypt. Seizing the initiative, O’Connor and his staff got to work on Operation Compass, the effort to push the Italians out of Egypt and, if he had anything to say about it, out of Africa altogether.
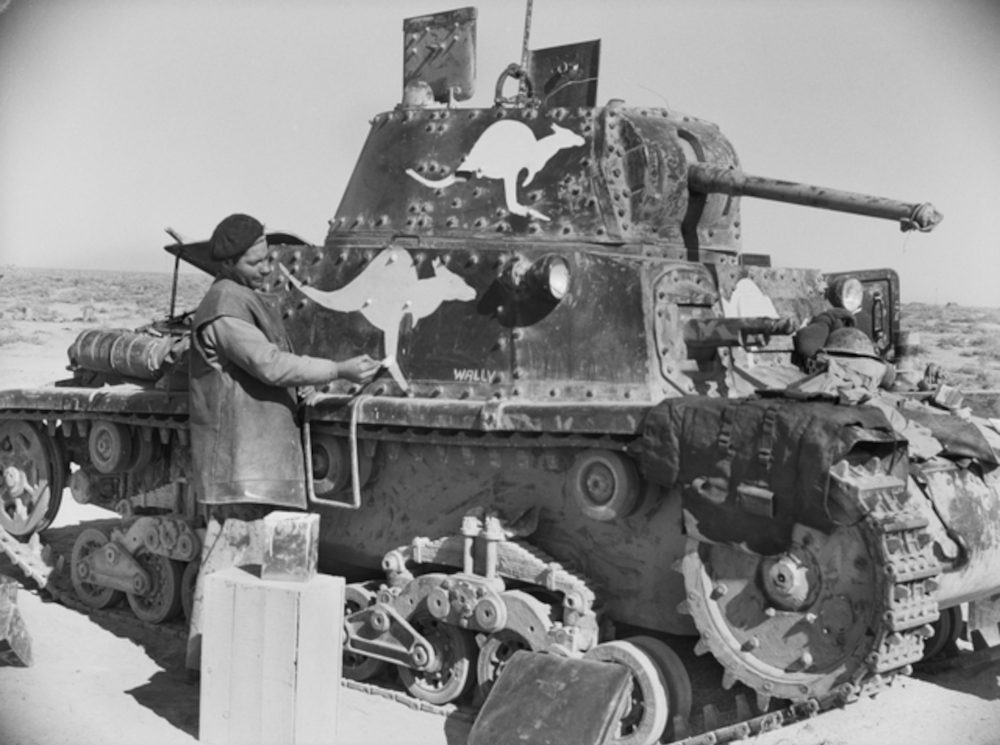
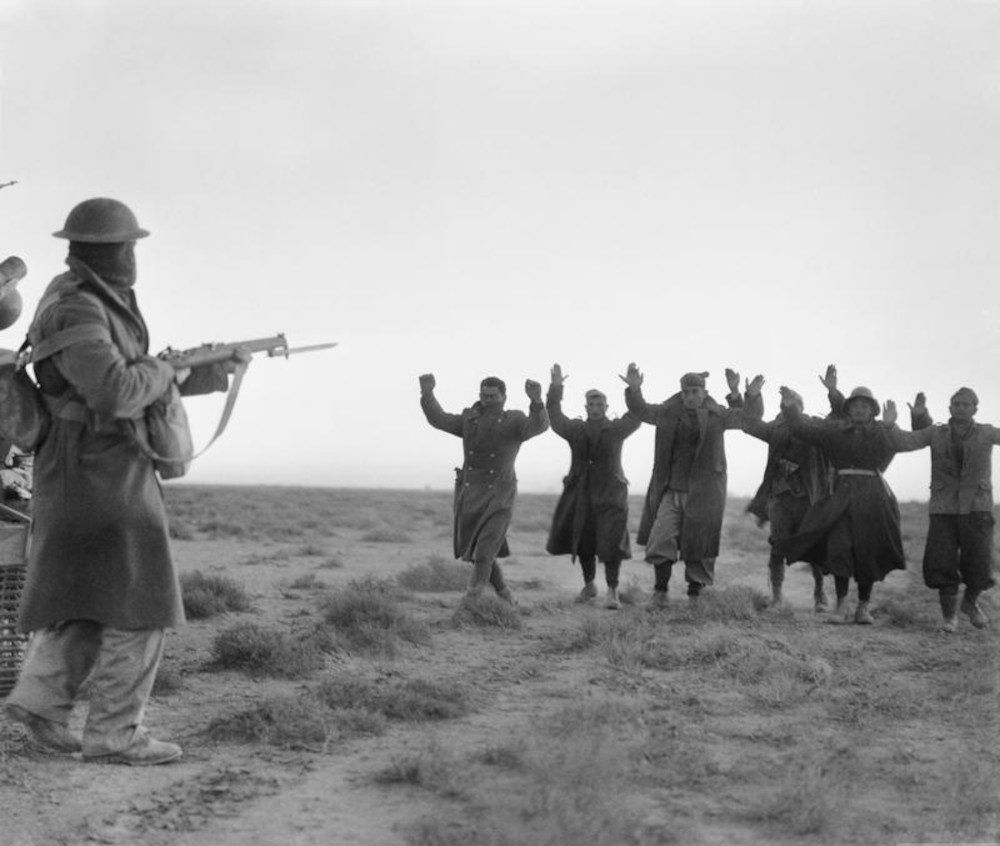
On 9th December, 36,000 men of the 4th Indian Division and the 7th Armoured Division crashed into the fortified Italian camps. O’Connor used the 7th Armoured’s superior Matilda tanks to knock out half a dozen Italian garrisons and seize almost 40,000 prisoners — half of the Italian strength in the area — tanks, trucks, guns, and “mountains of spaghetti and huge cheeses.” A British officer reported capturing “five acres of officers and 200 acres of other ranks.”
Then, on 12th December, General Archibald Wavell ordered the 4th Indian Division to depart for Sudan. To take their place, Wavell sent the untested 6th Australian Division. It was, O’Connor wrote, “a tremendous shock.”
Australia Turns the Tide
On paper, the 6th couldn’t have looked too promising to O’Connor: 30 percent of the men were older than 30, and they lacked sufficient artillery, tanks, ammunition, vehicles, and — most critically — radios. However, with 12 months in uniform, the Australians were, according to Sergeant Henry “Jo” Gullet, “about as good as they were going to get.” The unseasoned 6th was to become Western Desert Force’s main assault force.
The Battle of Bardia
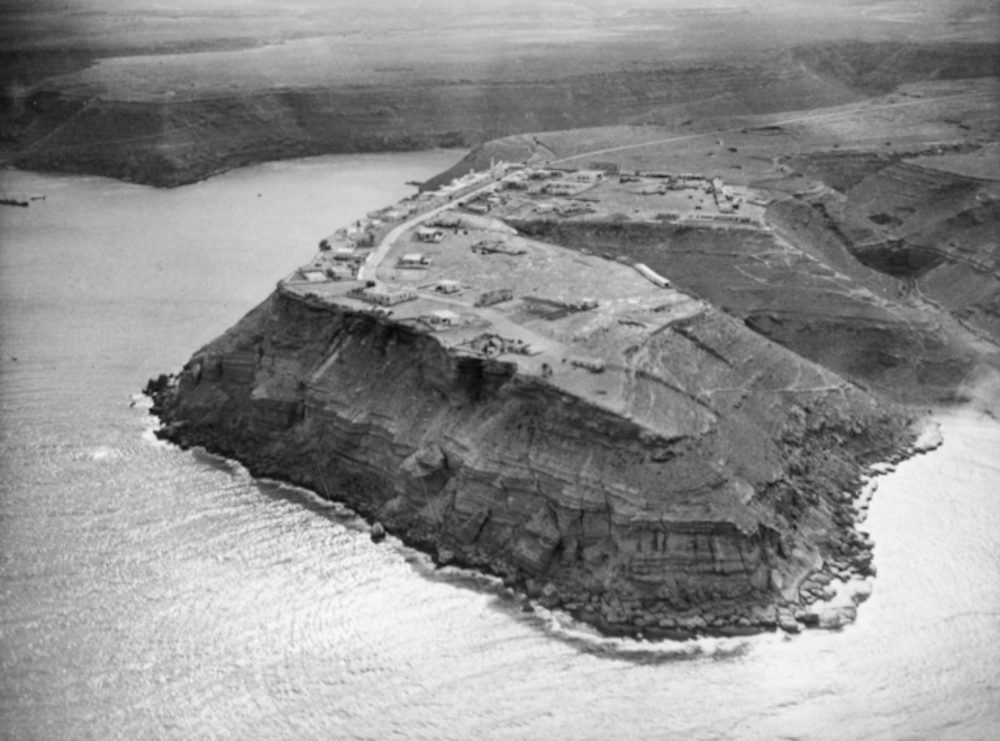
Their baptism of fire: the fortress of Bardia itself, where 45,000 men under the command of General Annibale “Electric Whiskers” Bergonzoli “had made the terrain inside and outside the wire as bald as a billiard ball.” “It was impossible to use any cover,” said Major Henry Marshall of the 2/7th Battalion, “as there wasn’t any.“
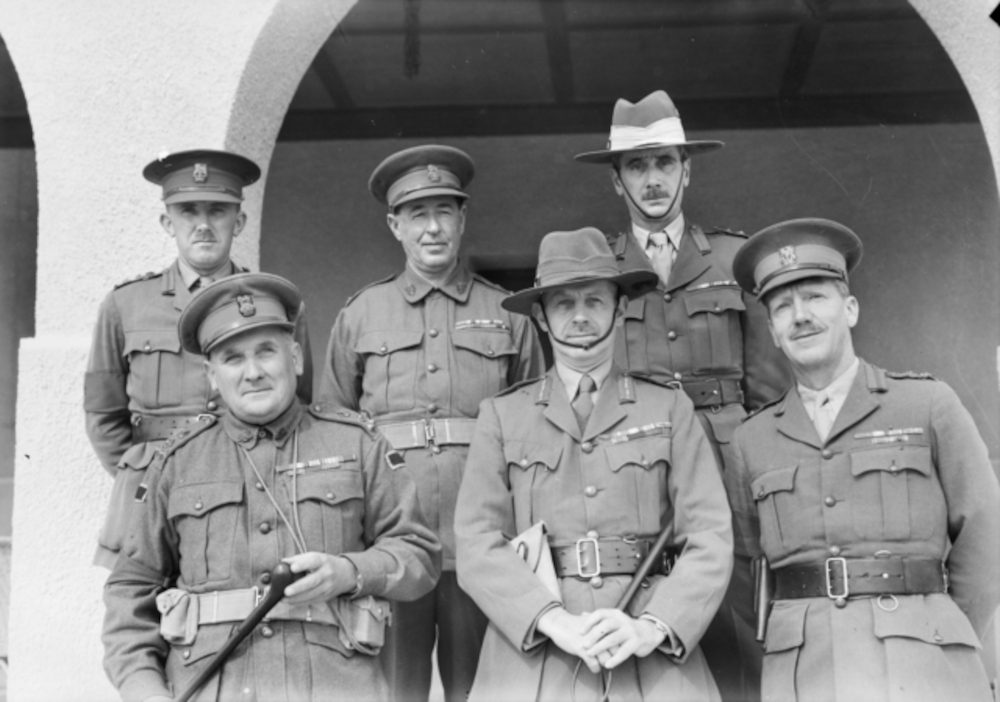
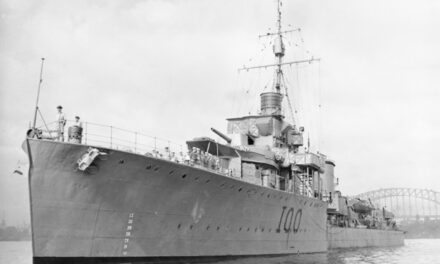
By 20th December, the Australians had dug in as best they could. What happened next could only be described as a masterstroke of combined arms. On 3 January 1941, O’Connor carefully coordinated the movements of RAF planes, Royal Navy ships (including the destroyers of Australia’s Scrap Iron Flotilla), and his weary but eager ground forces as they smashed into the town, causing nearly 6,000 casualties and capturing 36,000 Italians, 400 guns, and over 700 badly-needed trucks.
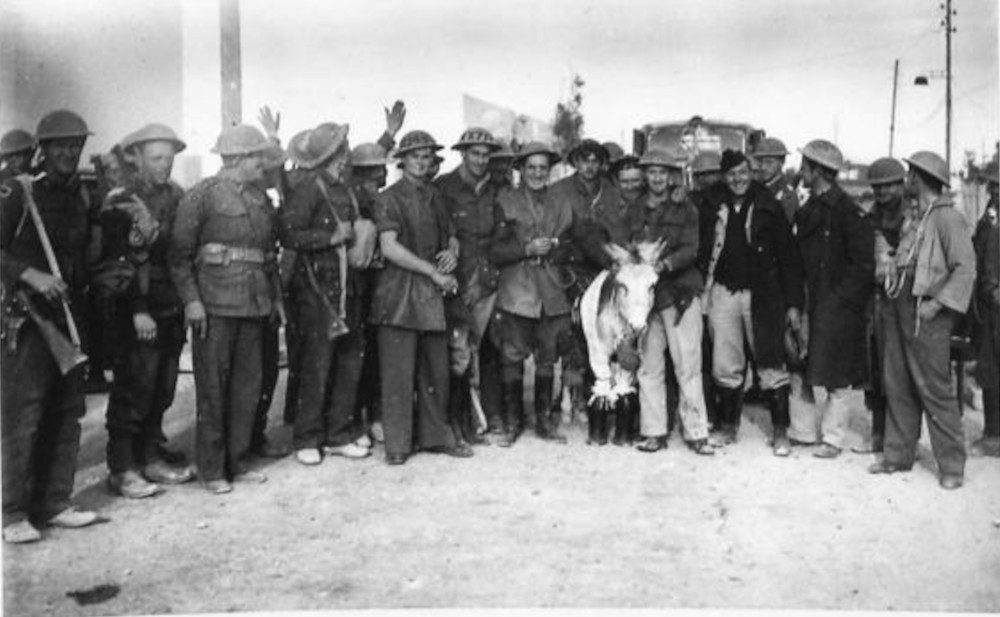
The assault was so fast and fierce that the Italians were convinced they’d been defeated by a force of 250,000, including “hordes of blood-thirsty Australians.” Over the following weeks, O’Connor’s exhausted men — some in captured Italian tanks — flew westward, seizing the port of Tobruk (where they raised an Australian slouch hat in place of the Italian flag) and crushing Italian forces at Derna, Mechili, and finally, Beda Fomm. At last, on the morning of 7th February, O’Connor awoke to this sight:
“First one and then another white flag appeared among the host of men and vehicles. More and more became visible, until the whole column was a forest of waving white banners.”
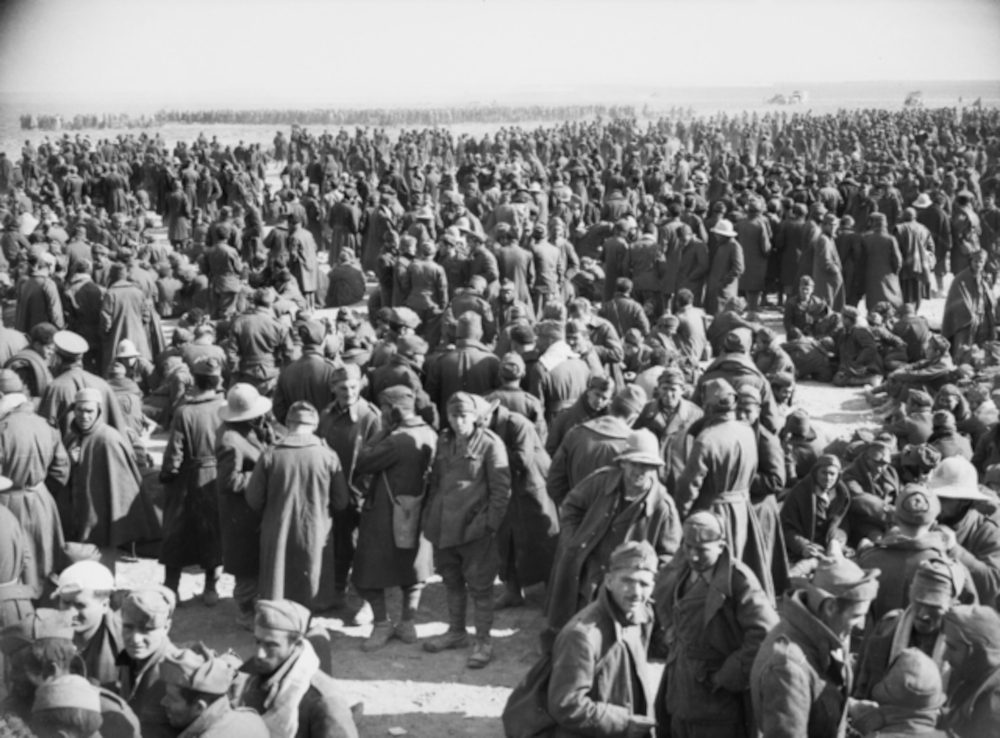
The 10th Army had surrendered en masse, giving Britain a hoped-for victory and securing the Australian soldier’s reputation as a force to be reckoned with. O’Connor sent a cable to Wavell which began “Fox killed in the open.”
Into the bag
O’Connor didn’t have long to bask in his stunning victory. Days after the 10th Army’s surrender, Wavell took most of O’Connor’s best men, including the 6th Division, for the disastrous defence of Greece. At the same time, Hitler’s patience for Italian incompetence had run out, and he’d dispatched General Erwin Rommel and the Afrika Korps to counter the Western Desert Force.
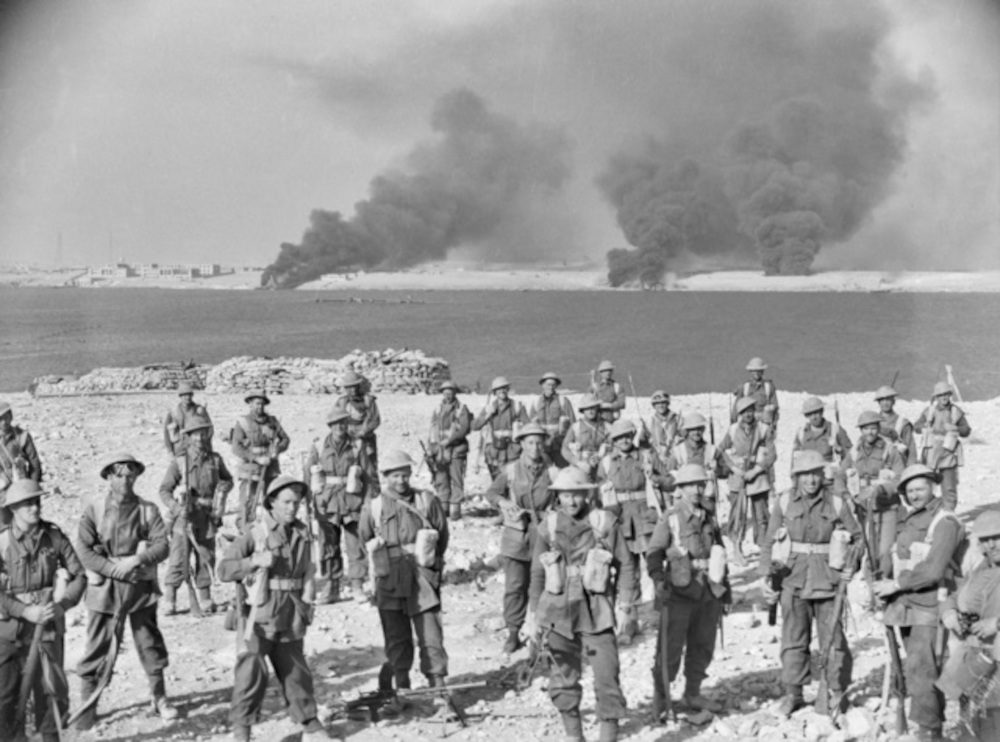
But O’Connor never got a chance to face the Desert Fox; his need to get close to the front in order to be fully informed of the military situation was his undoing. On 6th April his vehicle took a wrong turn in the desert, he was captured by a German patrol and packed off to Italy. He was imprisoned at Castello di Vincigliata, a POW camp for senior Allied officers.
Escape!
Over the next two and a half years, he made numerous escape attempts. His most successful one saw him travel 150 miles on foot in a week before he was recaptured. At last, when Mussolini’s regime crumbled after the Allied invasion of Italy, O’Connor was able to take advantage of the chaos of the Italian armistice to escape and he succeeded in rejoining the Allies in September 1943. Being out of action so long, the war had passed him by, but his skills were still recognised, and he was given command of VIII Corps in time for the invasion of Normandy.
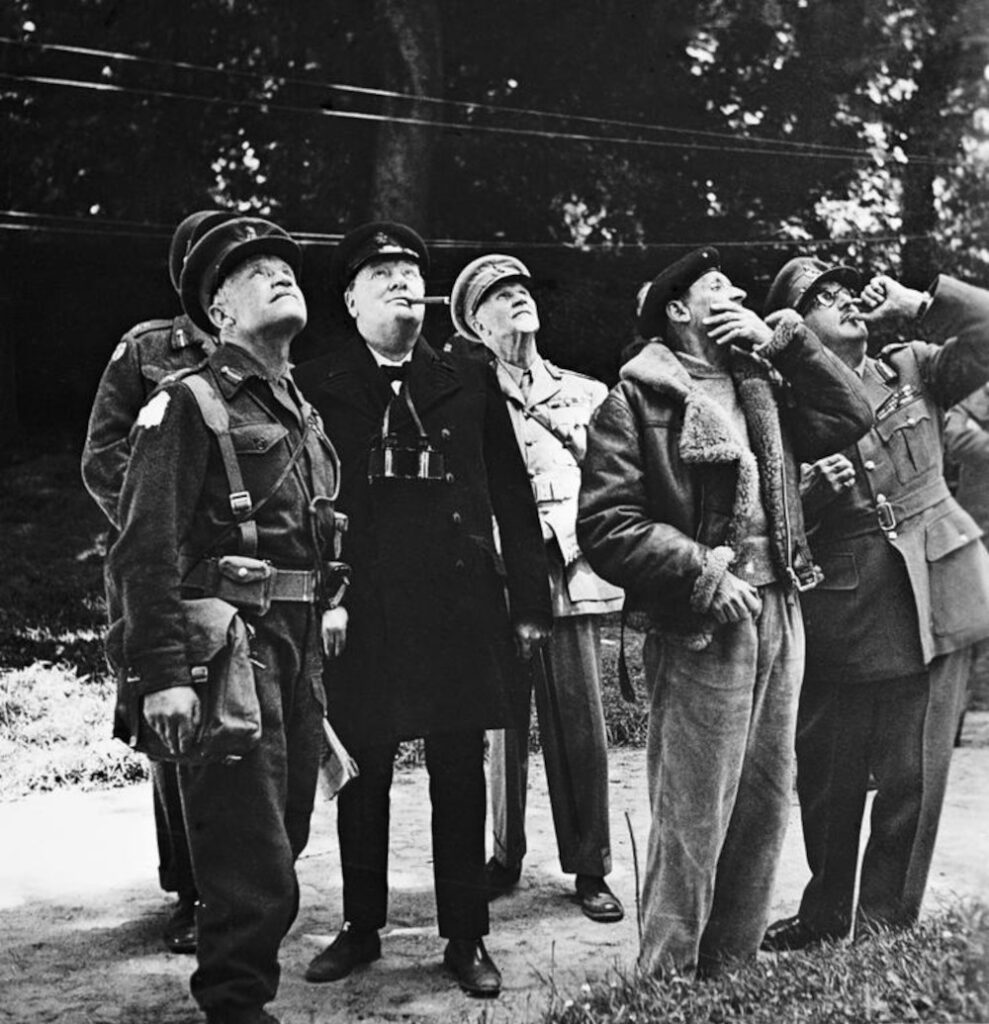
After participating in Operation Goodwood, the largest tank battle of the Normandy invasion, Richard O’Connor was active in recommending operational improvements for armoured vehicles and tactical changes, in particular advocating for hedgerow cutters to be mounted to tanks to enable them to regain their mobility in the boccage. He was posted to command of Eastern Command, India, and promoted to full general in April 1945.
The astonishing hardships it took to defeat Italy and Nazi Germany made other generals household names, O’Connor deserves to be amongst them. He and the Western Desert Force held the line against impossible odds, giving Britain vital time to regain its strength and the world a reason to believe in the British Army’s ability to win.
Podcasts about General Richard O’Connor
Articles you may also like
General History Quiz 180
1. When did Allied forces launch their invasion of Sicily during WW2?
Try the full 10 question quiz.
General History Quiz 213
1. What was the relationship between Theodore Roosevelt and Franklin D. Roosevelt?
Try the full 10 question quiz.
General History Quiz 171
1. When was the US White House burned by British forces?
Try the full 10 question quiz.
The text of this article was commissioned by History Guild as part of our work to improve historical literacy. If you would like to reproduce it please get in touch via this form.

