Preparations for the recapture of Kokoda
Reading time: 10 minutes
Read Part 1 of the 39th Battalion’s story.
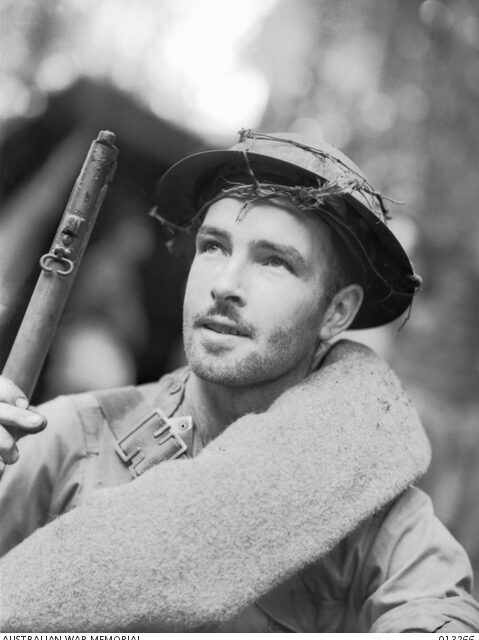
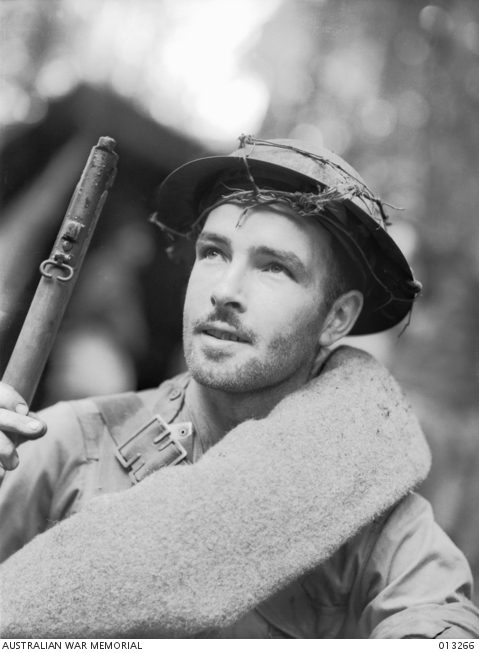
After the retreat from Kokoda, the battered survivors of B Company, 39th Battalion regrouped at the small village of Deniki. Major Allan Cameron, a 30th Brigade staff officer, arrived shortly after at Deniki on 4th August. Disgusted by the apparently ‘unsoldierly’ appearance of B Company, he jumped to the conclusion that these men must have run away from the fighting and had abandoned Kokoda for no reason. He sent them further back to Isurava in disgrace, depriving the remainder of the 39th of the only troops with battle experience. This wouldn’t be the last time that a textbook tactical withdrawal would be mistaken for cowardice. Cameron then decided that Kokoda must be recaptured.
A small reconnaissance consisting of Lieutenant Johnston and a couple of diggers was sent out to have a look around. They managed to work their way through the sentry positions but their presence was given away by a breaking branch. Fortunately they were so far into the Japanese position, with enemy soldiers all around them that the Japanese were unable to open fire for fear of shooting their own. So instead…..they threw stones. It must’ve been a near farcical scene. Three Aussies surrounded by some of the best jungle fighting troops in the world, dodging rocks. And to make it even better, they managed to escape. Legends.
So after miraculously giving the Japanese the slip, the trio spent the remainder of the night resting in the jungle before attempting to find their way back to Battalion. In the morning they carefully set off, but soon heard a murmur of voices ahead and saw a party waiting to ambush them on the lower side of a track. They ummed and ahhhed about what to do. They couldn’t take on the ambush by themselves, but if they attempted to give it a wide berth then they’d be too late to give useful information to the rest of the Battalion before they launched their attack.
Fortunately, while engaged in this discussion they saw scouts from C Company making their way down the track. This forced their hand to some degree because if they did nothing the C Company patrol would stumble right into the ambush. They decided to give C Company a bit of a warning and waited until they were close enough to engage the ambush. Johnston then fired off a single shot to alert the patrol.
The poor Japanese soldiers must’ve been thrown into total confusion, thinking the enemy was in front of them, only to be fired upon from behind. What to do? Turn around and engage the ones behind, however many that may be? Ignore them and focus on the ones to the front? Say bugger it and try to get out best they could?
The C Company lads, although surprised, were quick to react and poured fire into the position. The Japanese fled in most haste, hotly pursued for a short distance. The end result was five enemy dead and an unknown number wounded. Johnston was able to relay his information to Cameron and a battle plan to retake Kokoda was drafted.
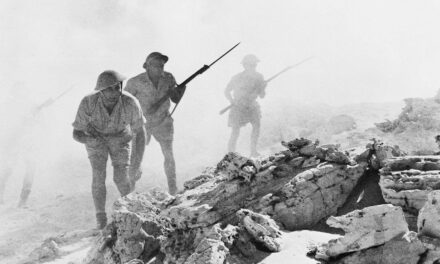
ATTACK ON KOKODA
Major Cameron sent half of his force under Lieutenant Johnston to make an attack from the left and then to move forward while the others attacked directly under the command of Captain Deane. As the central force came to a small depression, Japanese snipers began taking pot-shots. Deane, who was just about to order his men forward, was hit by a sniper. This galvanised the troops and both the flanking group under Johnston and the central group rushed forward, firing from the hip and yelling sweet nothings at the Japanese. The Japanese pulled back leaving behind 52 dead. The C Company attack managed to secure a foothold adjacent to the airstrip.
While C Company was doing its thing, D Company under Captain Bidstrup pushed along the Oiva track where they encountered a smaller Japanese force and soon put them to flight.
A Company under Captain Symington followed D Company then took a left turn to push in the direction of a rubber plantation on the eastern side of Kokoda. The advance guard was ordered to “push on, punish and penetrate”. They came into contact with the enemy and held on until the main body joined them and swept forward, advancing in groups of two to three. The Japanese fled but unknowingly ran into an ambush which Symington had ordered to be set up on the escape route.
Those who escaped this ambush then encountered the troops of D Company. All up, A and D Companies accounted for around 180 dead. The Australian troops spent the remainder of the day digging in and securing their gains.
The Japanese counter attacked the following day but were easily repulsed, despite displaying field craft and patience in moving forward, pretty much unnoticed until the time of the attack. Fighting continued throughout the night and the following day. The Australian defences were strong, but the primary issue which would dog both sides during the campaign was beginning to show – the difficulty of supply.
The Kokoda airfield was surrounded by Australian troops, however the perimeter wasn’t wide enough to allow supply aircraft to land and unload unimpeded. Several attempts were made, however it was deemed too dangerous and the planes turned for home, full of much needed ammunition. With the Japanese overland supply route being much shorter than the Australians, it become obvious by the third day that Kokoda could not be held.
WITHDRAWAL FROM KOKODA
Captain Symington began withdrawing A Company from the south west of the plateau in three groups. The first group carried captured equipment and weapons, the second carrying the wounded and the third acting as the rear guard. The first group was ordered to attack any enemy who crossed their paths and accounted for around 20 Japanese soldiers, clearing the way for the second group. Eventually, the entire Company was back on the track to Deniki.
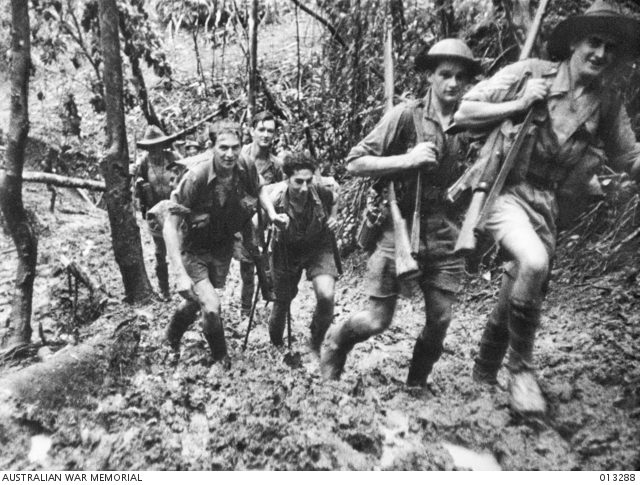
C and D Companies also withdrew and re-joined the Battalion at Deniki while at the same time, E Company were moving up from Isurava. The Japanese attacked at Deniki and were again repulsed but it soon became apparent the even Deniki couldn’t be held and the much better option was to the south at Isurava, where it was understood that troops from the experienced 2/14th and 2/16th Battalions of the AIF were making their way.
So far the fighting had claimed an estimated 500 Japanese lives for the loss of 41 Australians. But those Australians who were still alive were in a sorry state. Weeks of trudging through the jungle, two hard fought battles and the strain of being in the jungle were starting to tell. Many who were still fighting were carrying at least one wound and some small groups had been separated during the retreat.
ISURAVA
It was in this stage that the 39th began to prepare for its next big test – the defence of Isurava. It was also at this point that the true spirit of the 39th showed itself in an extraordinary act of devotion.
During the withdrawal the rear guard units were struggling to hold off the advancing Japanese. Back at Isurava a regimental aid post (RAP) had been established and there were a number of wounded men who had done their bit and were waiting for their chance to be patched up and sent further back and away from the fighting.
Then news of the desperate fight by the rear guard came through. The 39th was still fighting hard. With the enemy pushing onwards the militia refused to give up. But it was obvious they needed help if they were going to hold them long enough to allow the AIF Battalions to enter the fight. The only troops who could help were those wounded men at the Isurava RAP. One by one, those men who could still walk to some degree, picked up their rifles and kit and headed back towards the fighting. These men were definitely not chocolate soldiers.
And it worked. The tenacious fighting withdrawal forced the Japanese to stop their advance in order to reorganise for a concentrated effort against Isurava. There was a precious two week lull in the fighting, during which time the 53rd Militia battalion and the AIF 30th Brigade Headquarters reached Isurava.
Just as important, from the 39th Battalion’s perspective, was the arrival of Lieutenant Colonel Ralph Honner who took command on 16th August. Honner had proven himself to a be a brilliant leader of soldiers in the Middle East. He had a way of inspiring confidence in his troops, not through bluster and bullshit, but with a quiet authority. Most of all, he loved his troops and they in turn came to love him.
On 23 August, command of Maroubra Force was handed to Brigadier Arnold Potts, who was also to prove himself the right man in the right place at the right time. Unfortunately for Potts he would eventually pay the price for his success, not at the hands of his enemy, but at the hands of his own Commanding Officer.
But the fight for Isurava was just beginning. Although the 53rd Battalion was now alongside them, they still had to hold out against vastly superior Japanese forces long enough for the AIF to arrive. Please stay tuned for Part 3 of the 39th Battalion’s story.
Warwick O’Neill runs the fantastic Australian Military History Podcast. Check out his episodes covering all aspects of the Australian experience under arms. Listen to this podcast episode below.
Articles you may also like
3 Squadron RAAF – Podcast
As the Allied armies fought across North Africa, first against the Italians and then the Vichy French and Rommel’s Afrika Korps, one squadron of the RAAF was there from the beginning. No. 3 Squadron was the first RAAF squadron to leave Australia and played an important part in many of the important battles from 1940 to 1943 across North Africa, Tunisia and Sicily.
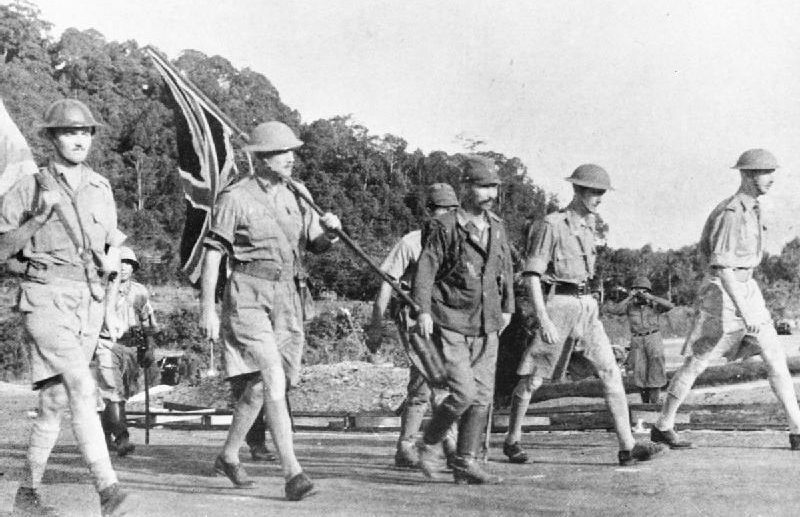
The fall of Singapore
THE FALL OF SINGAPORE The Land Campaign Nothing in history is inevitable but the fall of Singapore Island after the defeat of British forces in Malaya came close to it. In December 1941 the Japanese established complete air and naval dominance in the region, sinking the British capital ships the Prince of Wales and the Repulse on 8 December […]
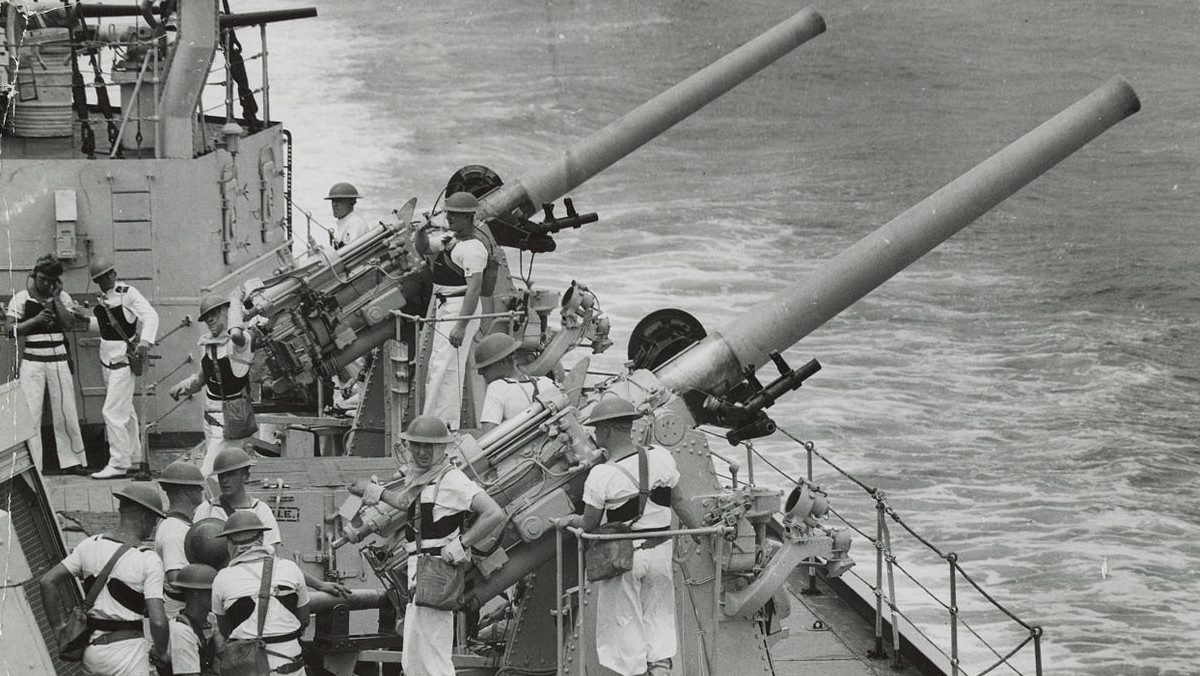
The Battle of Cape Spada: The Australian Navy Proves Its Mettle
Reading time: 9 minutes
The Battle of Cape Spada was a short, violent encounter on the 19th of July, 1940 where the cruiser HMAS Sydney of the Royal Australian Navy sank one Italian cruiser and severely damaged another off the coast of Crete. In this article, we go over the events of that day, as well as what life was like for the crew of the ship.
This article is published with the permission of the author. If you would like to reproduce it, please get in touch via this form.
