Broodseinde Ridge – Podcast
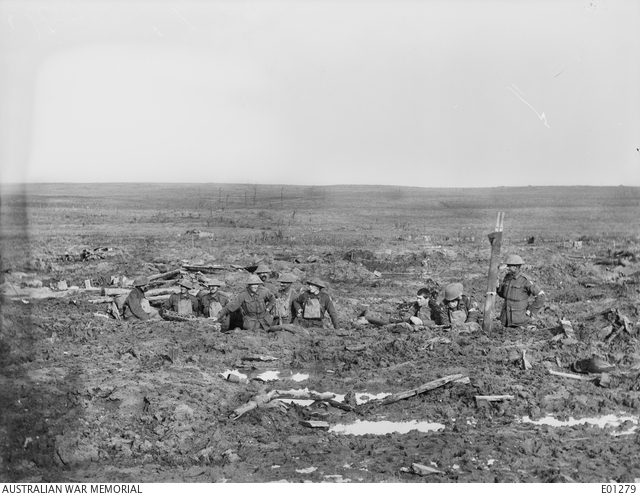
On the back of the victories of Menin Road and Polygon Wood, the 1st Anzac Corps pushed on towards the dominating feature of Broodseinde Ridge. This time though, they would have the men of the 2nd Anzac Corps fighting alongside them. The Battle would see the Allied troops looking down upon green pastures for the first time in three years, bringing hope that the war may soon be over.
This podcast episode is by Warwick O’Neill from the Australian Military History podcast.
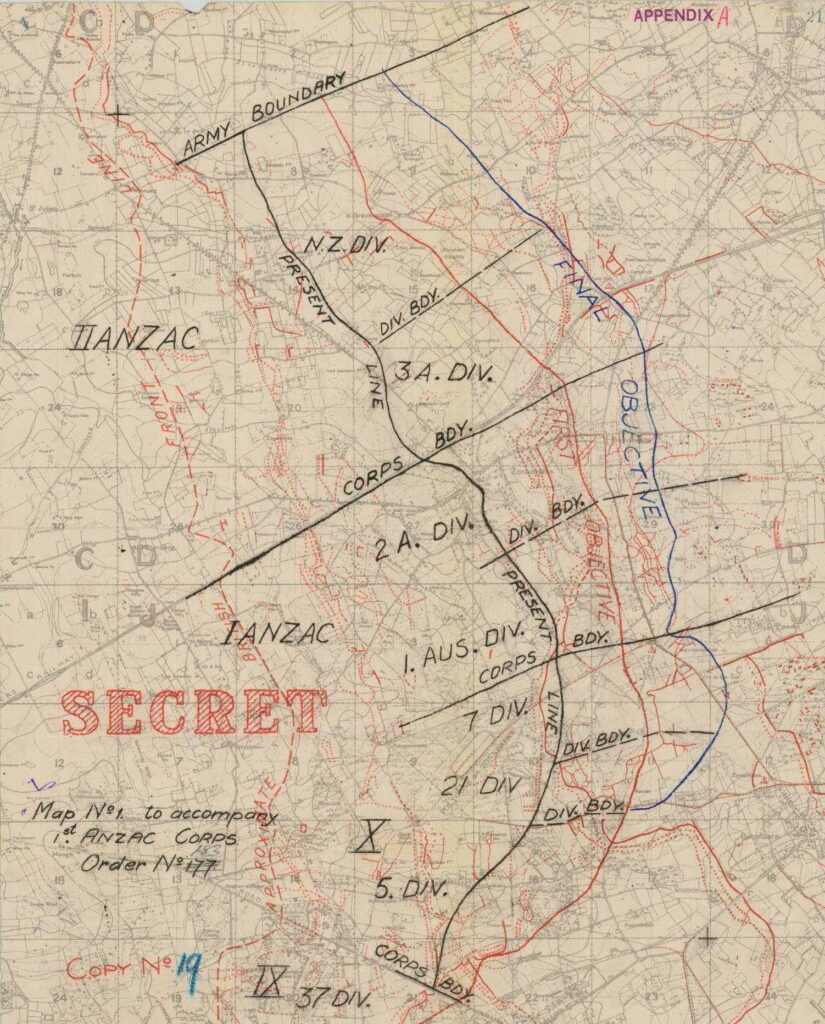
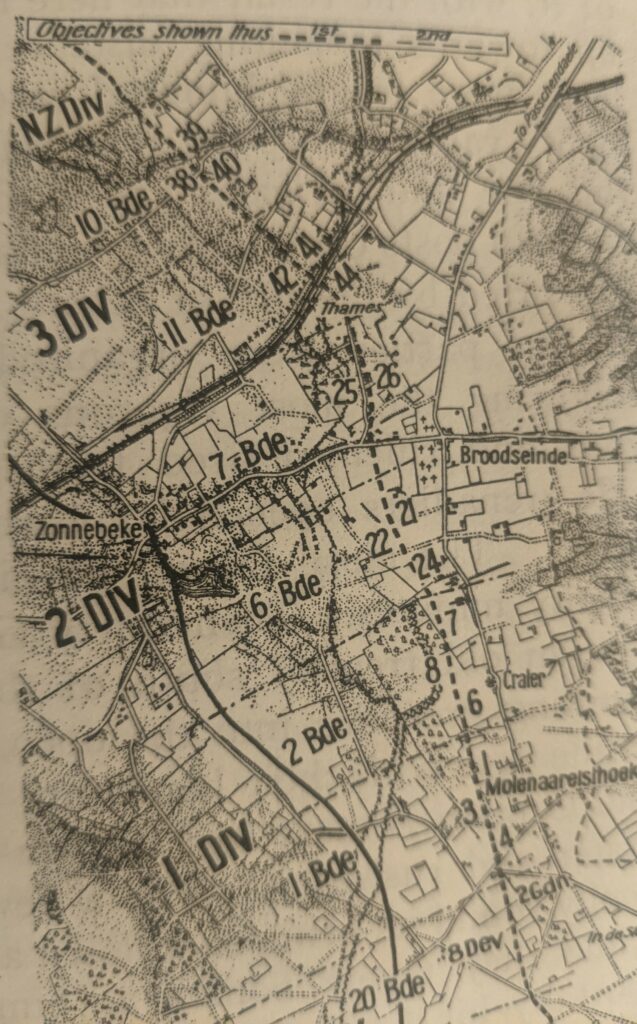
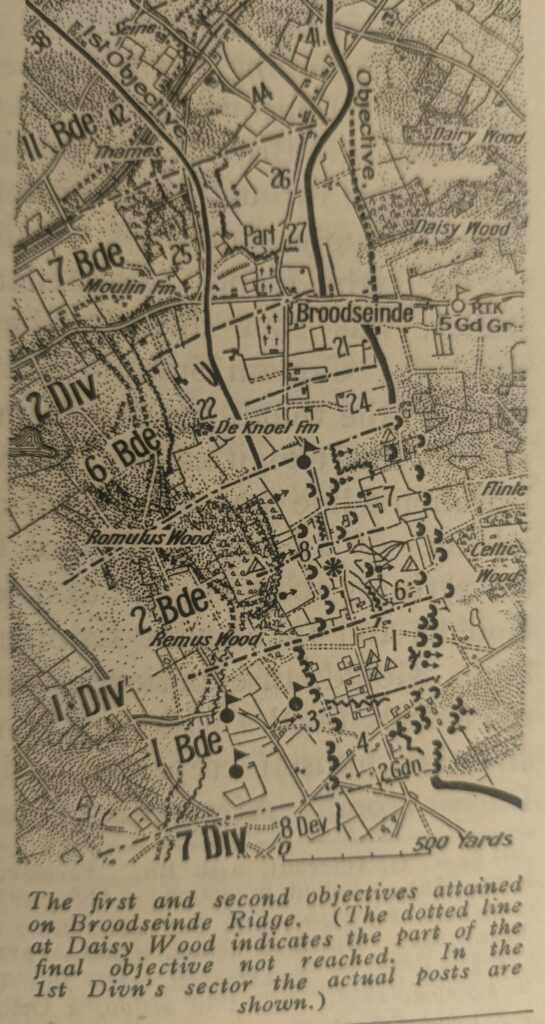
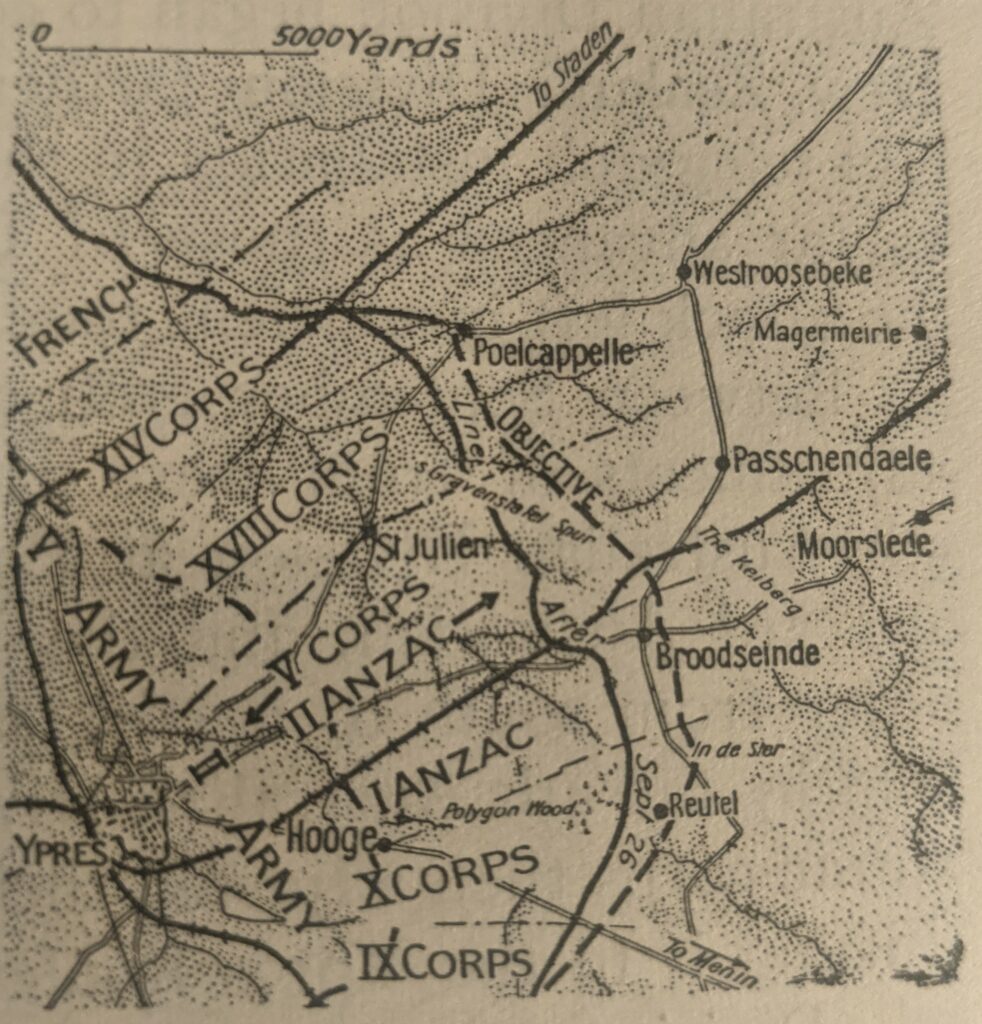
Maps of the Battle
These maps are very useful for following the narrative of the battle described in the podcast episode.

Other Articles you may like
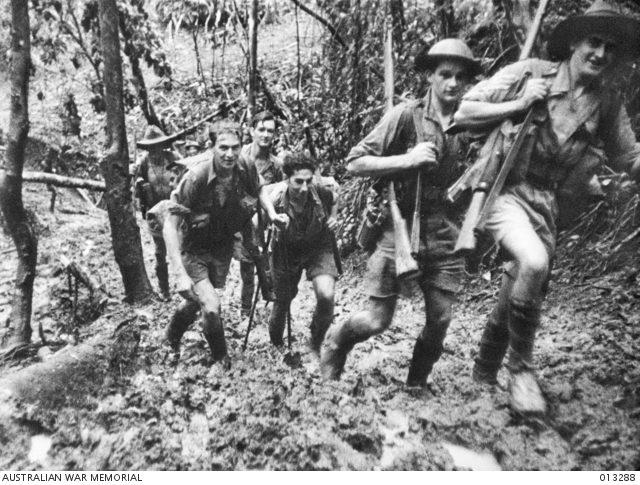
39th Battalion at Kokoda – Part 1
Reading time: 10 minutes
The 39th Militia Battalion from Victoria bore the brunt of the early fighting against the Japanese on the Kokoda Track.
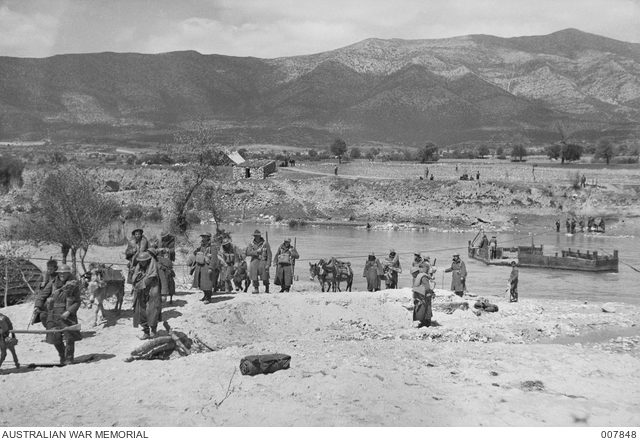
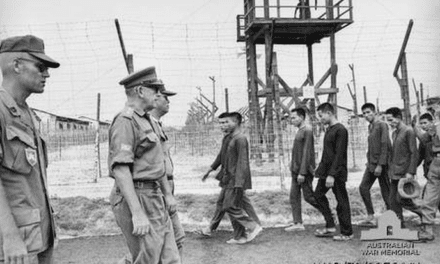
The Battle of Greece – Australia’s Textbook Rear-Guard Action
Retreat doesn’t always mean defeat, sometimes it can be a victory to withdraw in good order and deny your enemy a total victory. This is was the outcome for the allied forces in Greece during April 1941, thanks in part to textbook rear-guard actions fought by Australian units, which allowed 50,732 men to escape the grasp of the advancing superior Axis force. But why were Australian units involved in Greece in the first place?
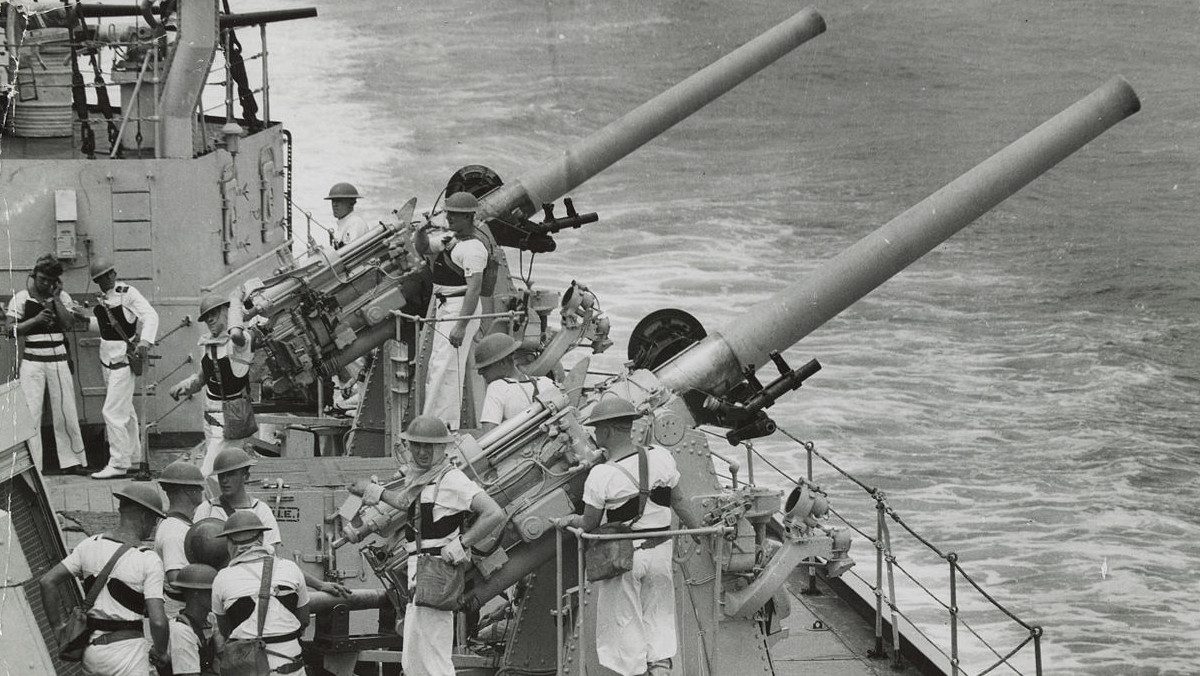
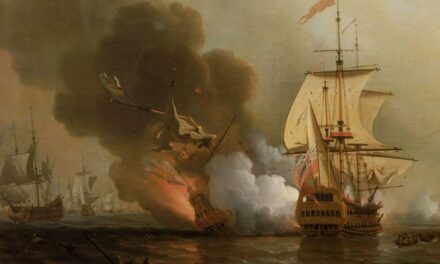
The Battle of Cape Spada: The Australian Navy Proves Its Mettle
Reading time: 9 minutes
The Battle of Cape Spada was a short, violent encounter on the 19th of July, 1940 where the cruiser HMAS Sydney of the Royal Australian Navy sank one Italian cruiser and severely damaged another off the coast of Crete. In this article, we go over the events of that day, as well as what life was like for the crew of the ship.
The text of this article was commissioned by History Guild as part of our work to improve historical literacy. If you would like to reproduce it please get in touch via this form.