Reading time: 22 minutes
The Battle of Pinios Gorge was a pivotal part of the Battle of Greece and a close run thing. The Australians and New Zealanders held the Germans off for long enough to allow the British and Commonwealth forces to withdraw in good order.
Visiting a battlefield is the best way to understand what took place there. Walking the ground gives you an appreciation that no amount of reading can.
I’m a big believer that to really understand what happened in a battle or campaign, it is best to walk the ground.
James Holland, Historian.
This is how you can visit this battlefield and gain an appreciation of the fighting that took place here. Starting in the North-East at Platamon you can then follow the route of the New Zealand 21st Battalion as they withdrew from Northern Greece.
Platamon Castle
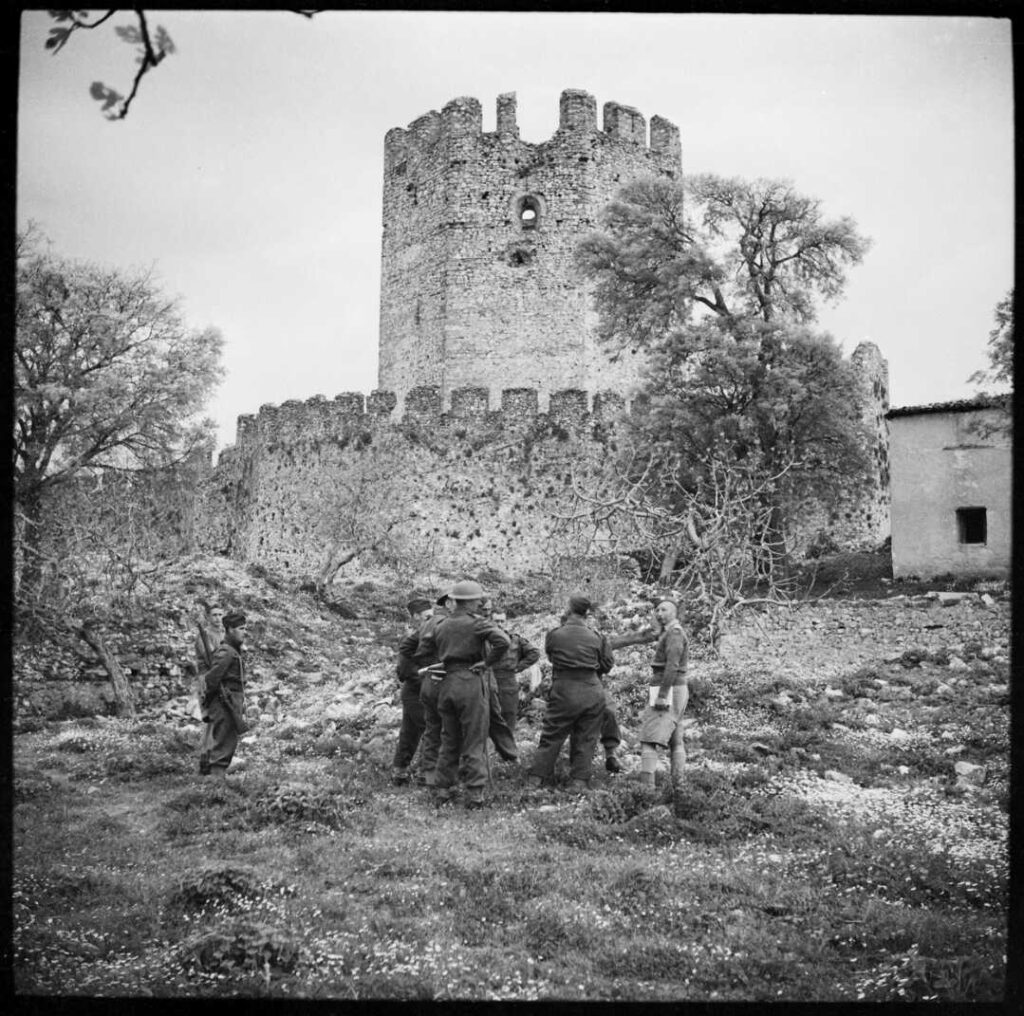
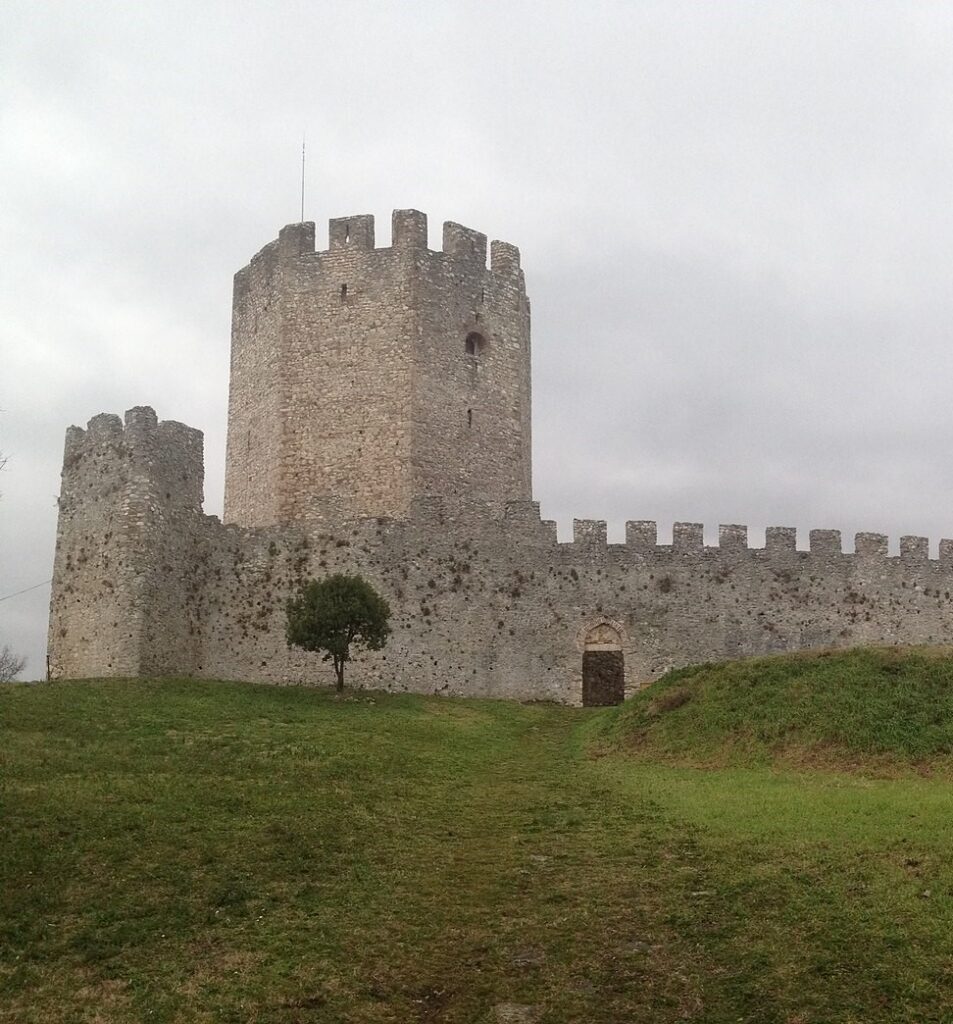
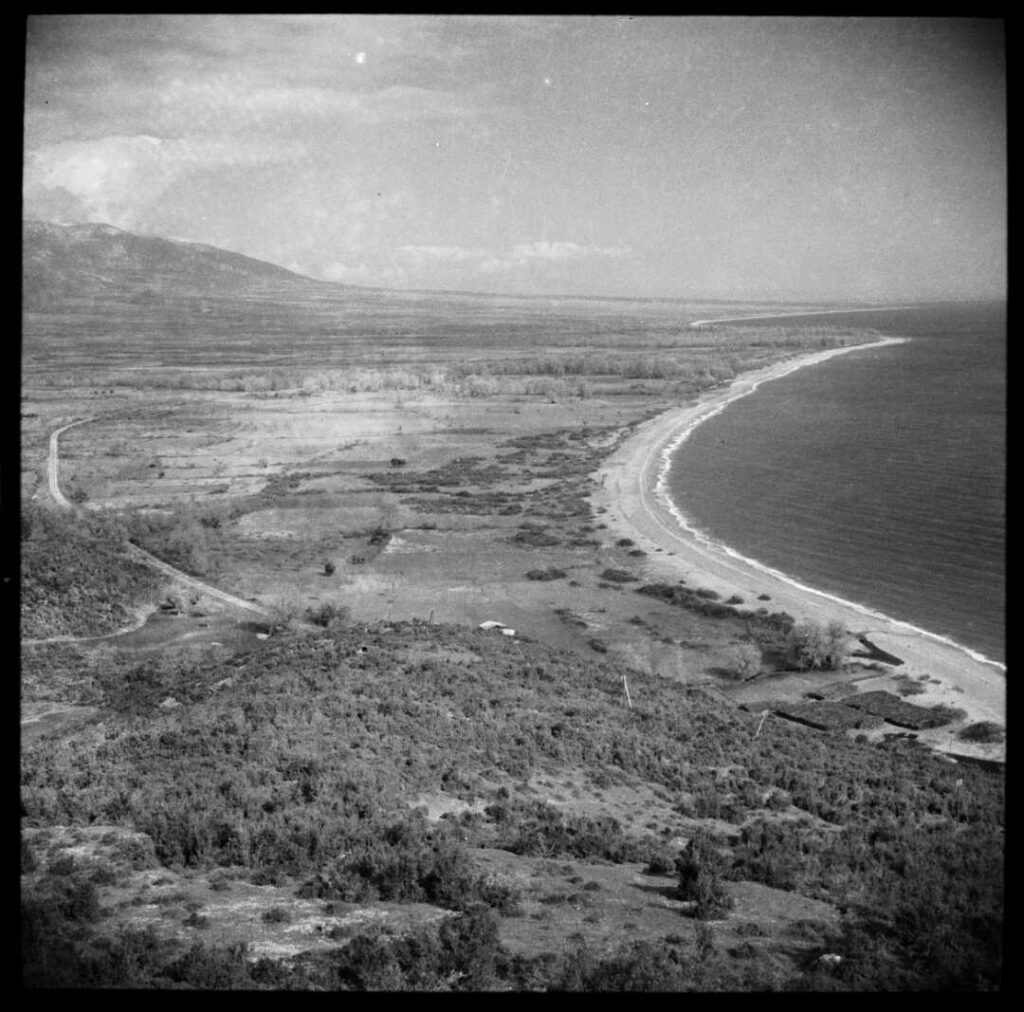
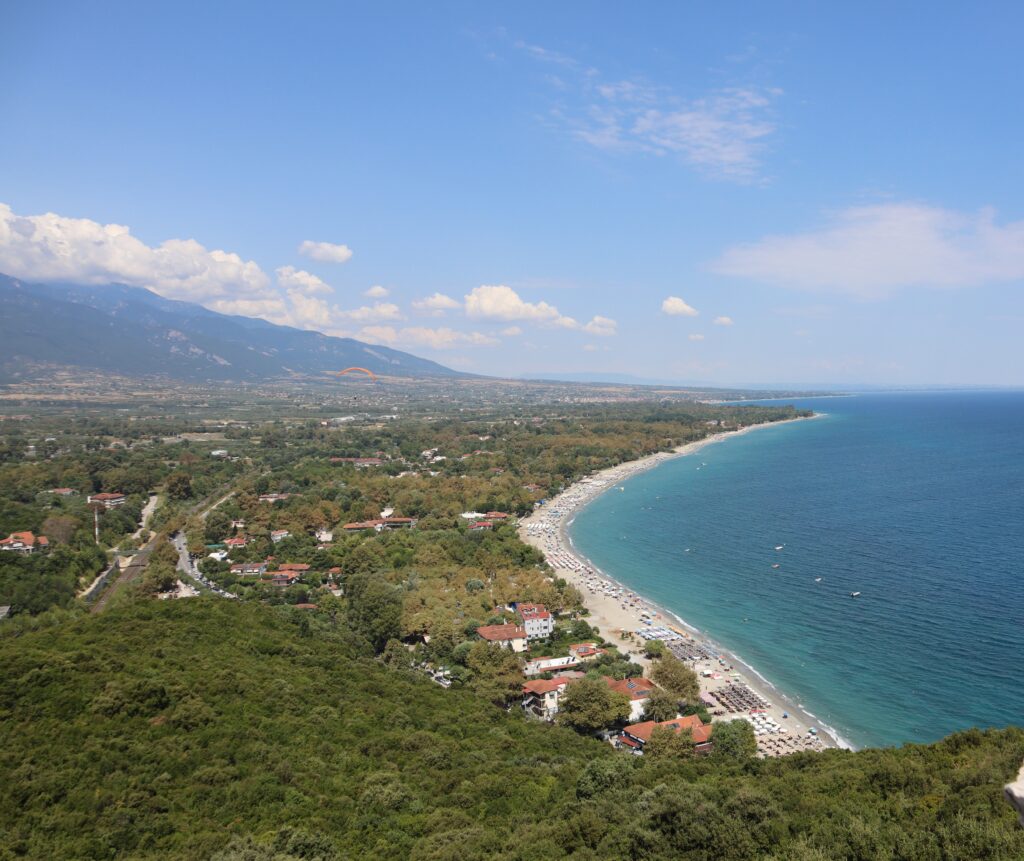
This crusader castle occupies a dominating position overlooking the plain, coast and town of Platamon. The New Zealanders occupied the area around the castle in the days prior to the Pinios Gorge Battle, delaying the German troops moving into the area with harassing artillery fire. They then broke contact with the Germans before withdrawing to positions in the Pinios Gorge itself.

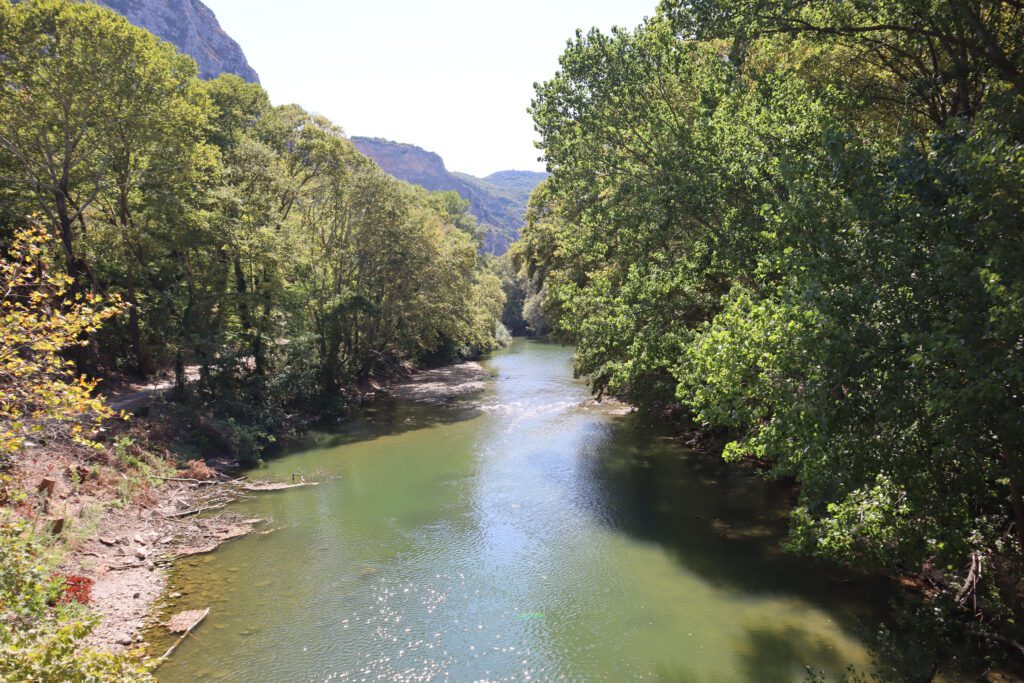
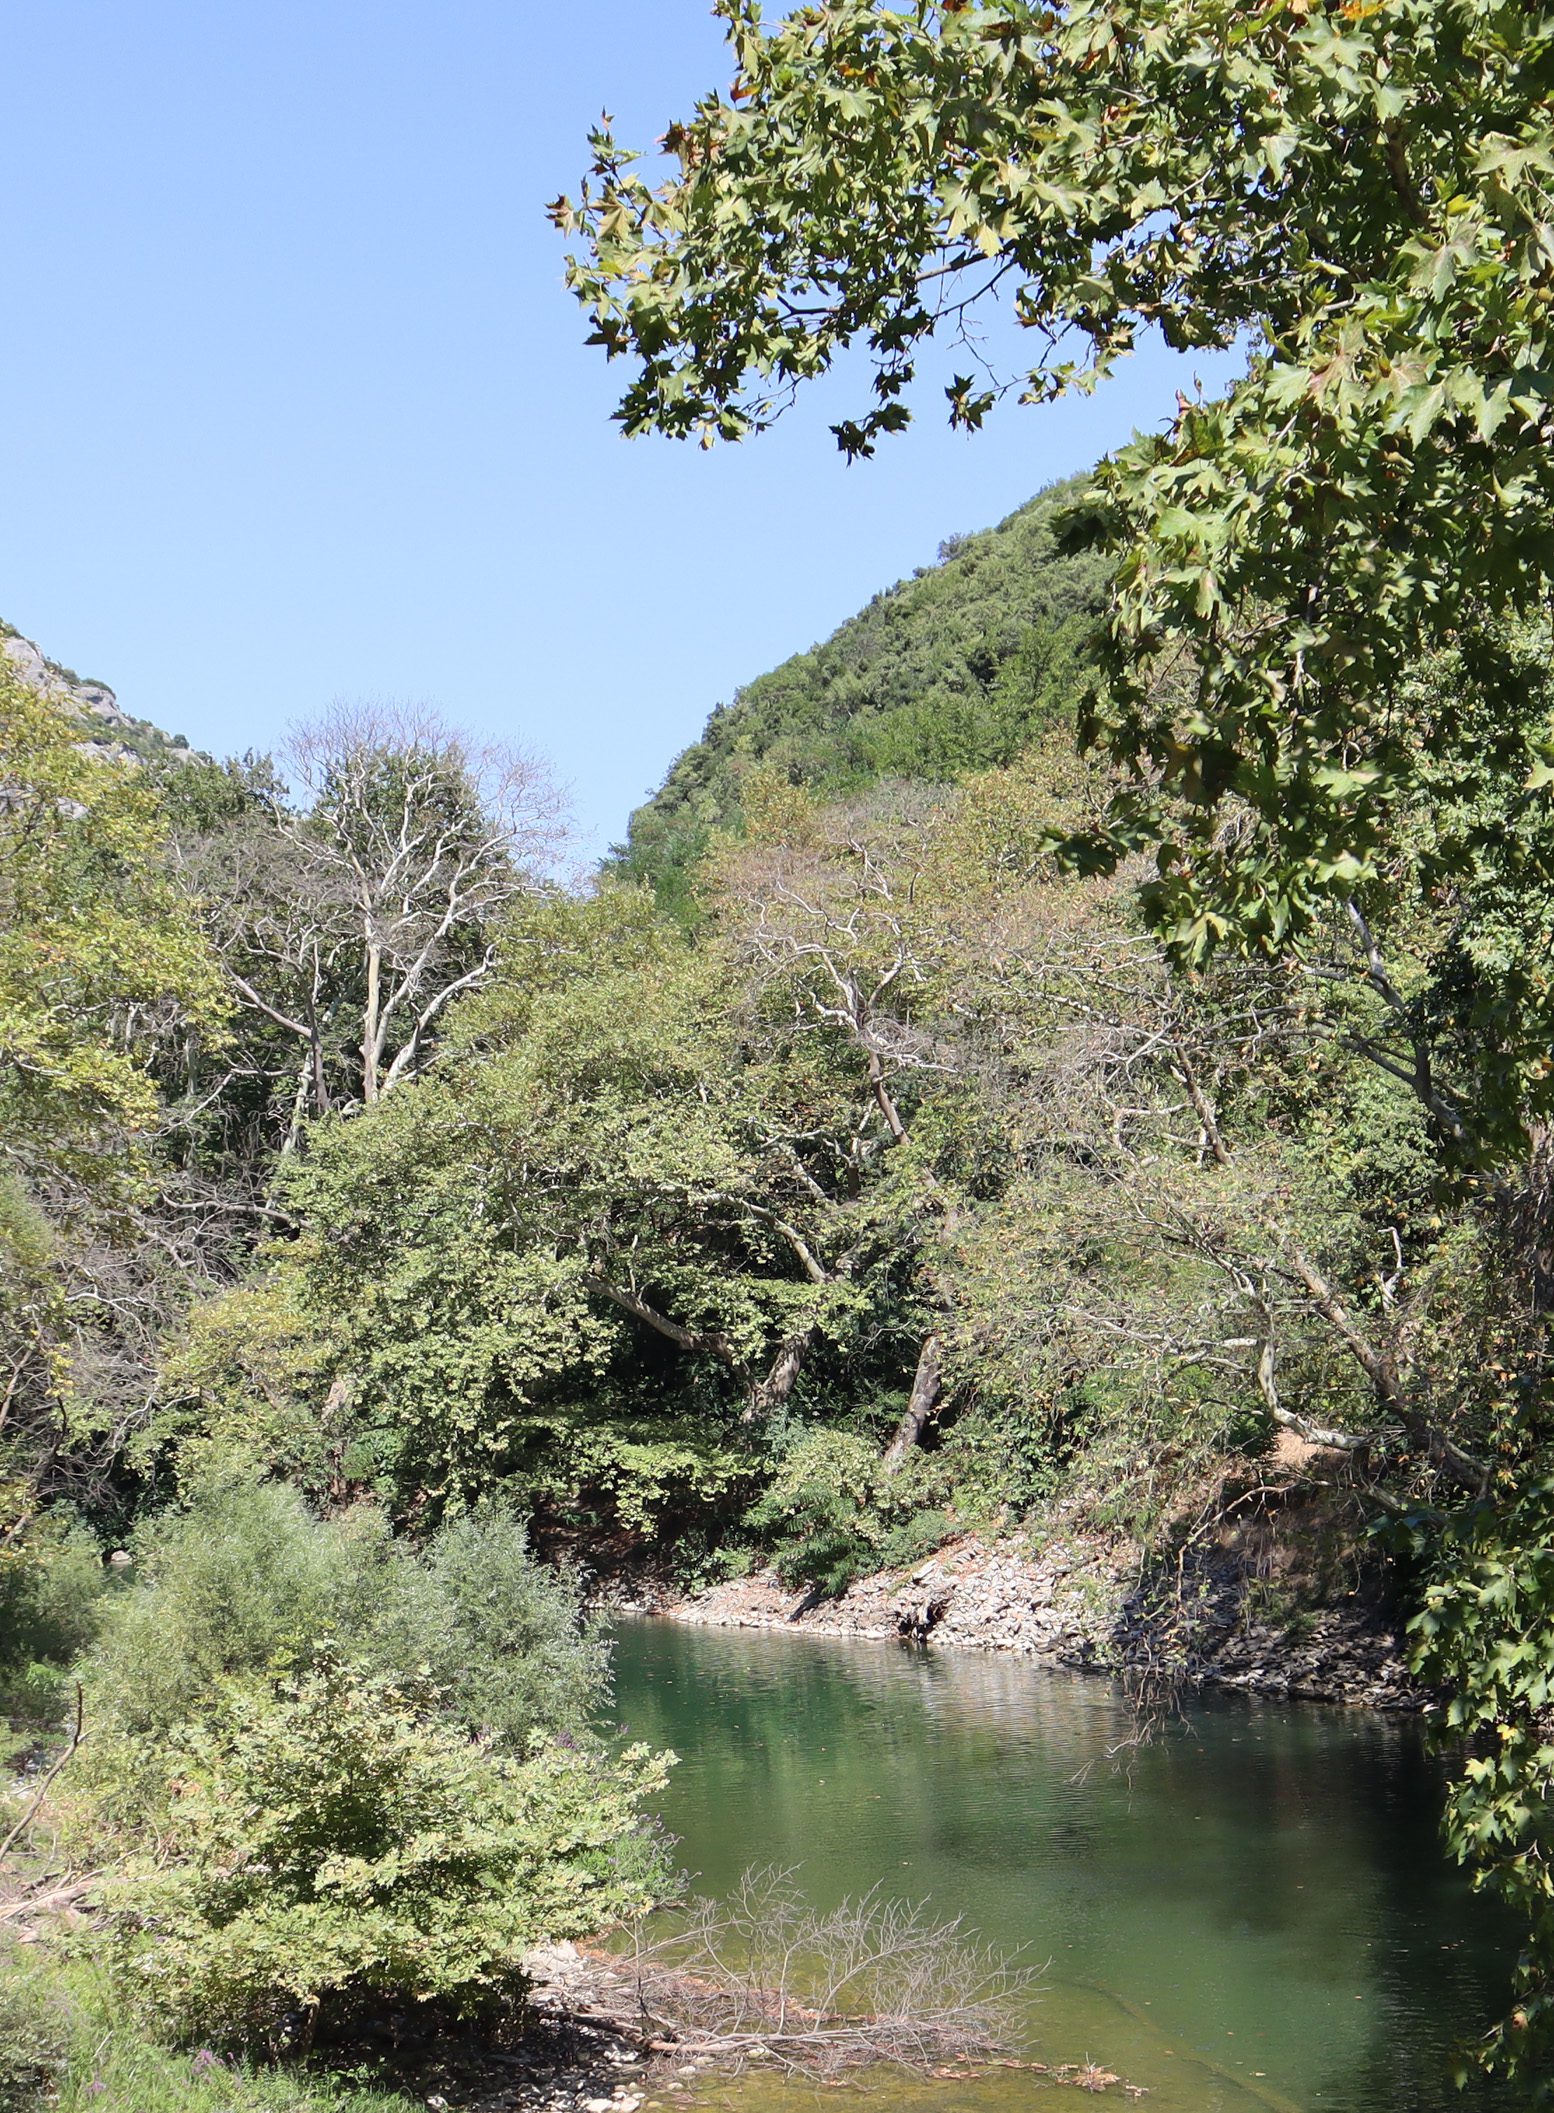
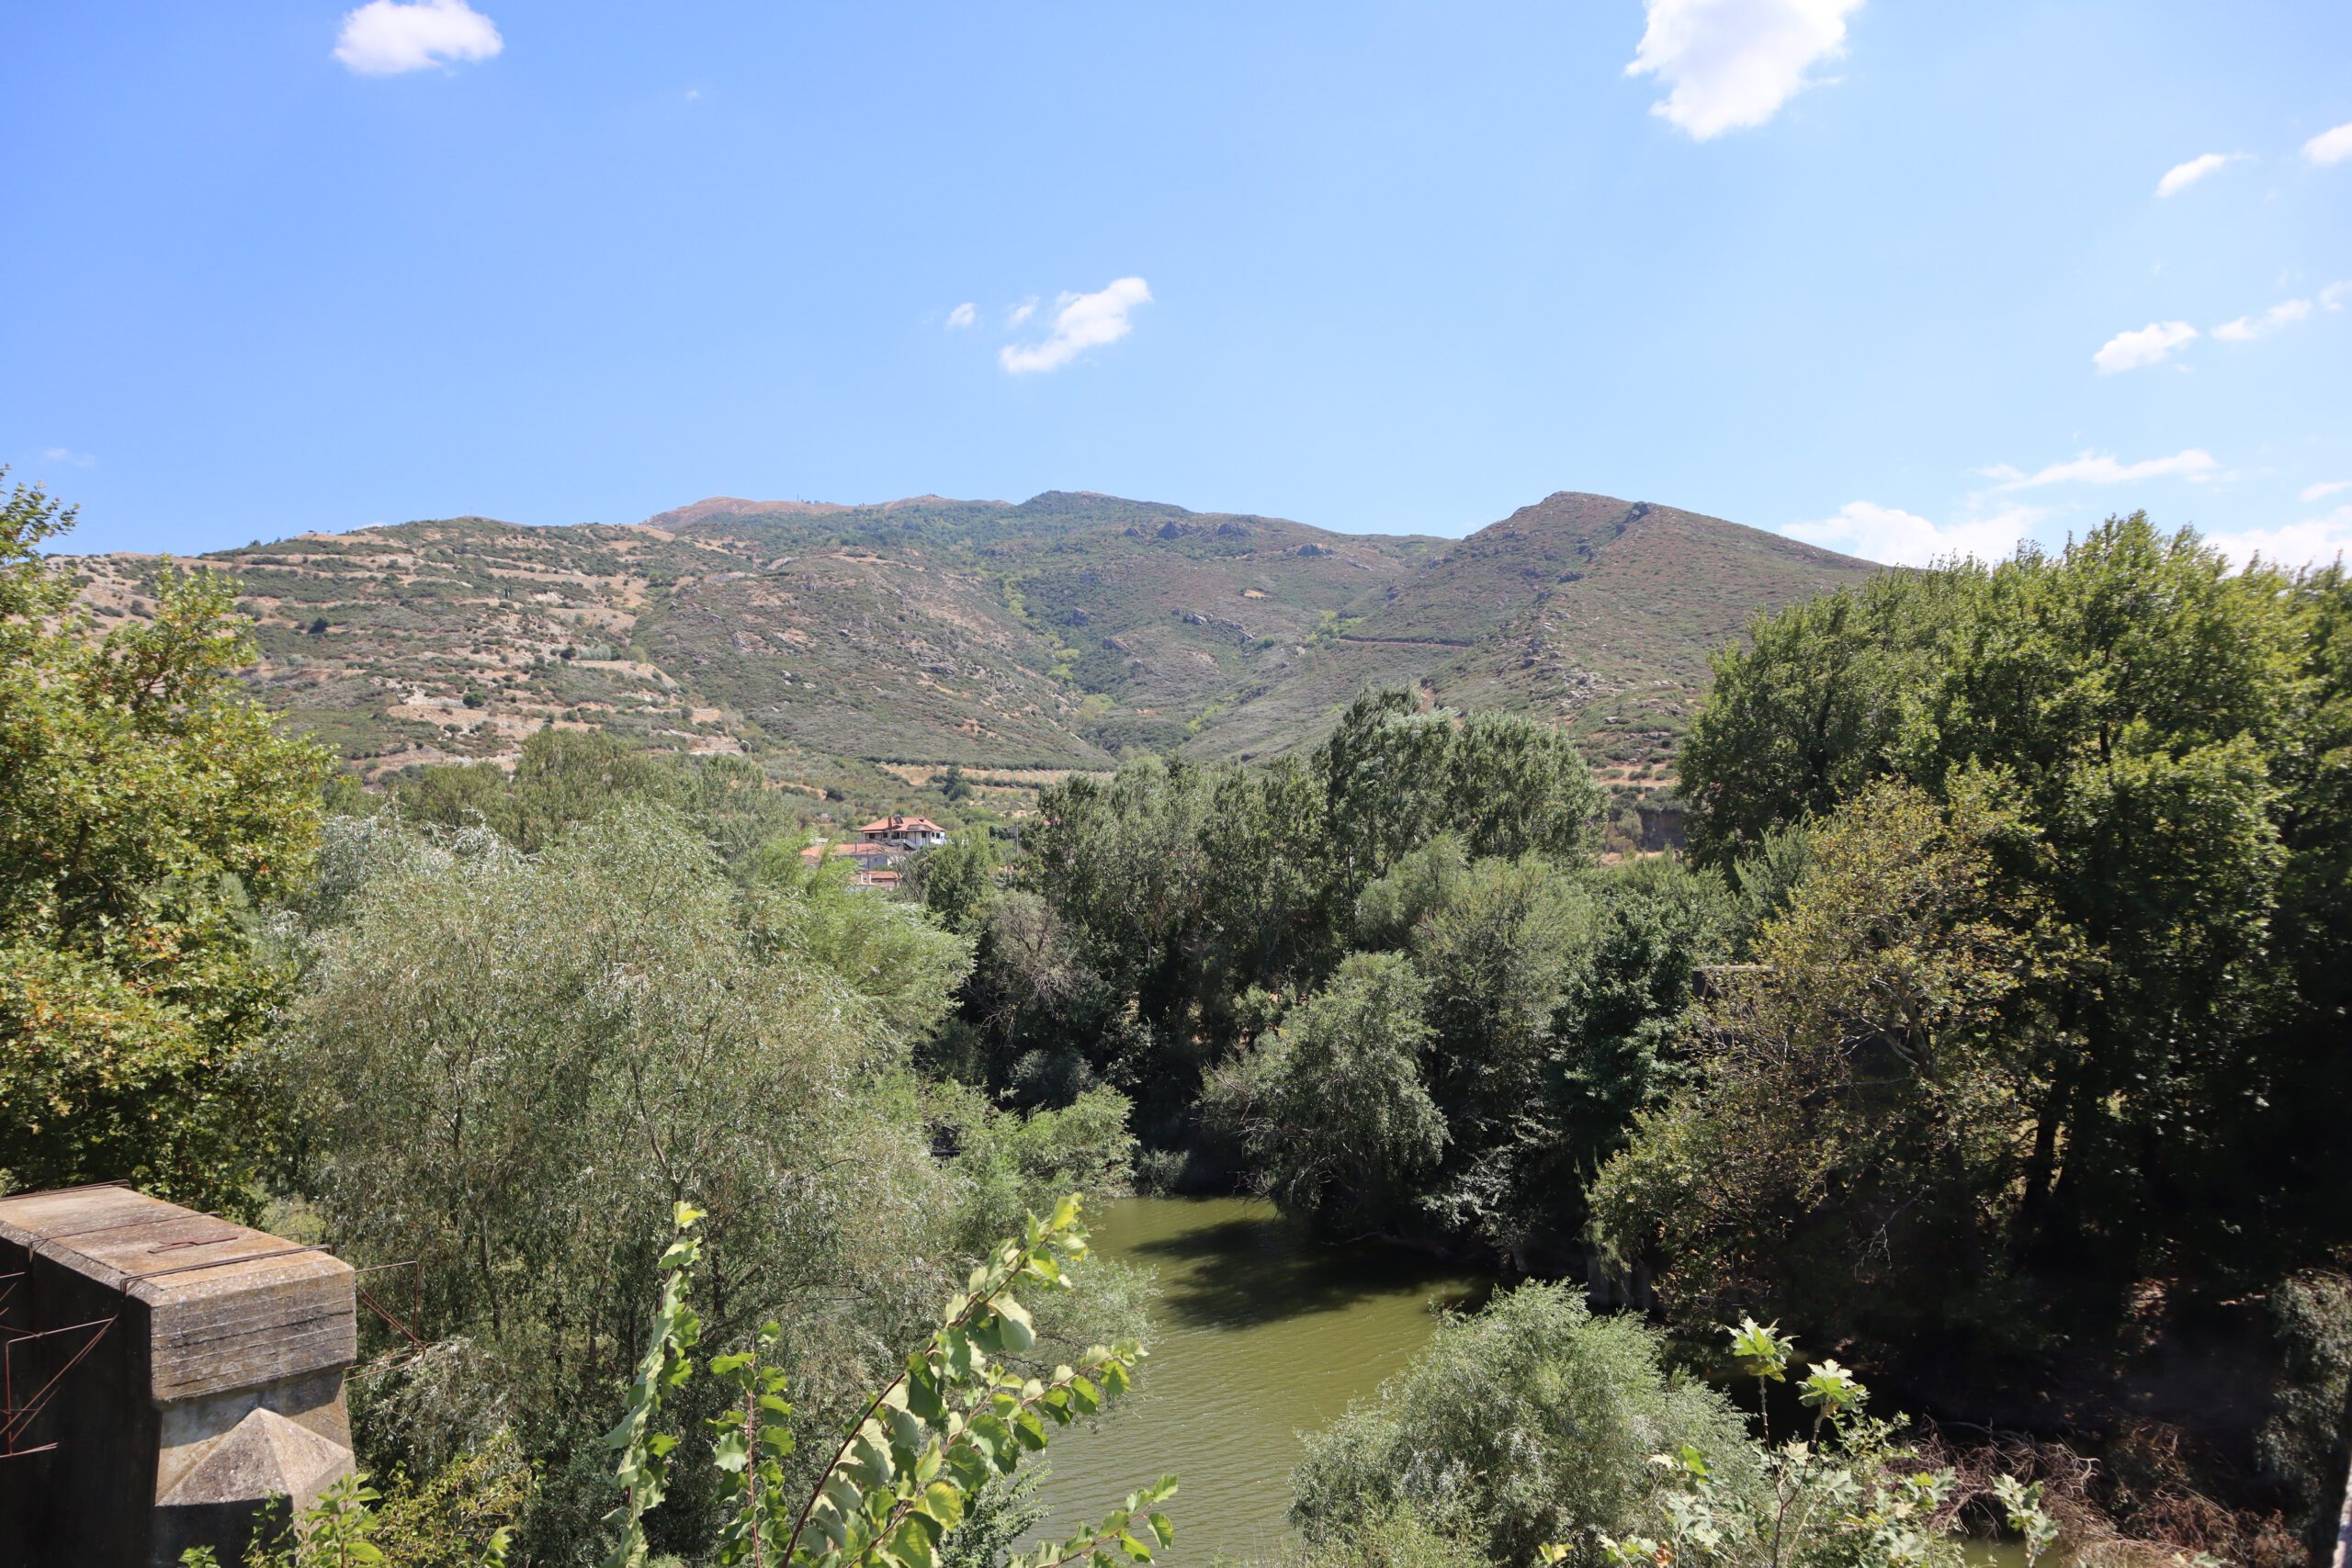
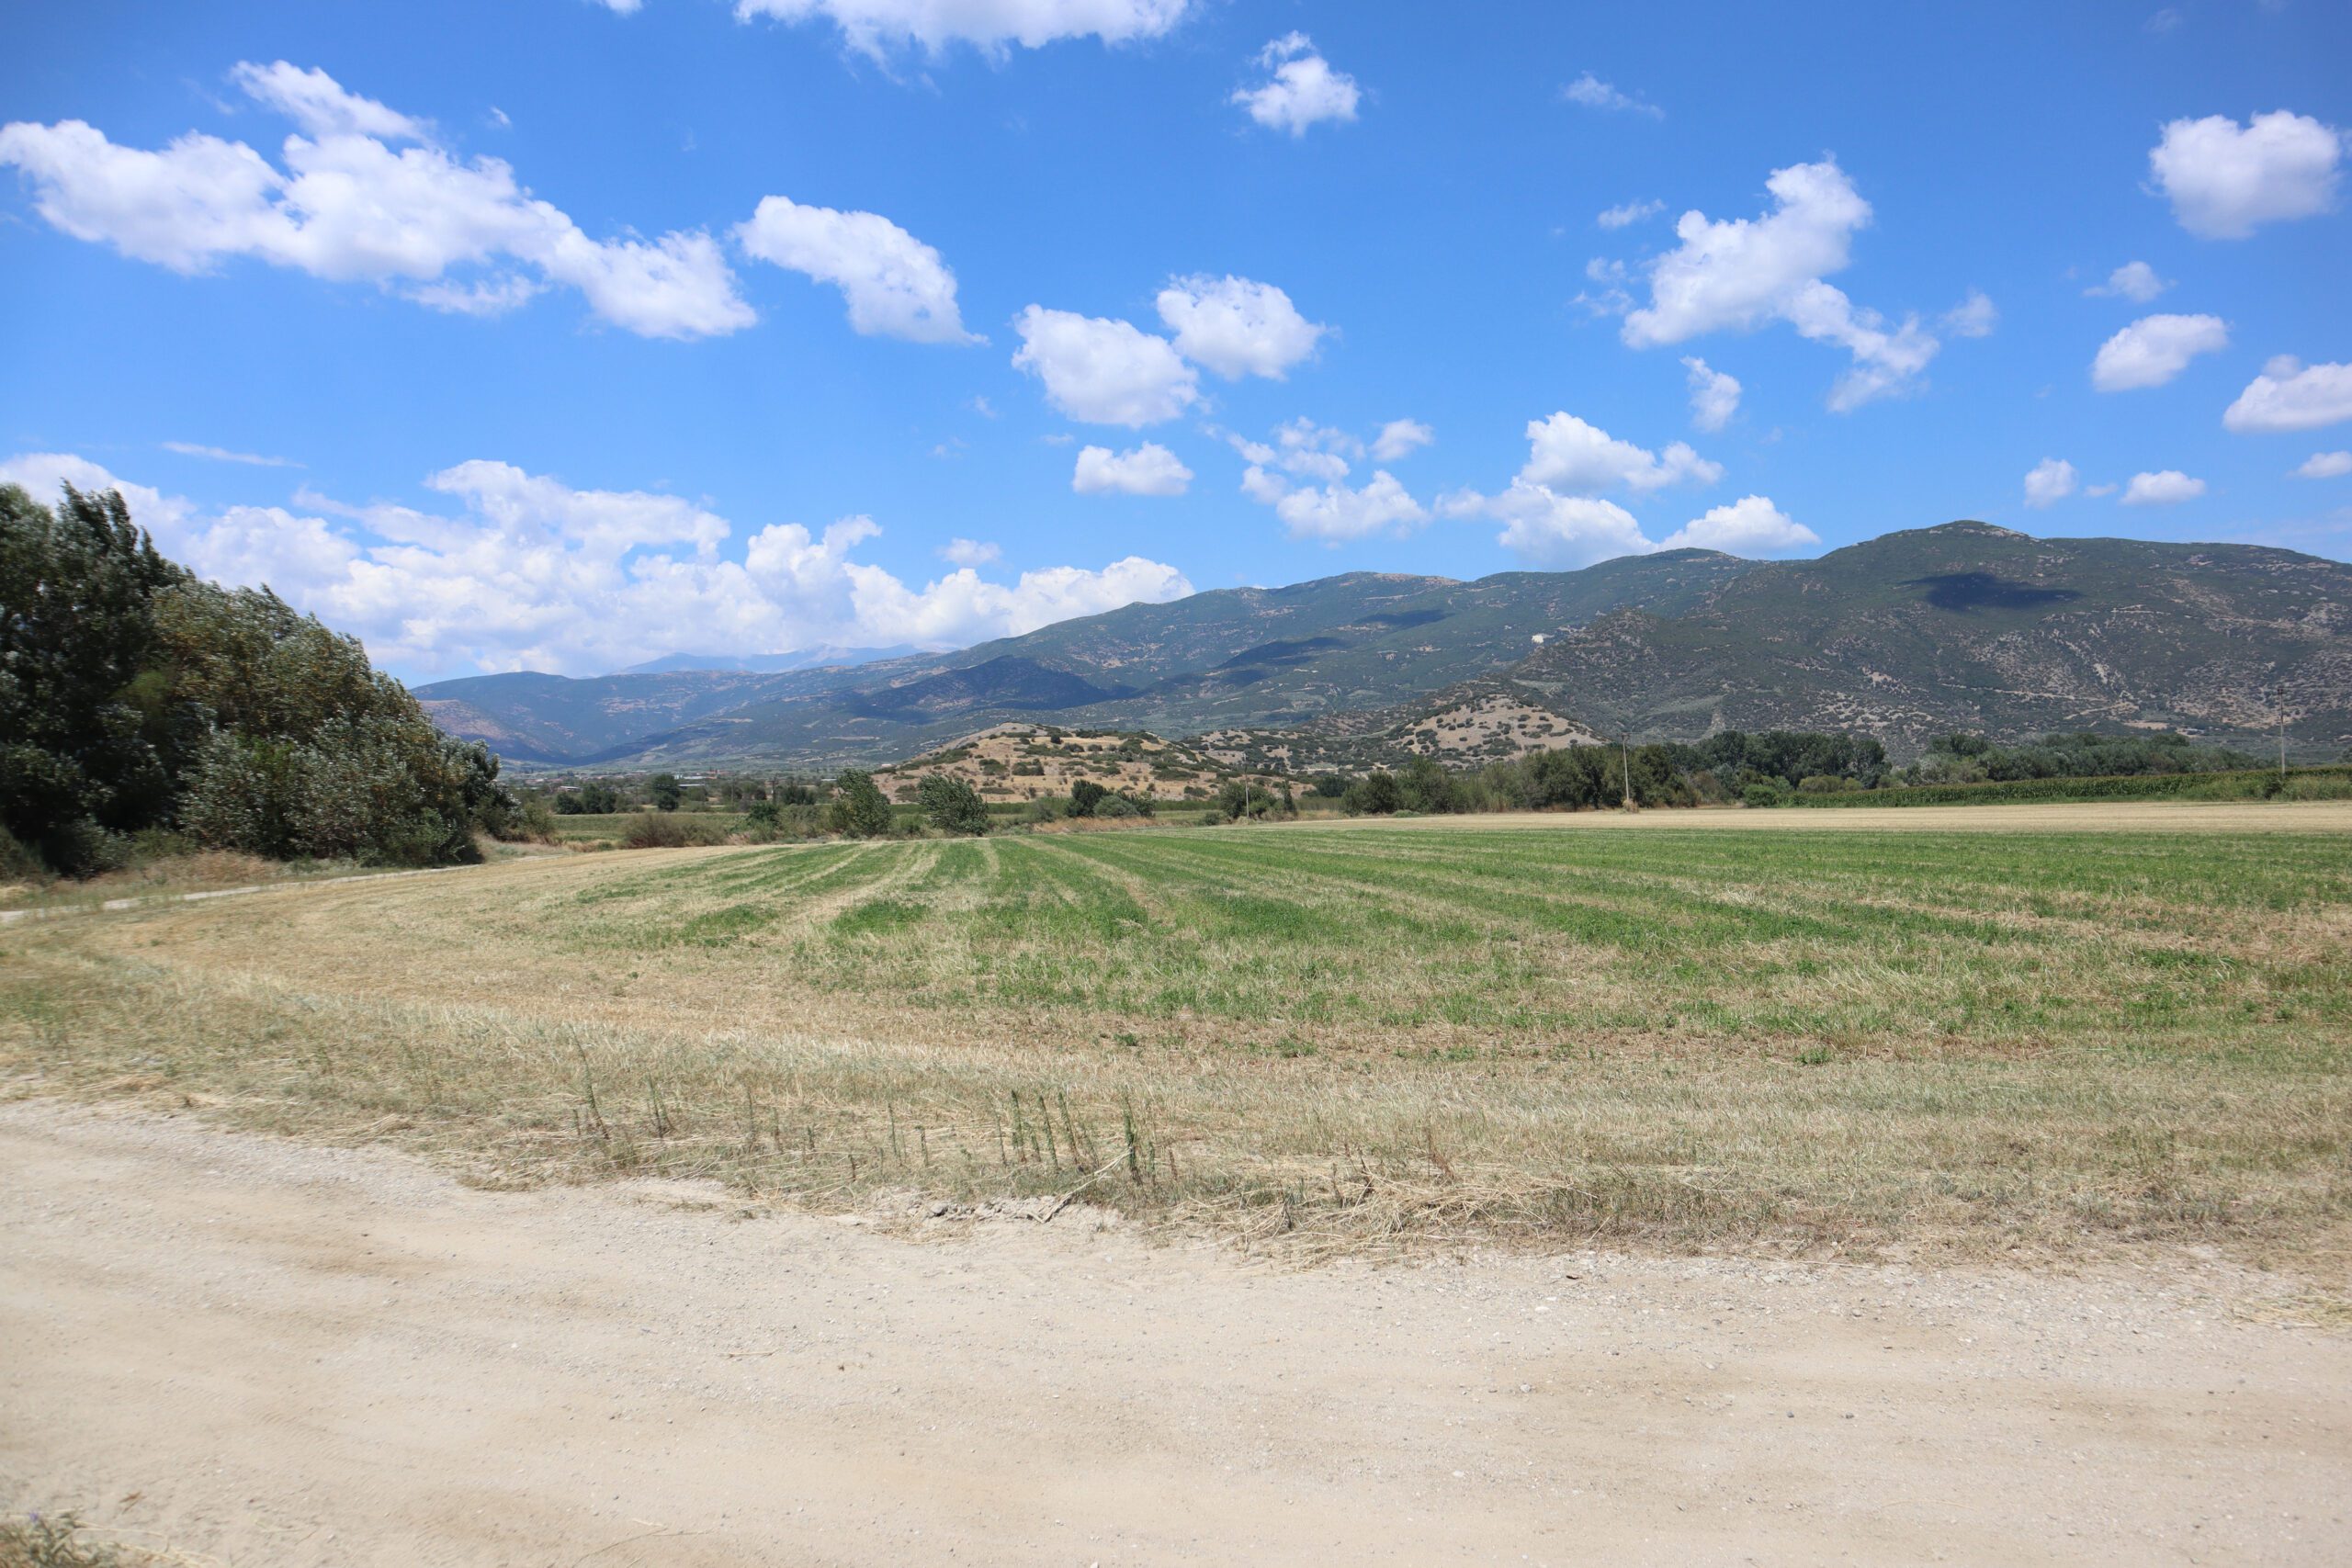
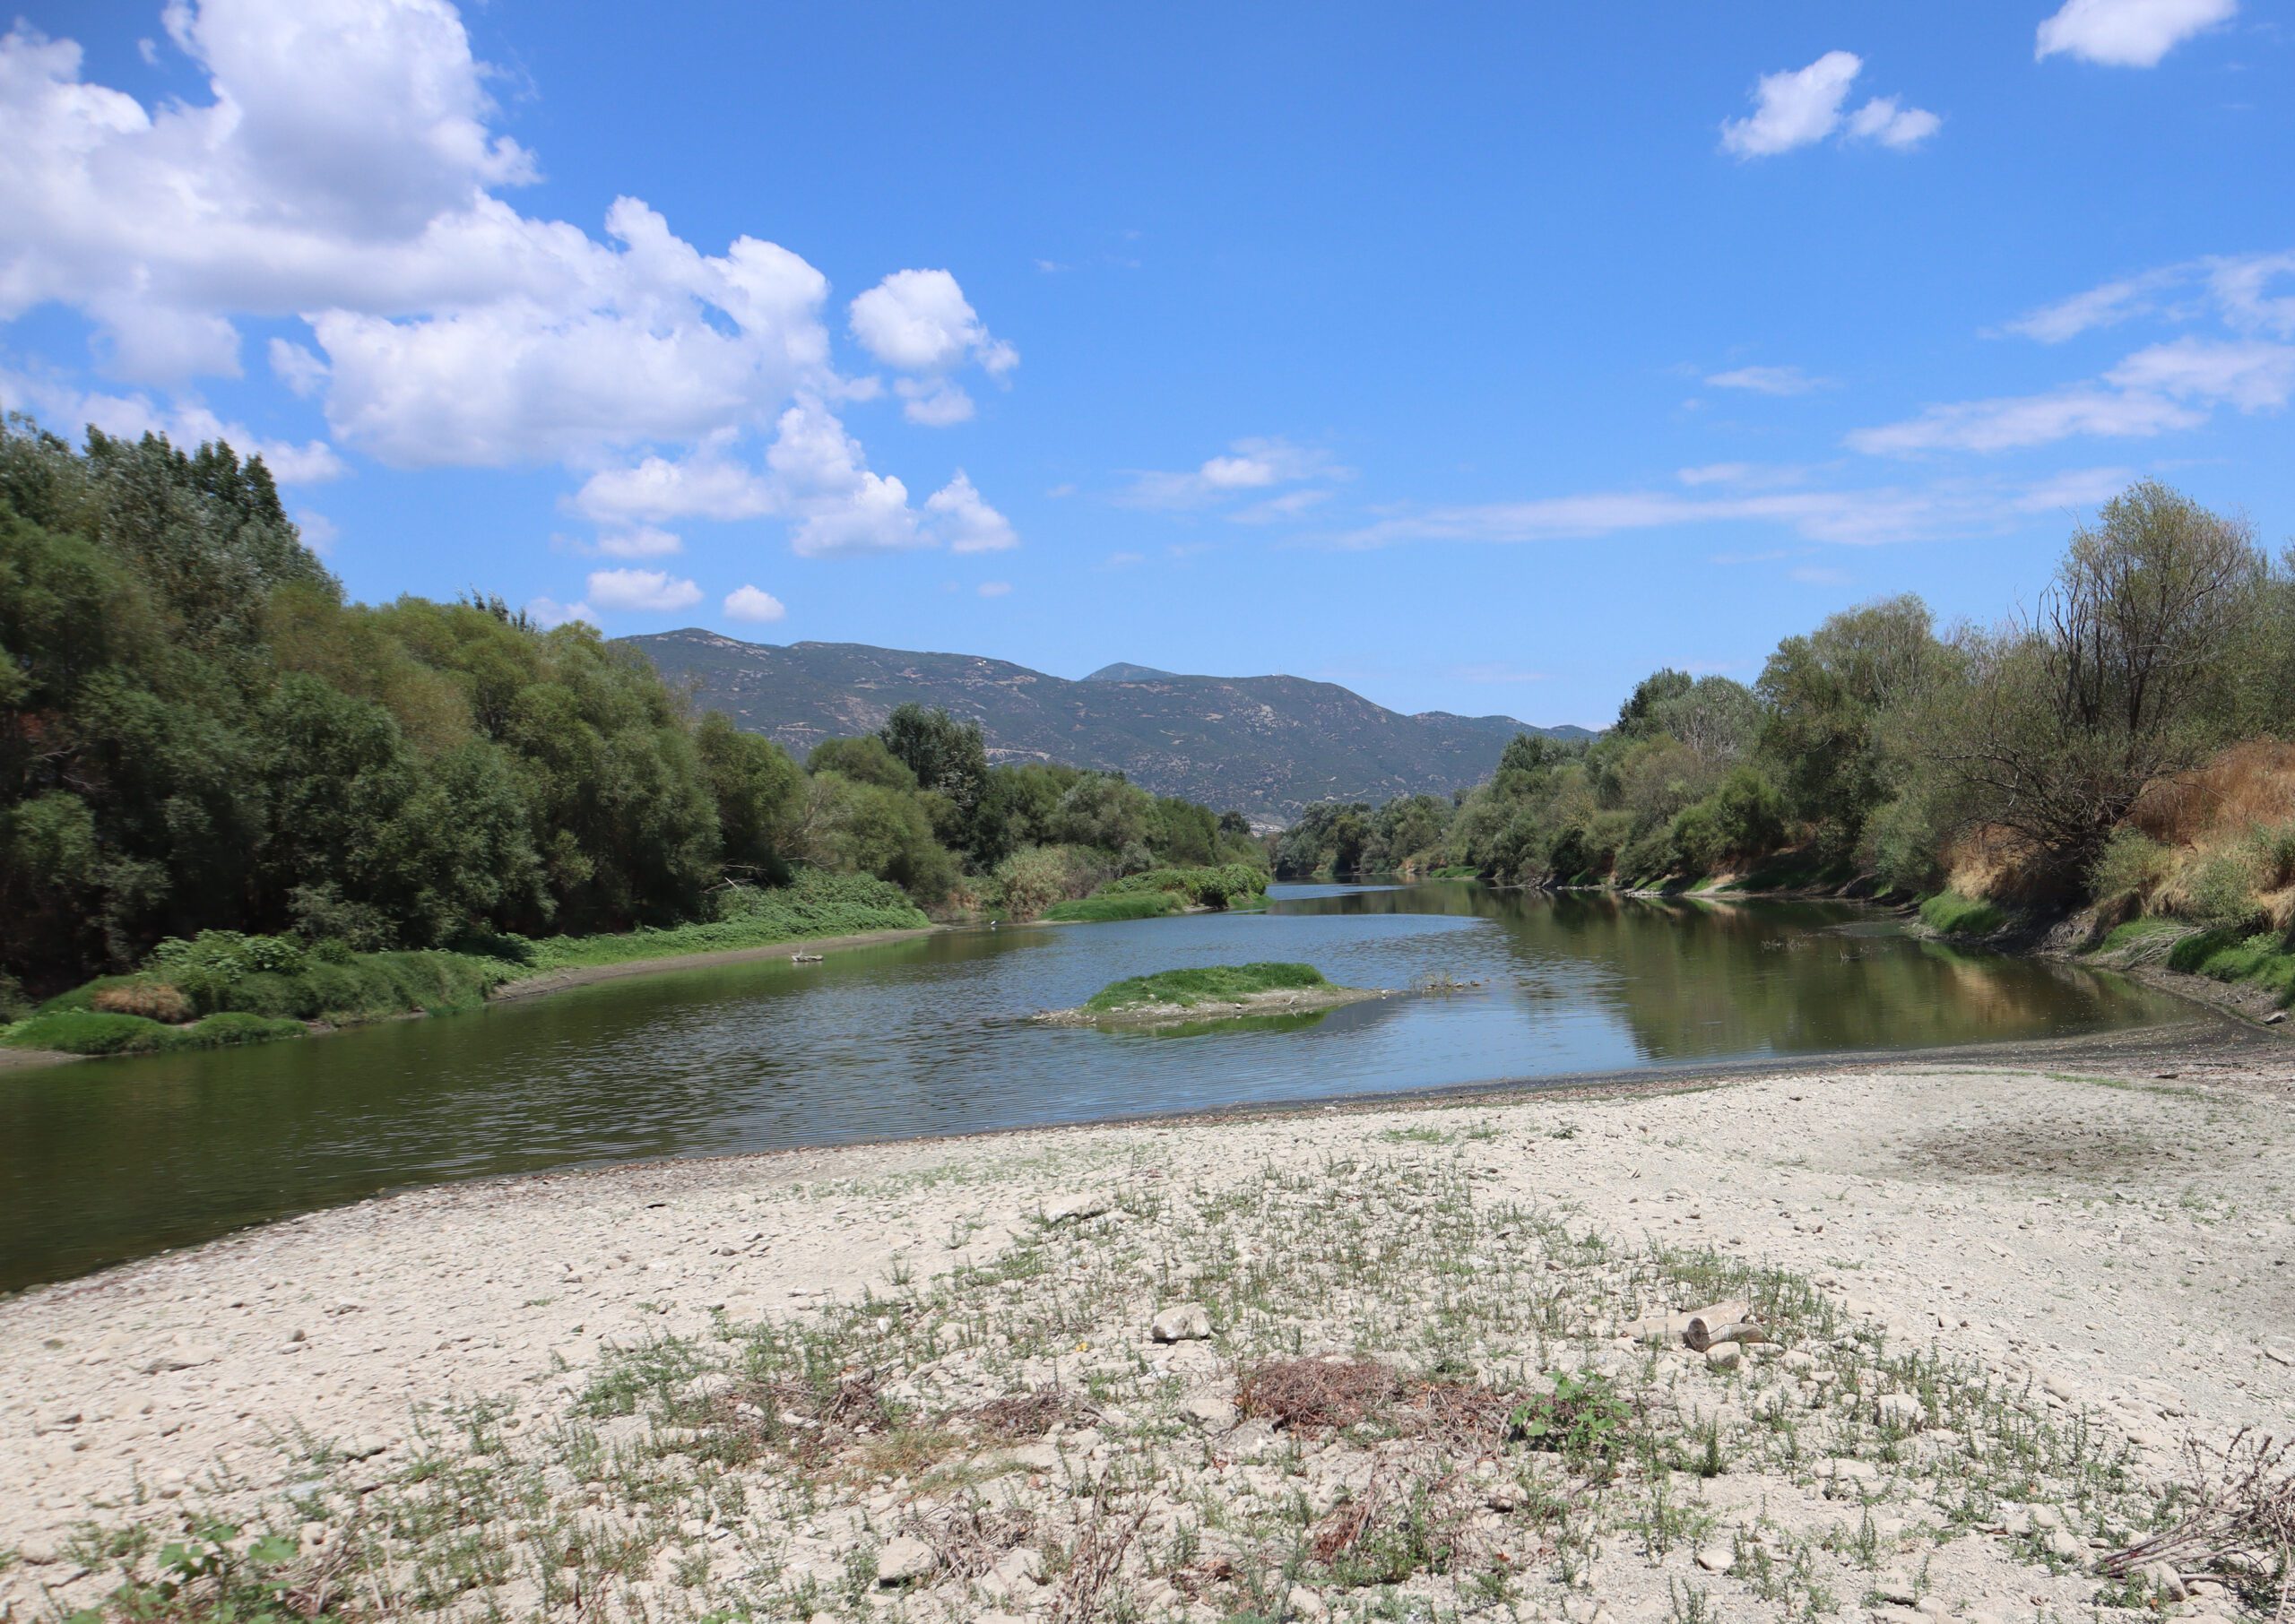
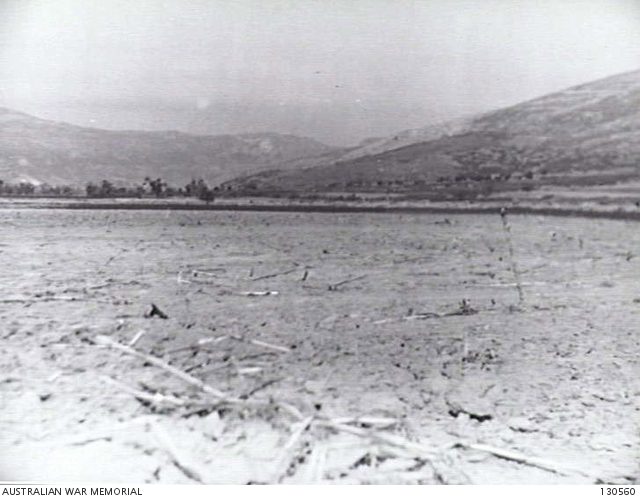
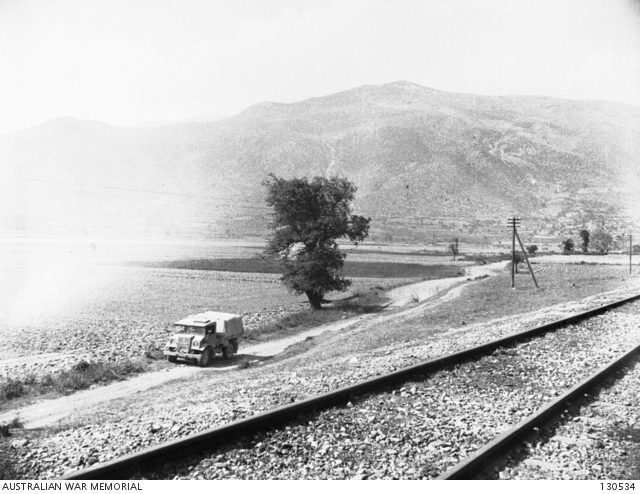
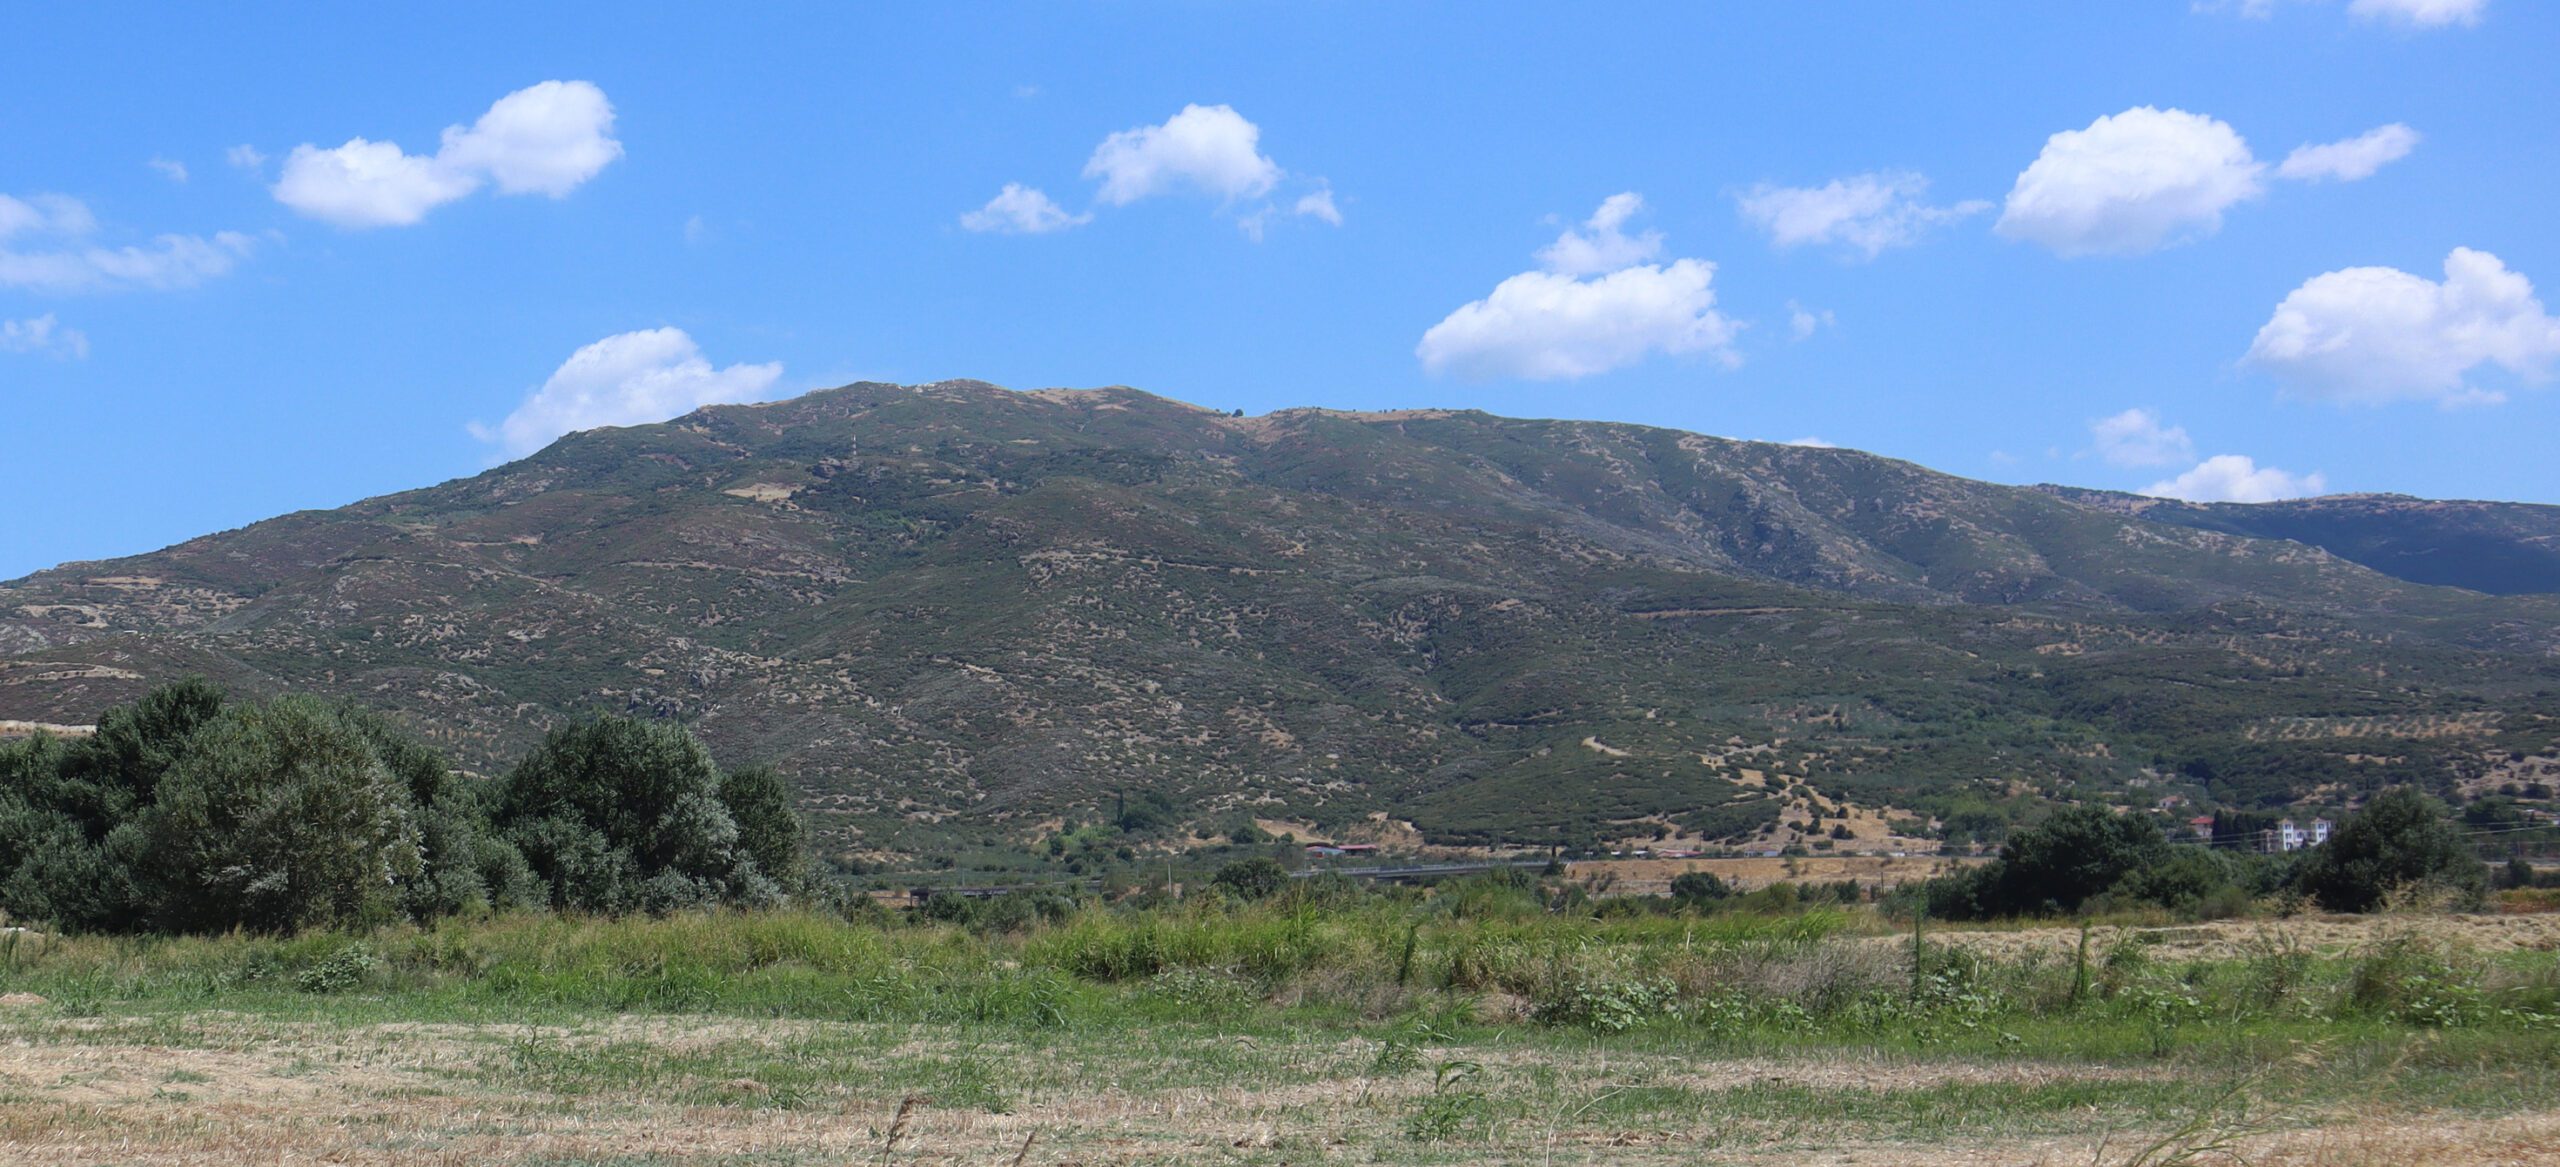
From here move to the mouth of the Pinios Gorge. As you approach you see the hills rising sharply on both sides of the steep sided gorge.
Mouth of the Pinios Gorge
Directions – Mouth of the Pinios Gorge
The railway line and road split, with the railway running along the Northern side of the river and the road running along the Southern side. In 1941 there wasn’t a road bridge here, only a ferry. The Allied troops who were withdrawing into the gorge sunk the ferry after they had crossed.
The railway line enters a tunnel close to this point.
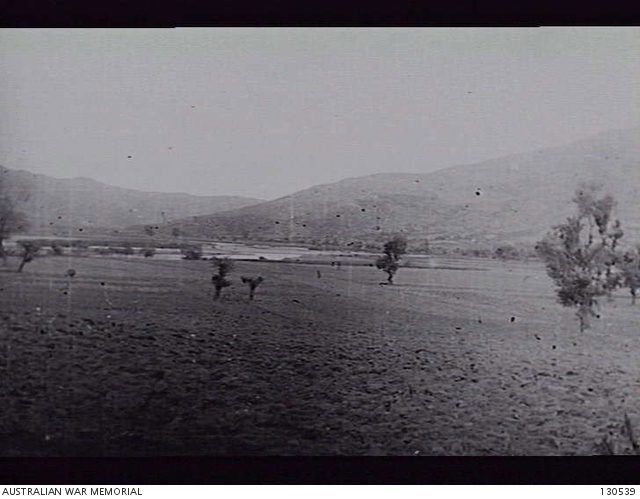
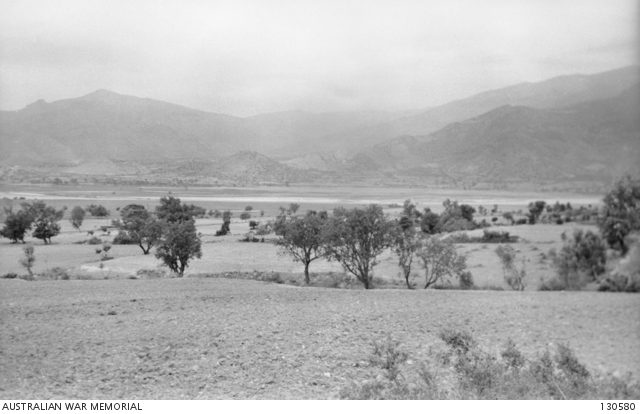
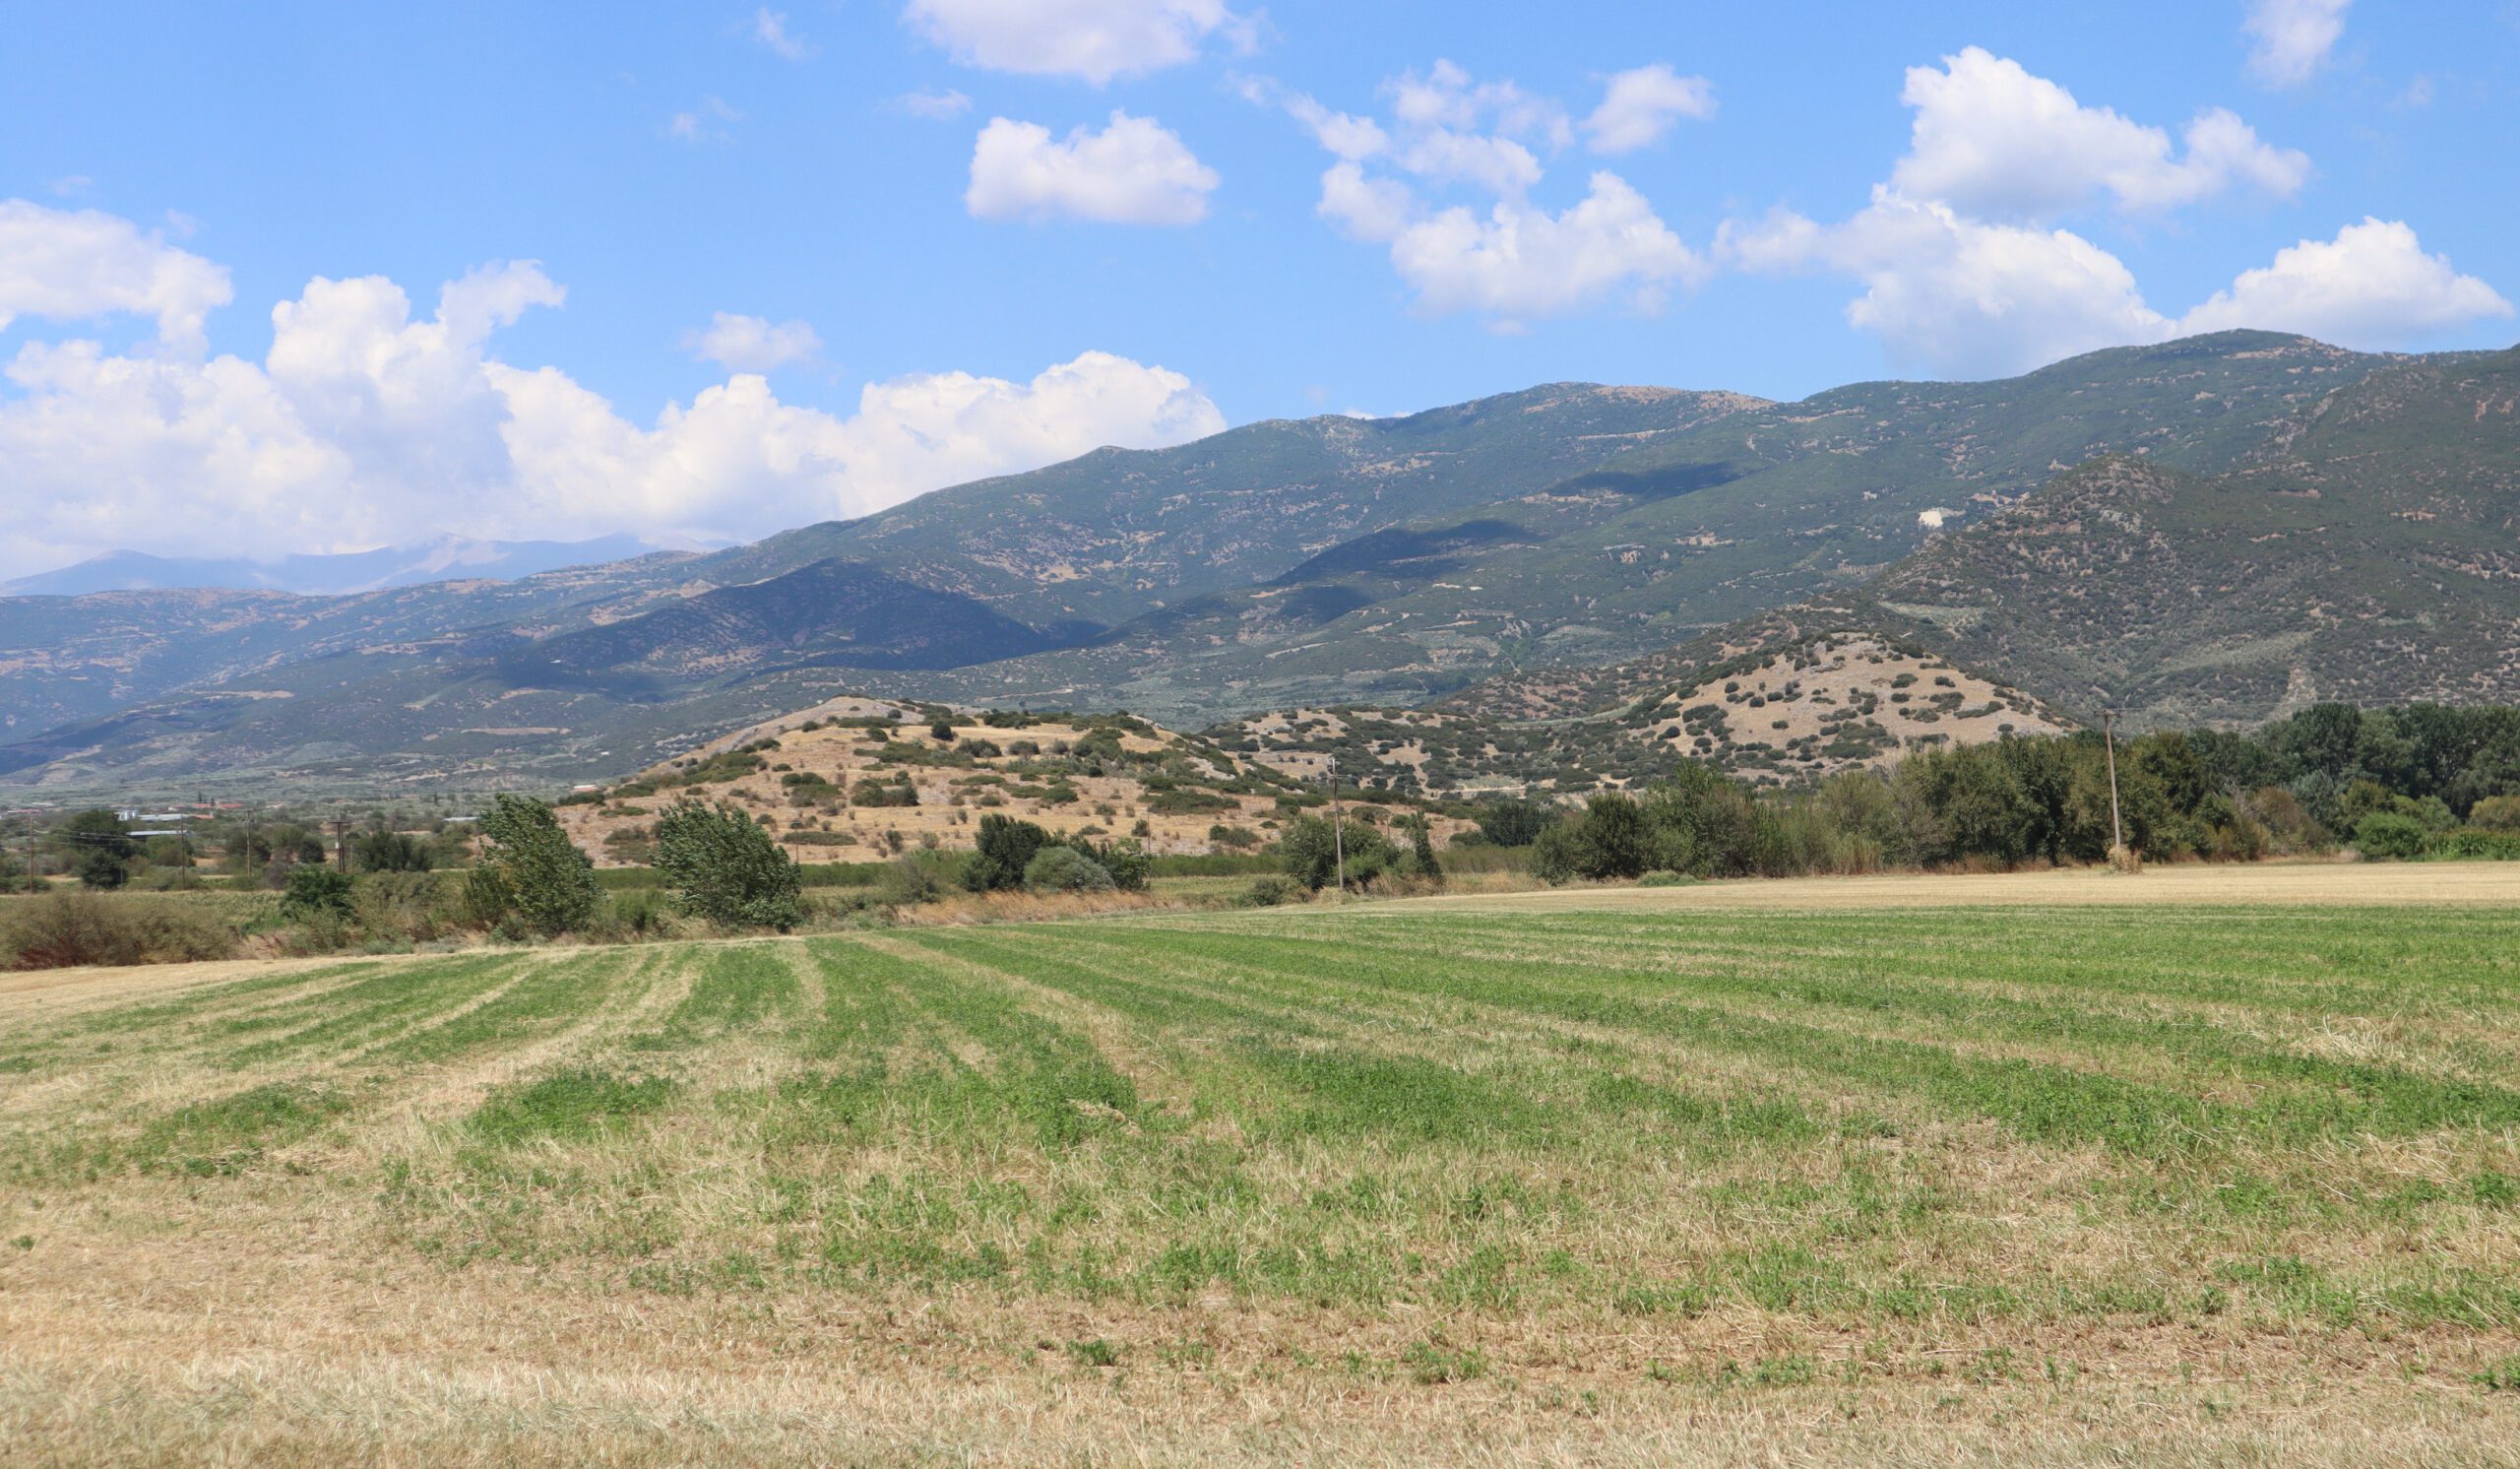
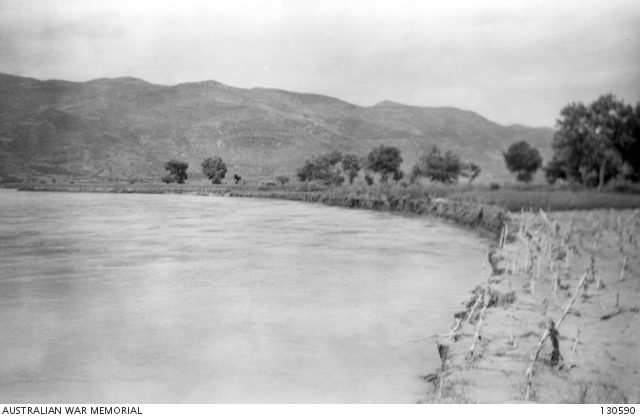
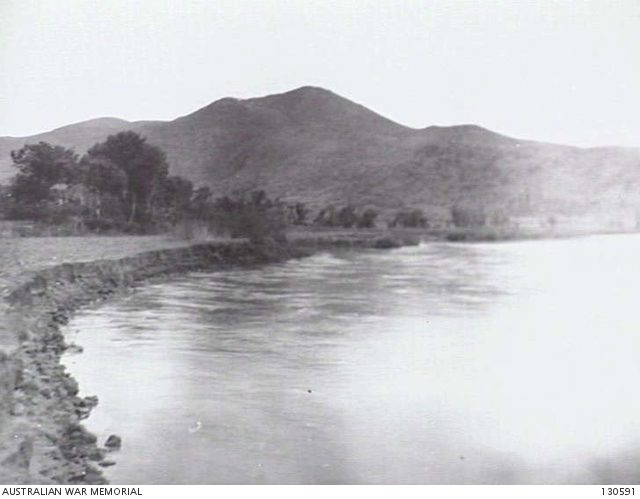
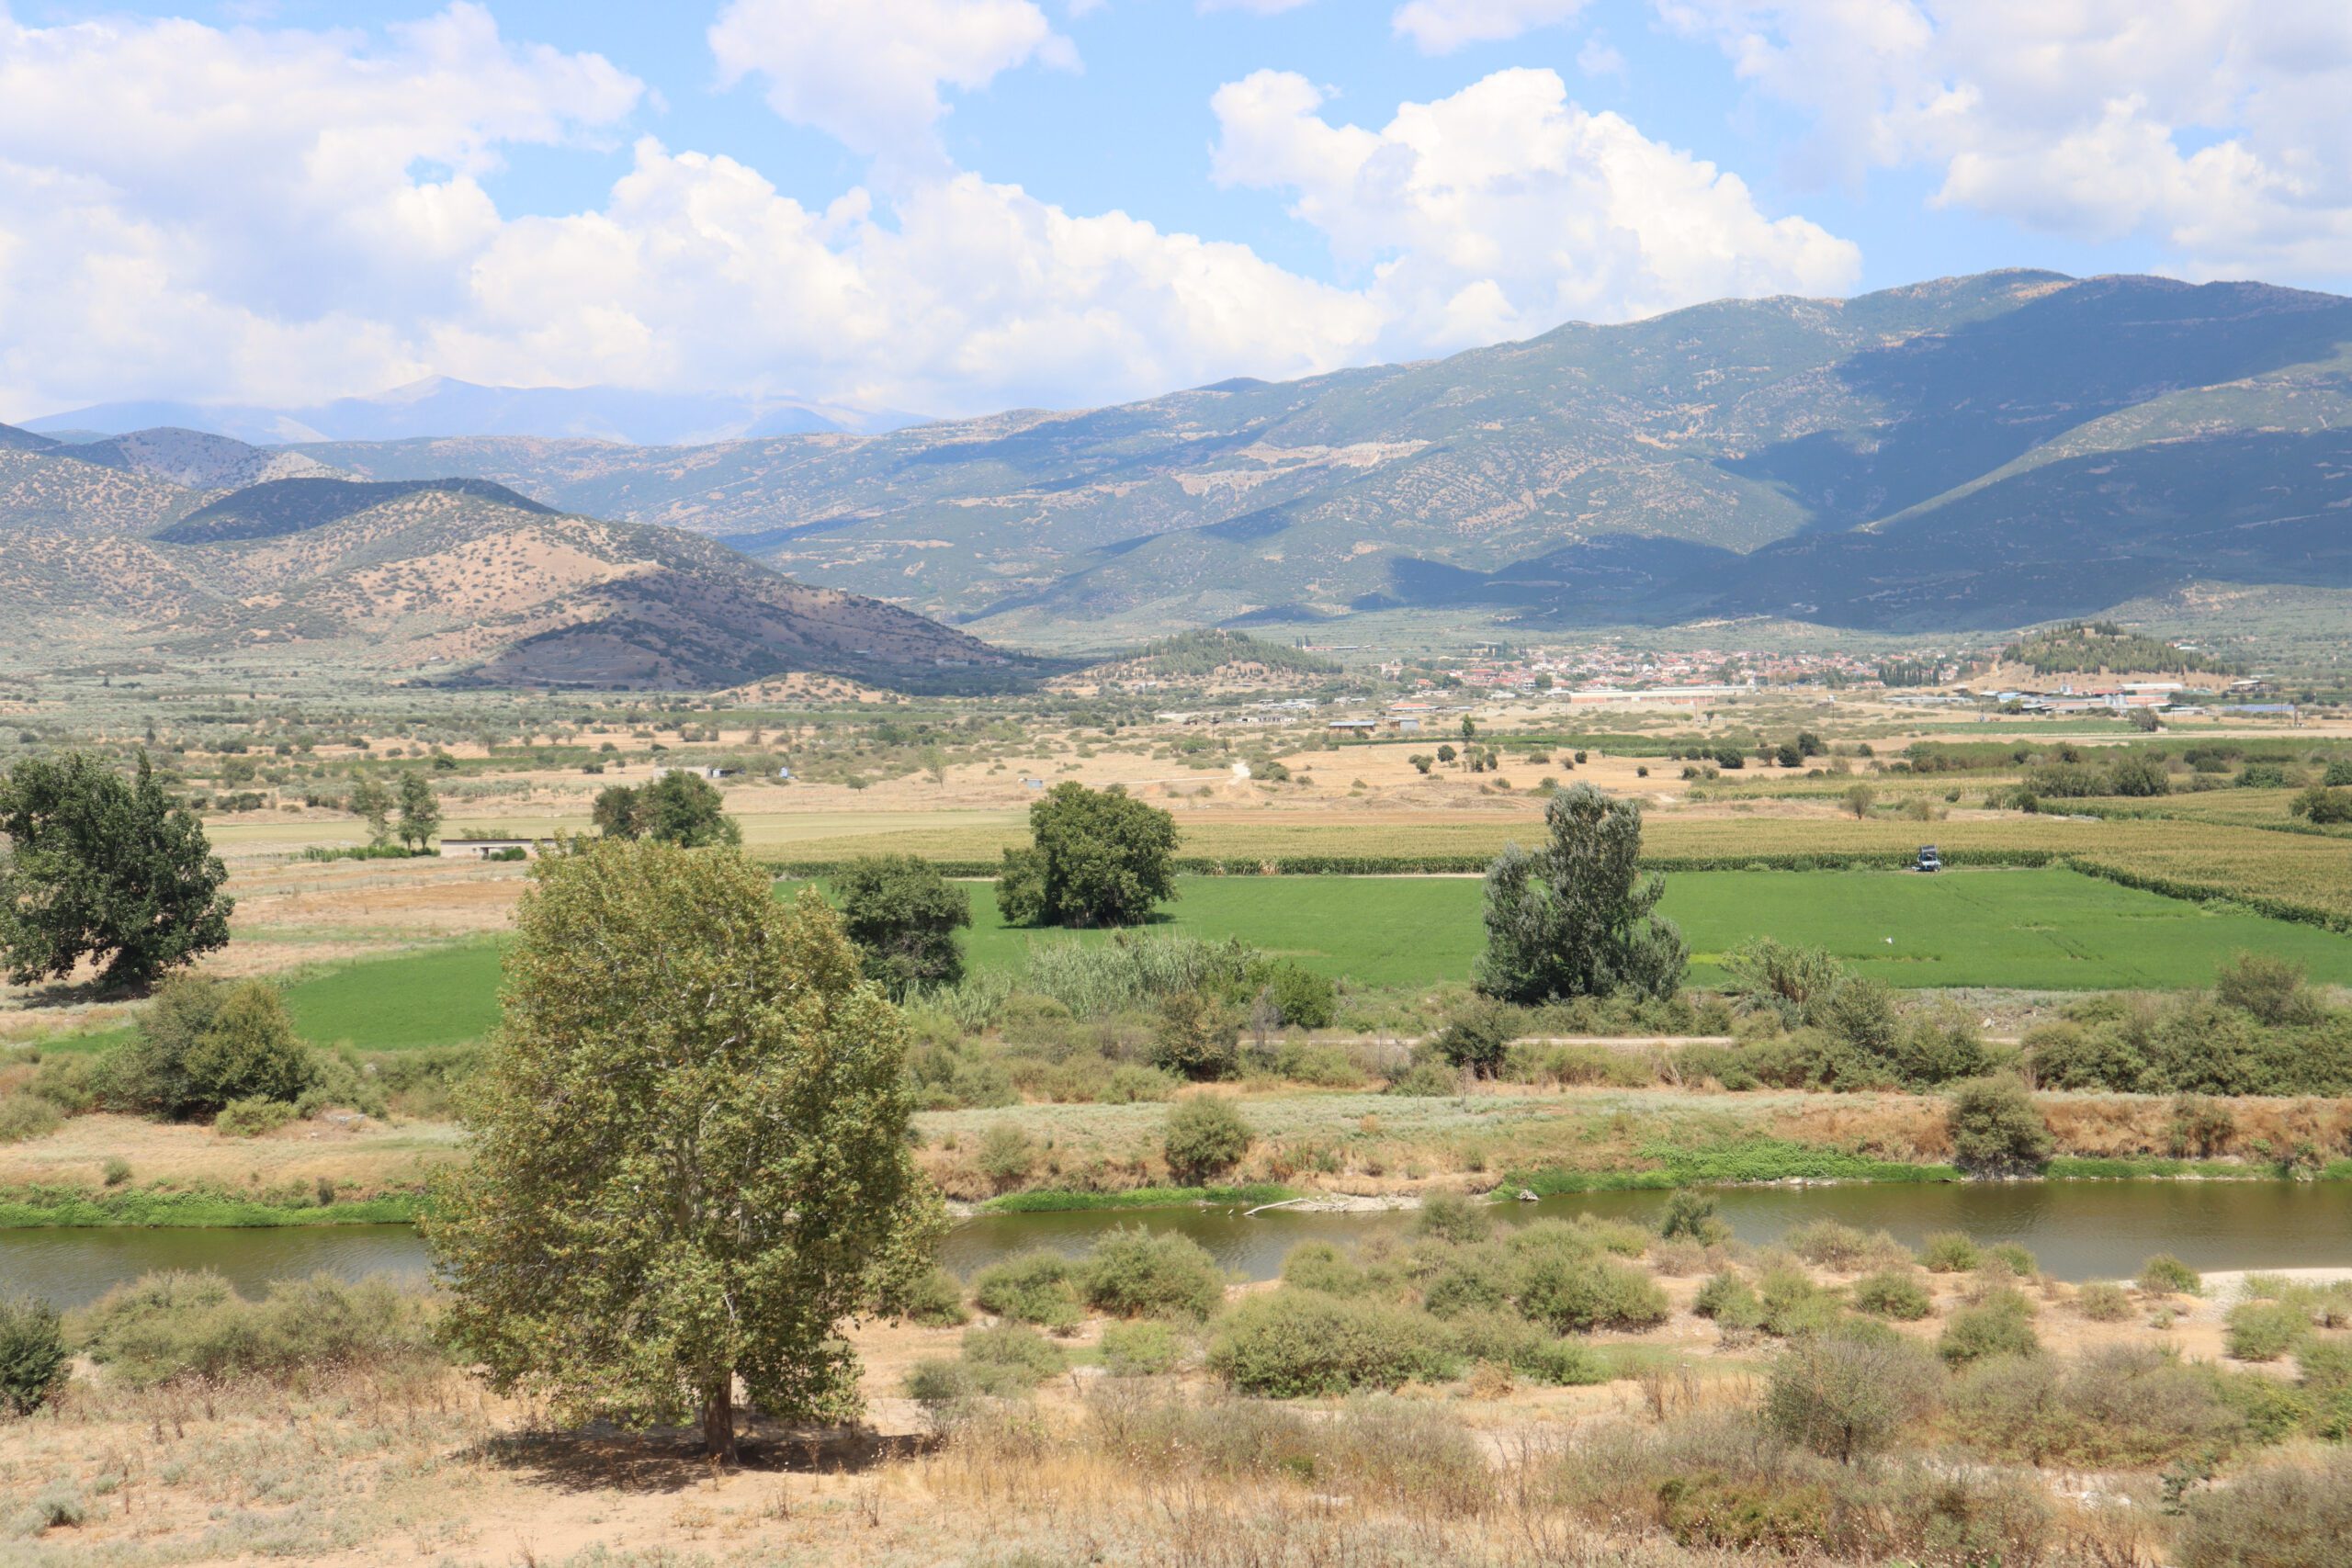
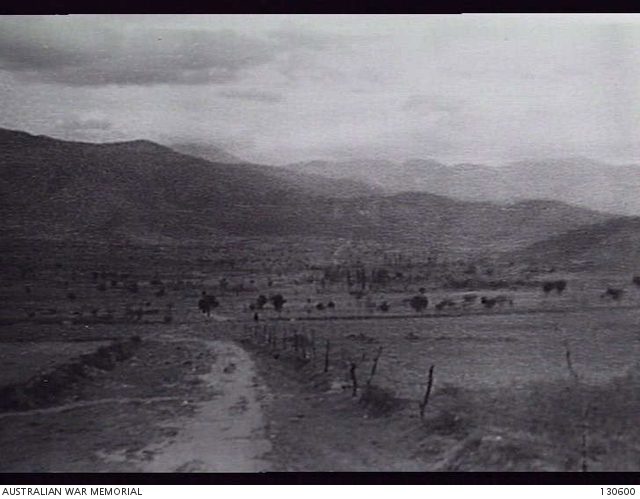
From here drive along the southern side of the Pineios river gorge to the Shrine of Saint Paraskevi. This is about half way along the narrow, steep sided section of the gorge. This area was not contested by infantry during the battle, although German troops were shelled by Allied artillery as they moved along it.
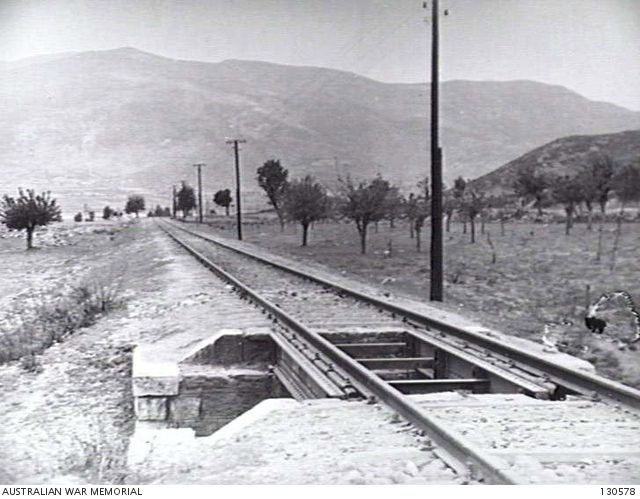
Shrine of Saint Paraskevi
Directions – Shrine of Saint Paraskevi
Park in the carpark on the south side of the road, then walk through the tunnel under the road to the pedestrian bridge over the river. The Shrine of Saint Paraskevi is a popular tourist destination and there may be quite a few other people here.
This is the site of the tunnel demolition, where the New Zealanders blocked the railway tunnel to slow the German advance. The Allies ranged their artillery on the obstruction so they could fire on any German troops who attempted to clear it. However, there were no Allied soldiers with a clear line of site to the tunnel demolition, so they were unable to correct the fall of shot, or see when German troops were in the open and vulnerable to artillery fire.
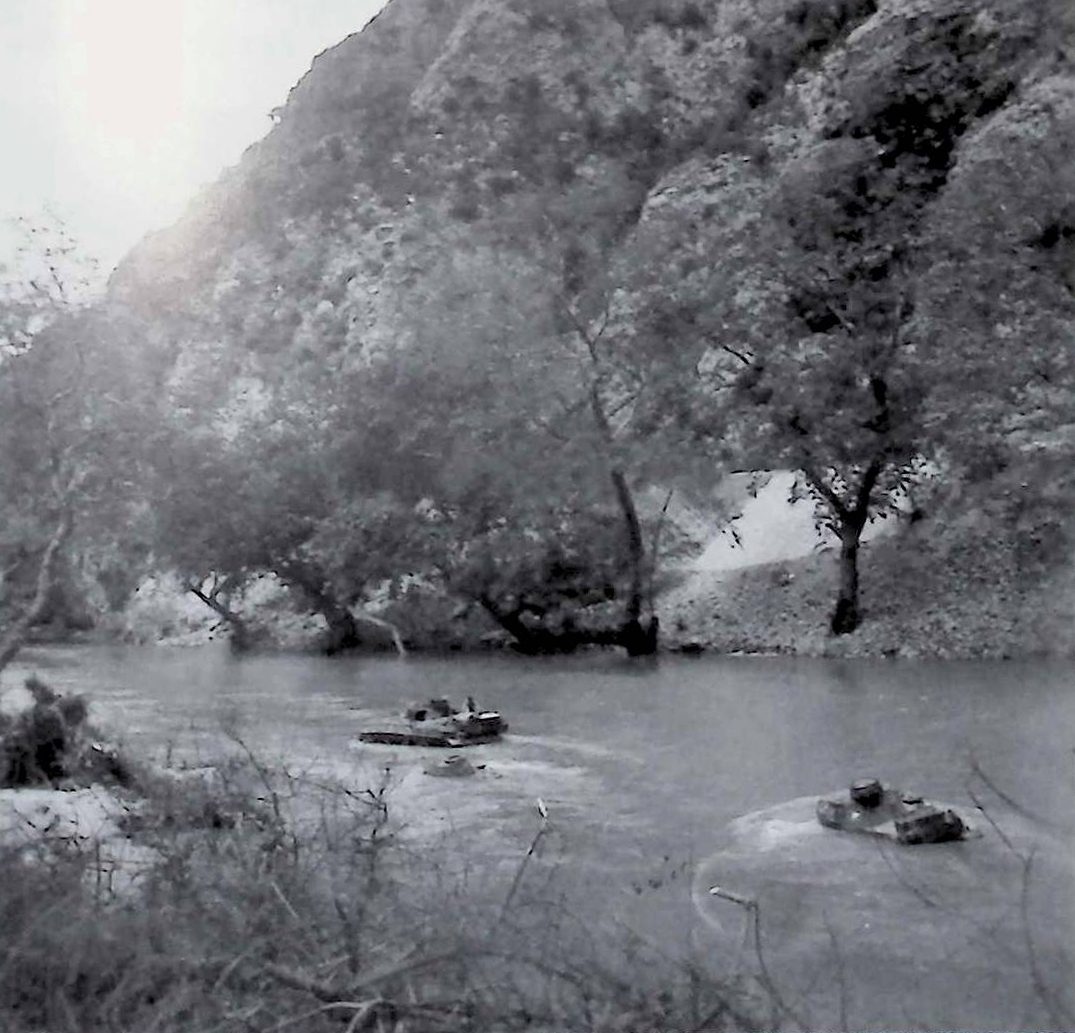
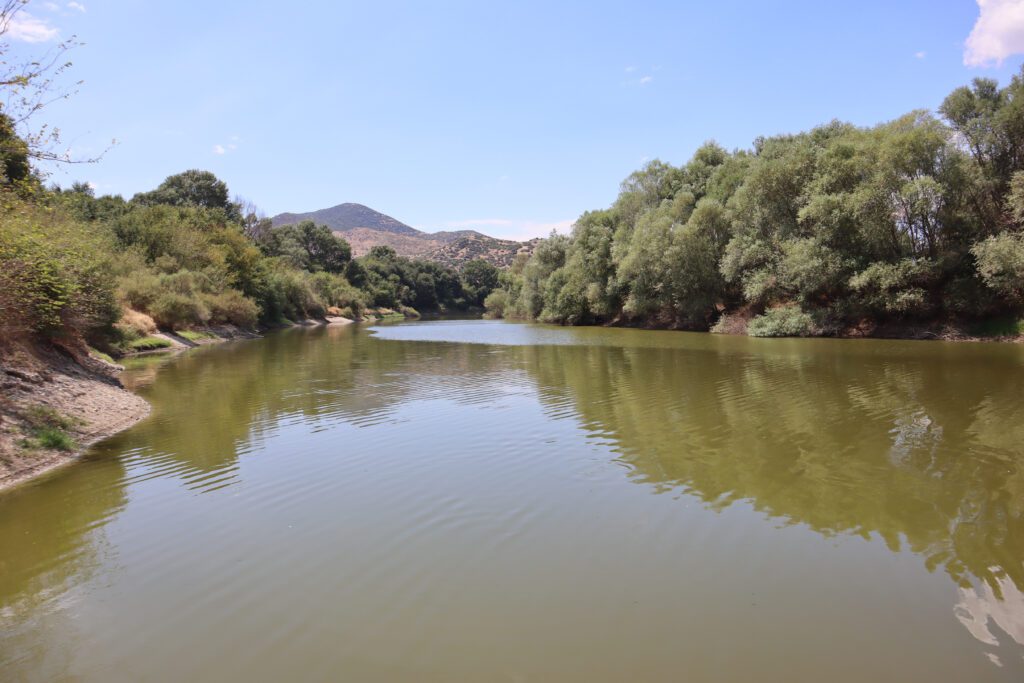
There are a series of paths that allow you to walk along the Northern side of the river. This is the area where some of the German tanks of the 1st Battalion, 3rd Armoured Regiment, 2nd Panzer Division crossed the Pineios river. Some of the tanks swam along the river, some sank, most managed to cross.
As you cross the pedestrian bridge to return to the carpark look up at the steep southern side of the gorge ahead of you. As you look along this to the right, to the West, you will see where the New Zealanders of B Company, 21st Battalion took up defensive positions. These three platoons were spread over a fairly large area, 10 Platoon closer to the road, 11 Platoon high on the slopes behind them and 12 Platoon further West towards Tempi. Now is an excellent time to re-examine the map of the battle.

From here drive to the Archaeological Site of Tempe, which is further West on the southern side of the gorge as is begins to open, just prior to the village of Tempi. As you drive, the area to your left on the steep southern side of the gorge saw fighting between withdrawing B Company, 21st Battalion New Zealand troops and the advancing Germans of 7 Company, 304th Infantry Regiment, supported by tanks of 1st Battalion, 3rd Armoured Regiment, part of the 2nd Panzer Division.
Archaeological Site of Tempe
Directions – Archaeological Site of Tempe
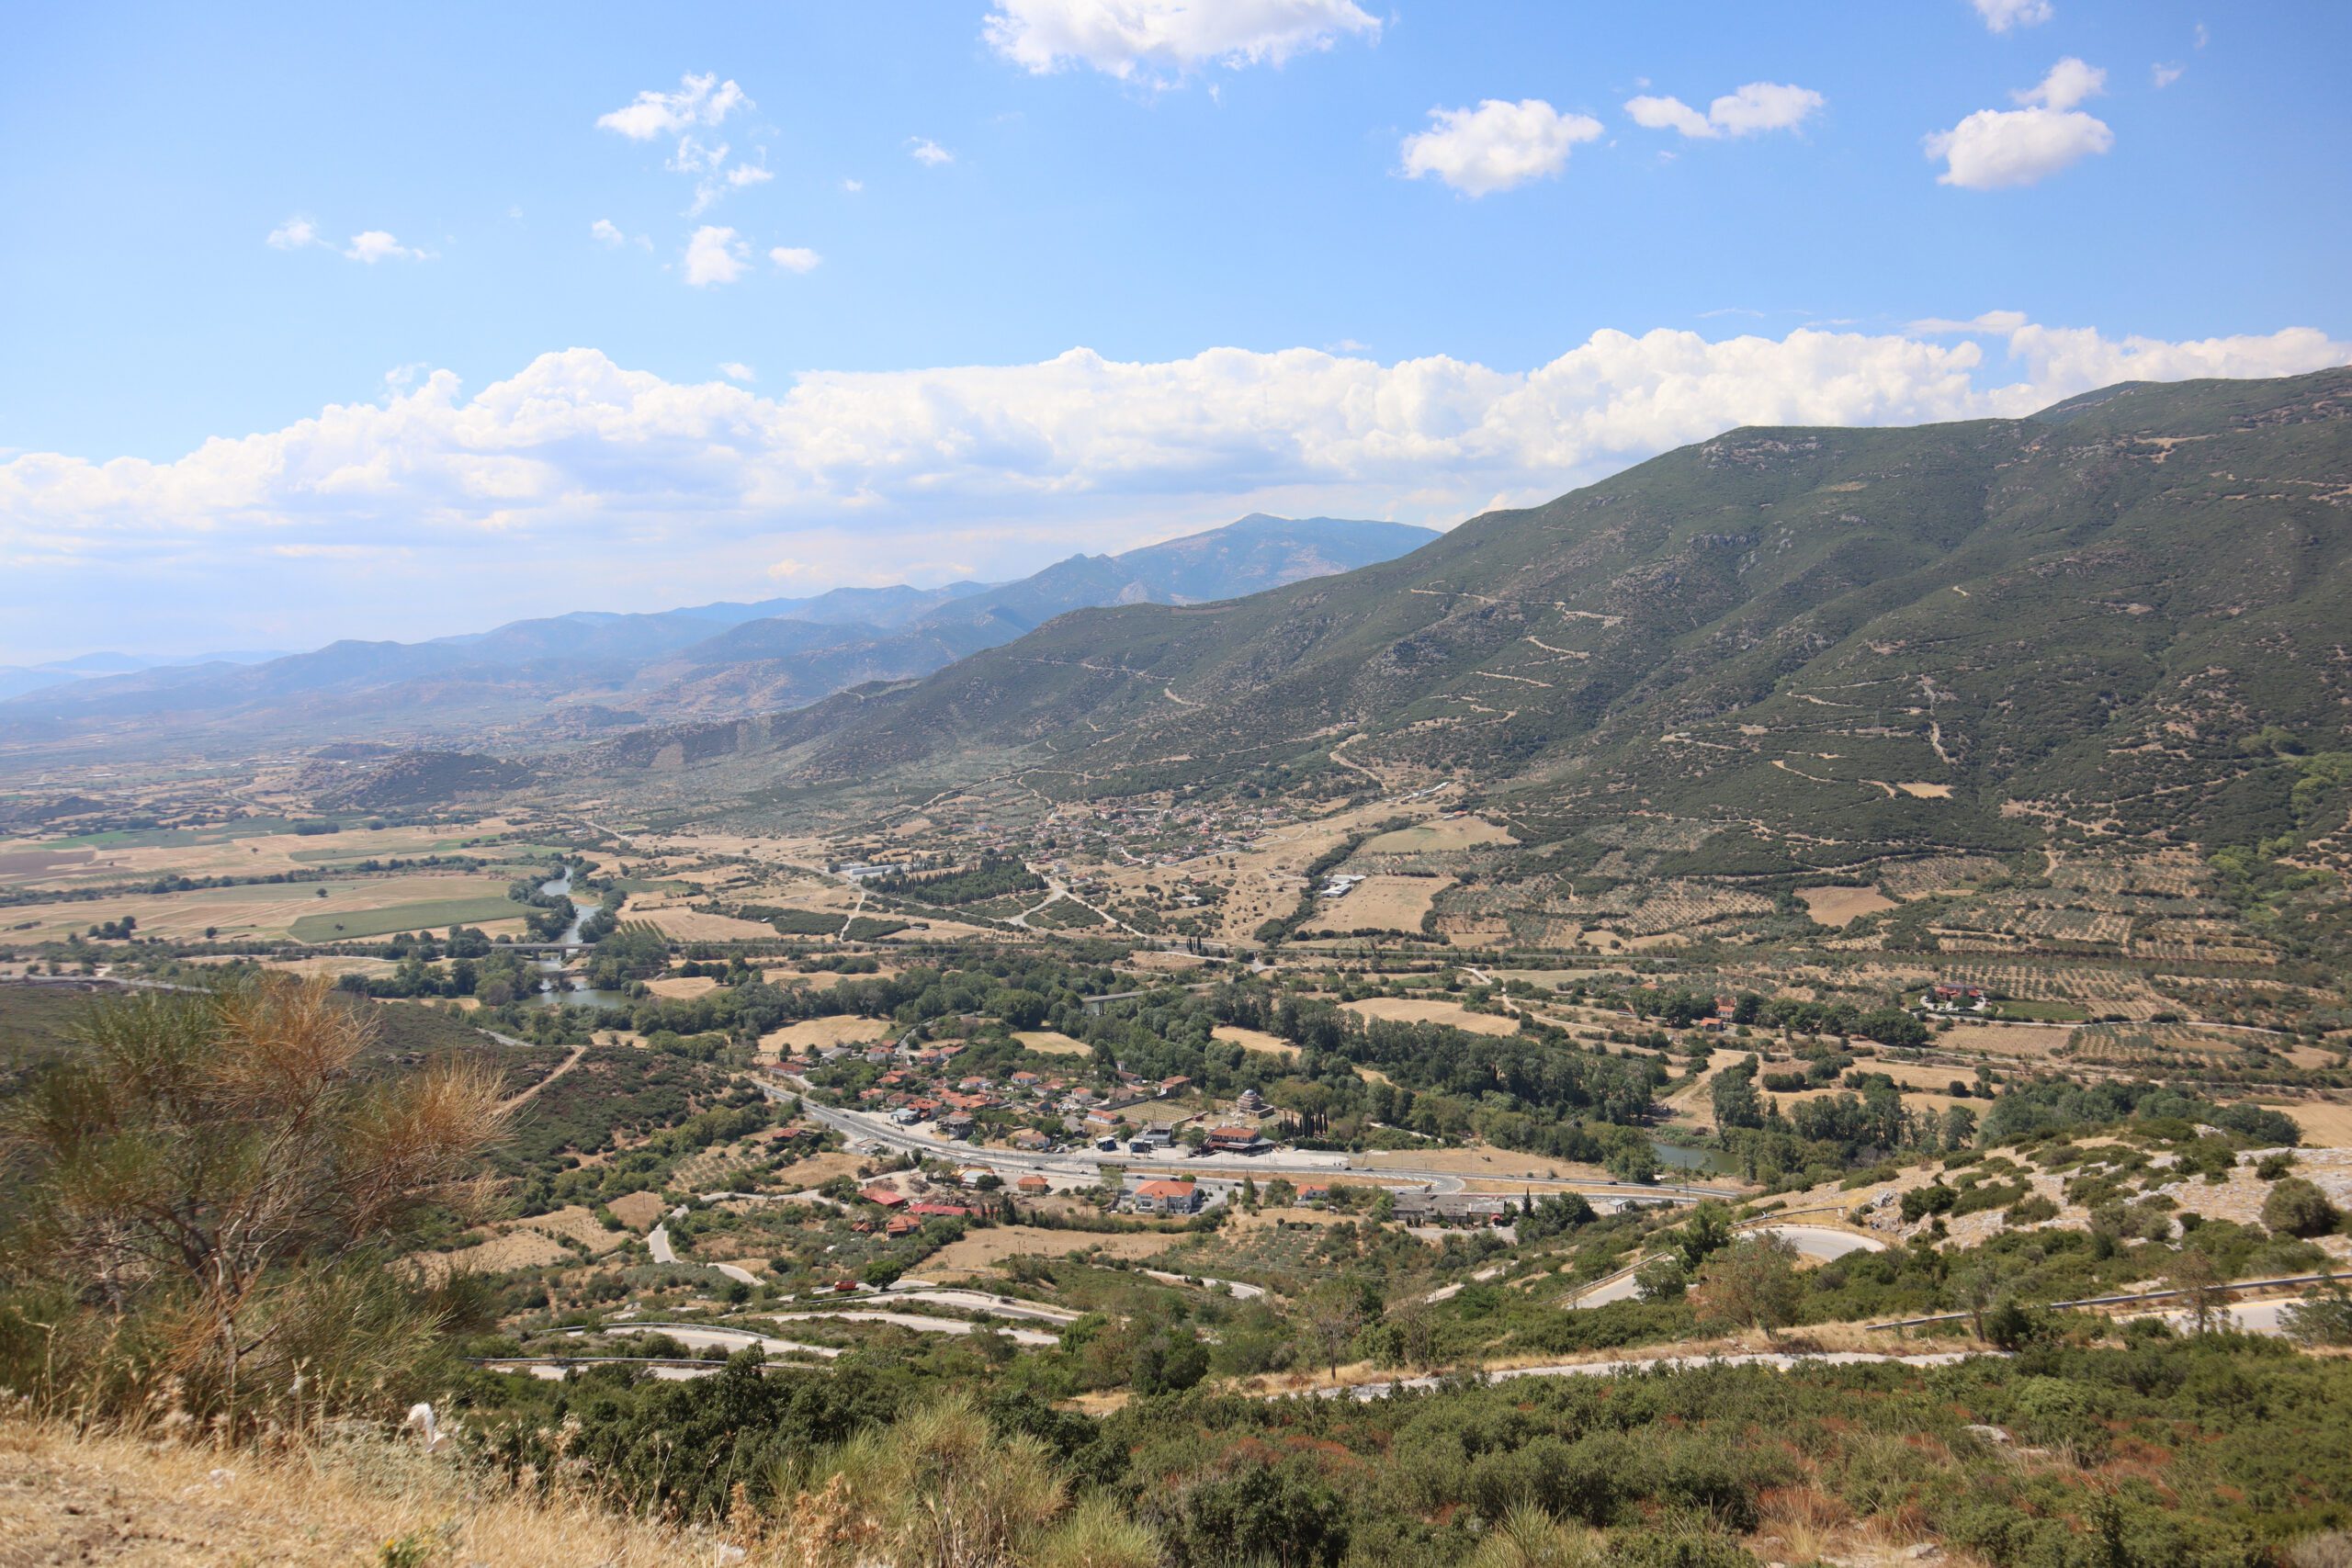
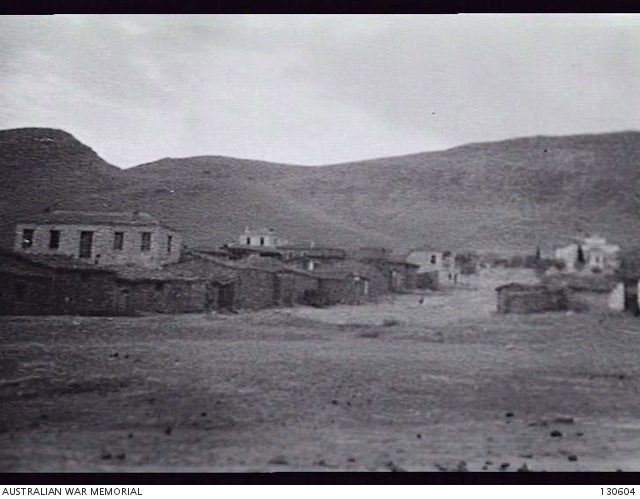
This is where the gorge begins to widen into some river flats, C Company, 21st New Zealand Battalion were defending this area. As you look to the south east you see the hills surrounding the village of Ambelakia, where D Company, 21st New Zealand Battalion had their positions, high above the valley. The archaeological site itself is also worth a look, it is from a very much earlier era!
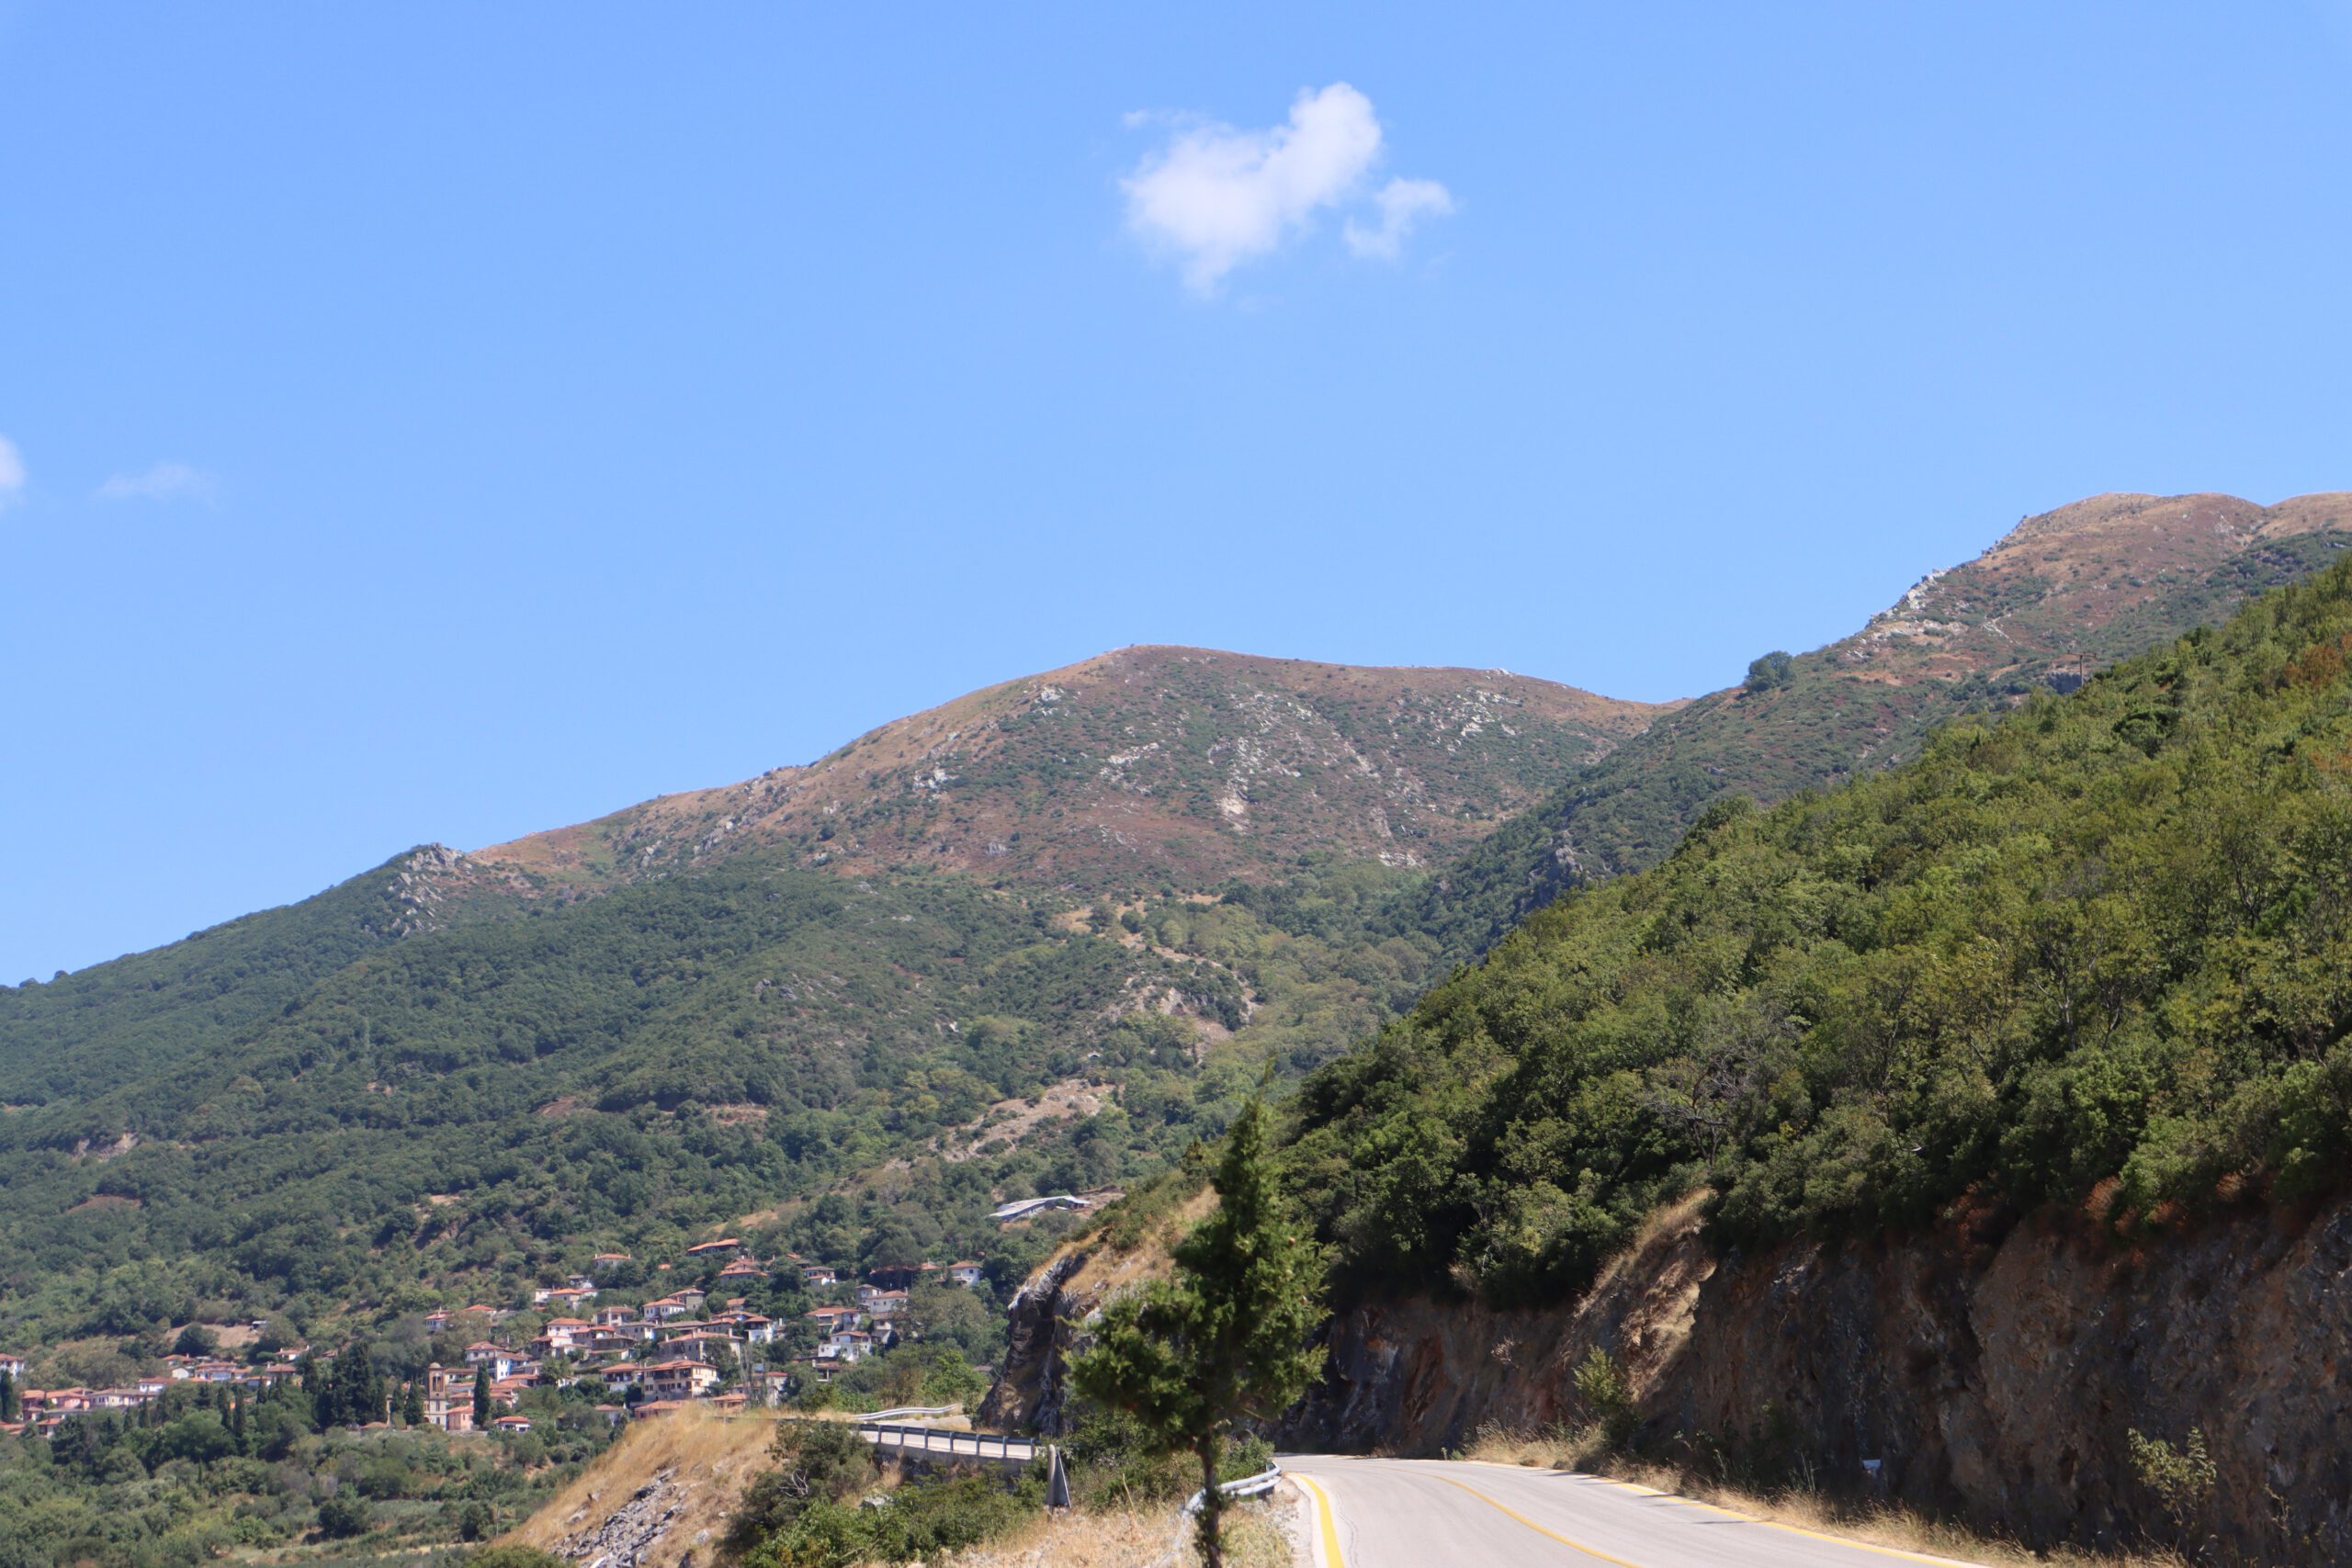
Now drive on towards Tempi, then turn left up into the hills towards the village of Ambelakia. The road becomes very narrow as it winds its way up the hillsides. As you drive up there are several lookouts where you can get an appreciation of the whole area. You can see the valley unfolding below you.
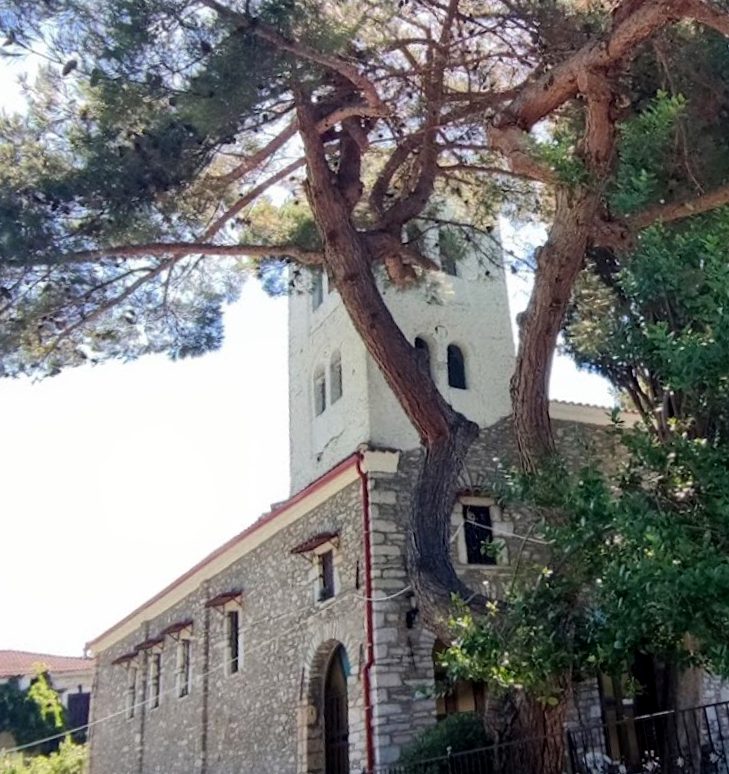
Village of Ambelakia
Directions – Village of Ambelakia
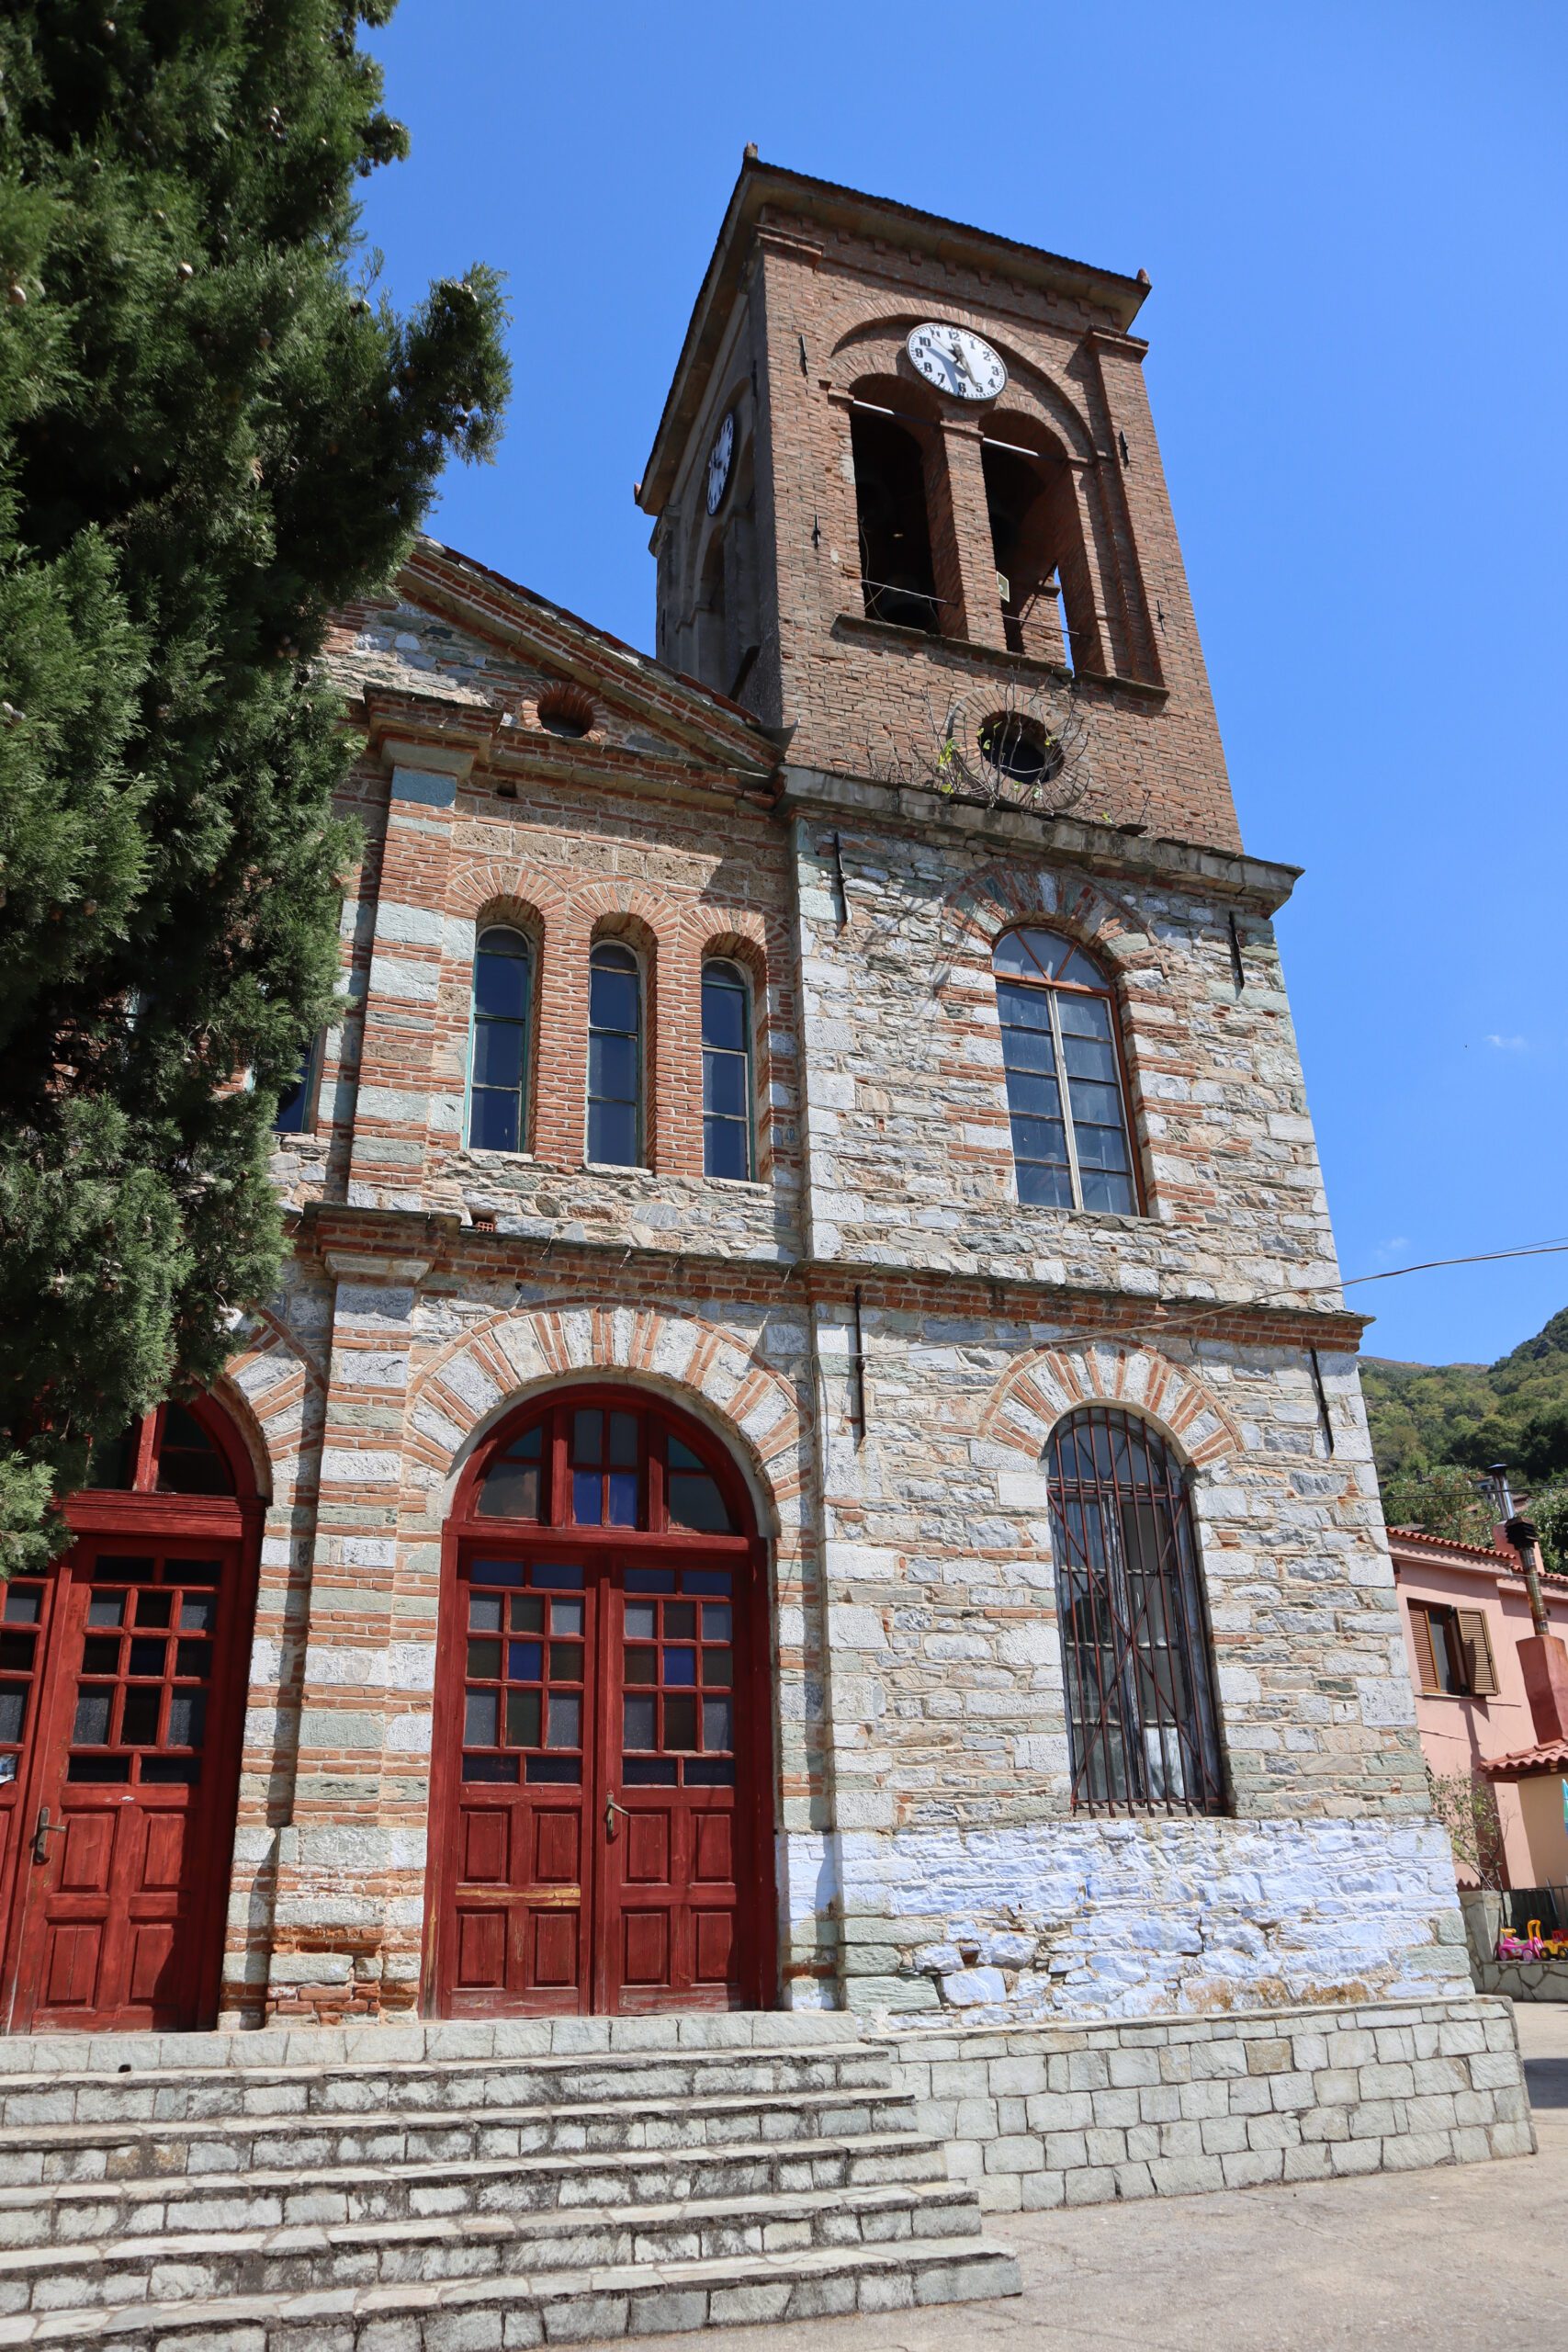
Park in the main street, the smaller streets struggle to fit cars. This is where D Company, 21st New Zealand Battalion were positioned. There are more great views from here, as well as a lovely historic church.

Drive back down the switchbacks towards Tempi. On the right of the road is where C Company, 21st New Zealand Battalion clashed with German troops from 304th Infantry Regiment, who forced them back. On the left of the road was the HQ, 21st New Zealand Battalion. Continue down to Tempi.
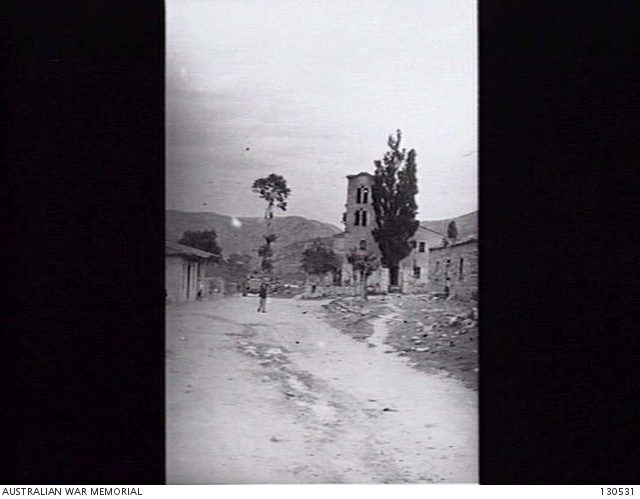
Tempi
Parking near the bridge across the river puts you in a good position to walk to the key locations. The village of Tempi was defended by C Company, 2/2nd Infantry Battalion, supported by some anti-tank guns. The historic church looks similar today to 1941, albeit with larger trees! You can find it by walking a short distance into the village, parallel to the river.
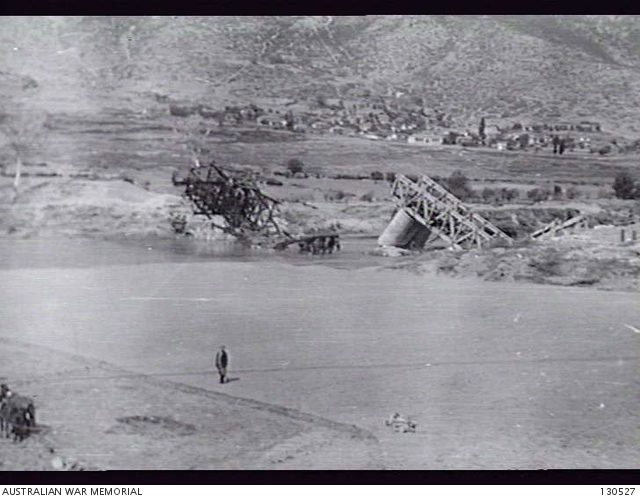
A short walk brings you back to the bridge over the Pinios river. There is a footpath that allows you to safely walk across the bridge, which affords you views in both directions along the river. On the eastern side you can see the pilings of the old bridge. This was demolished before the battle, to slow the German advance
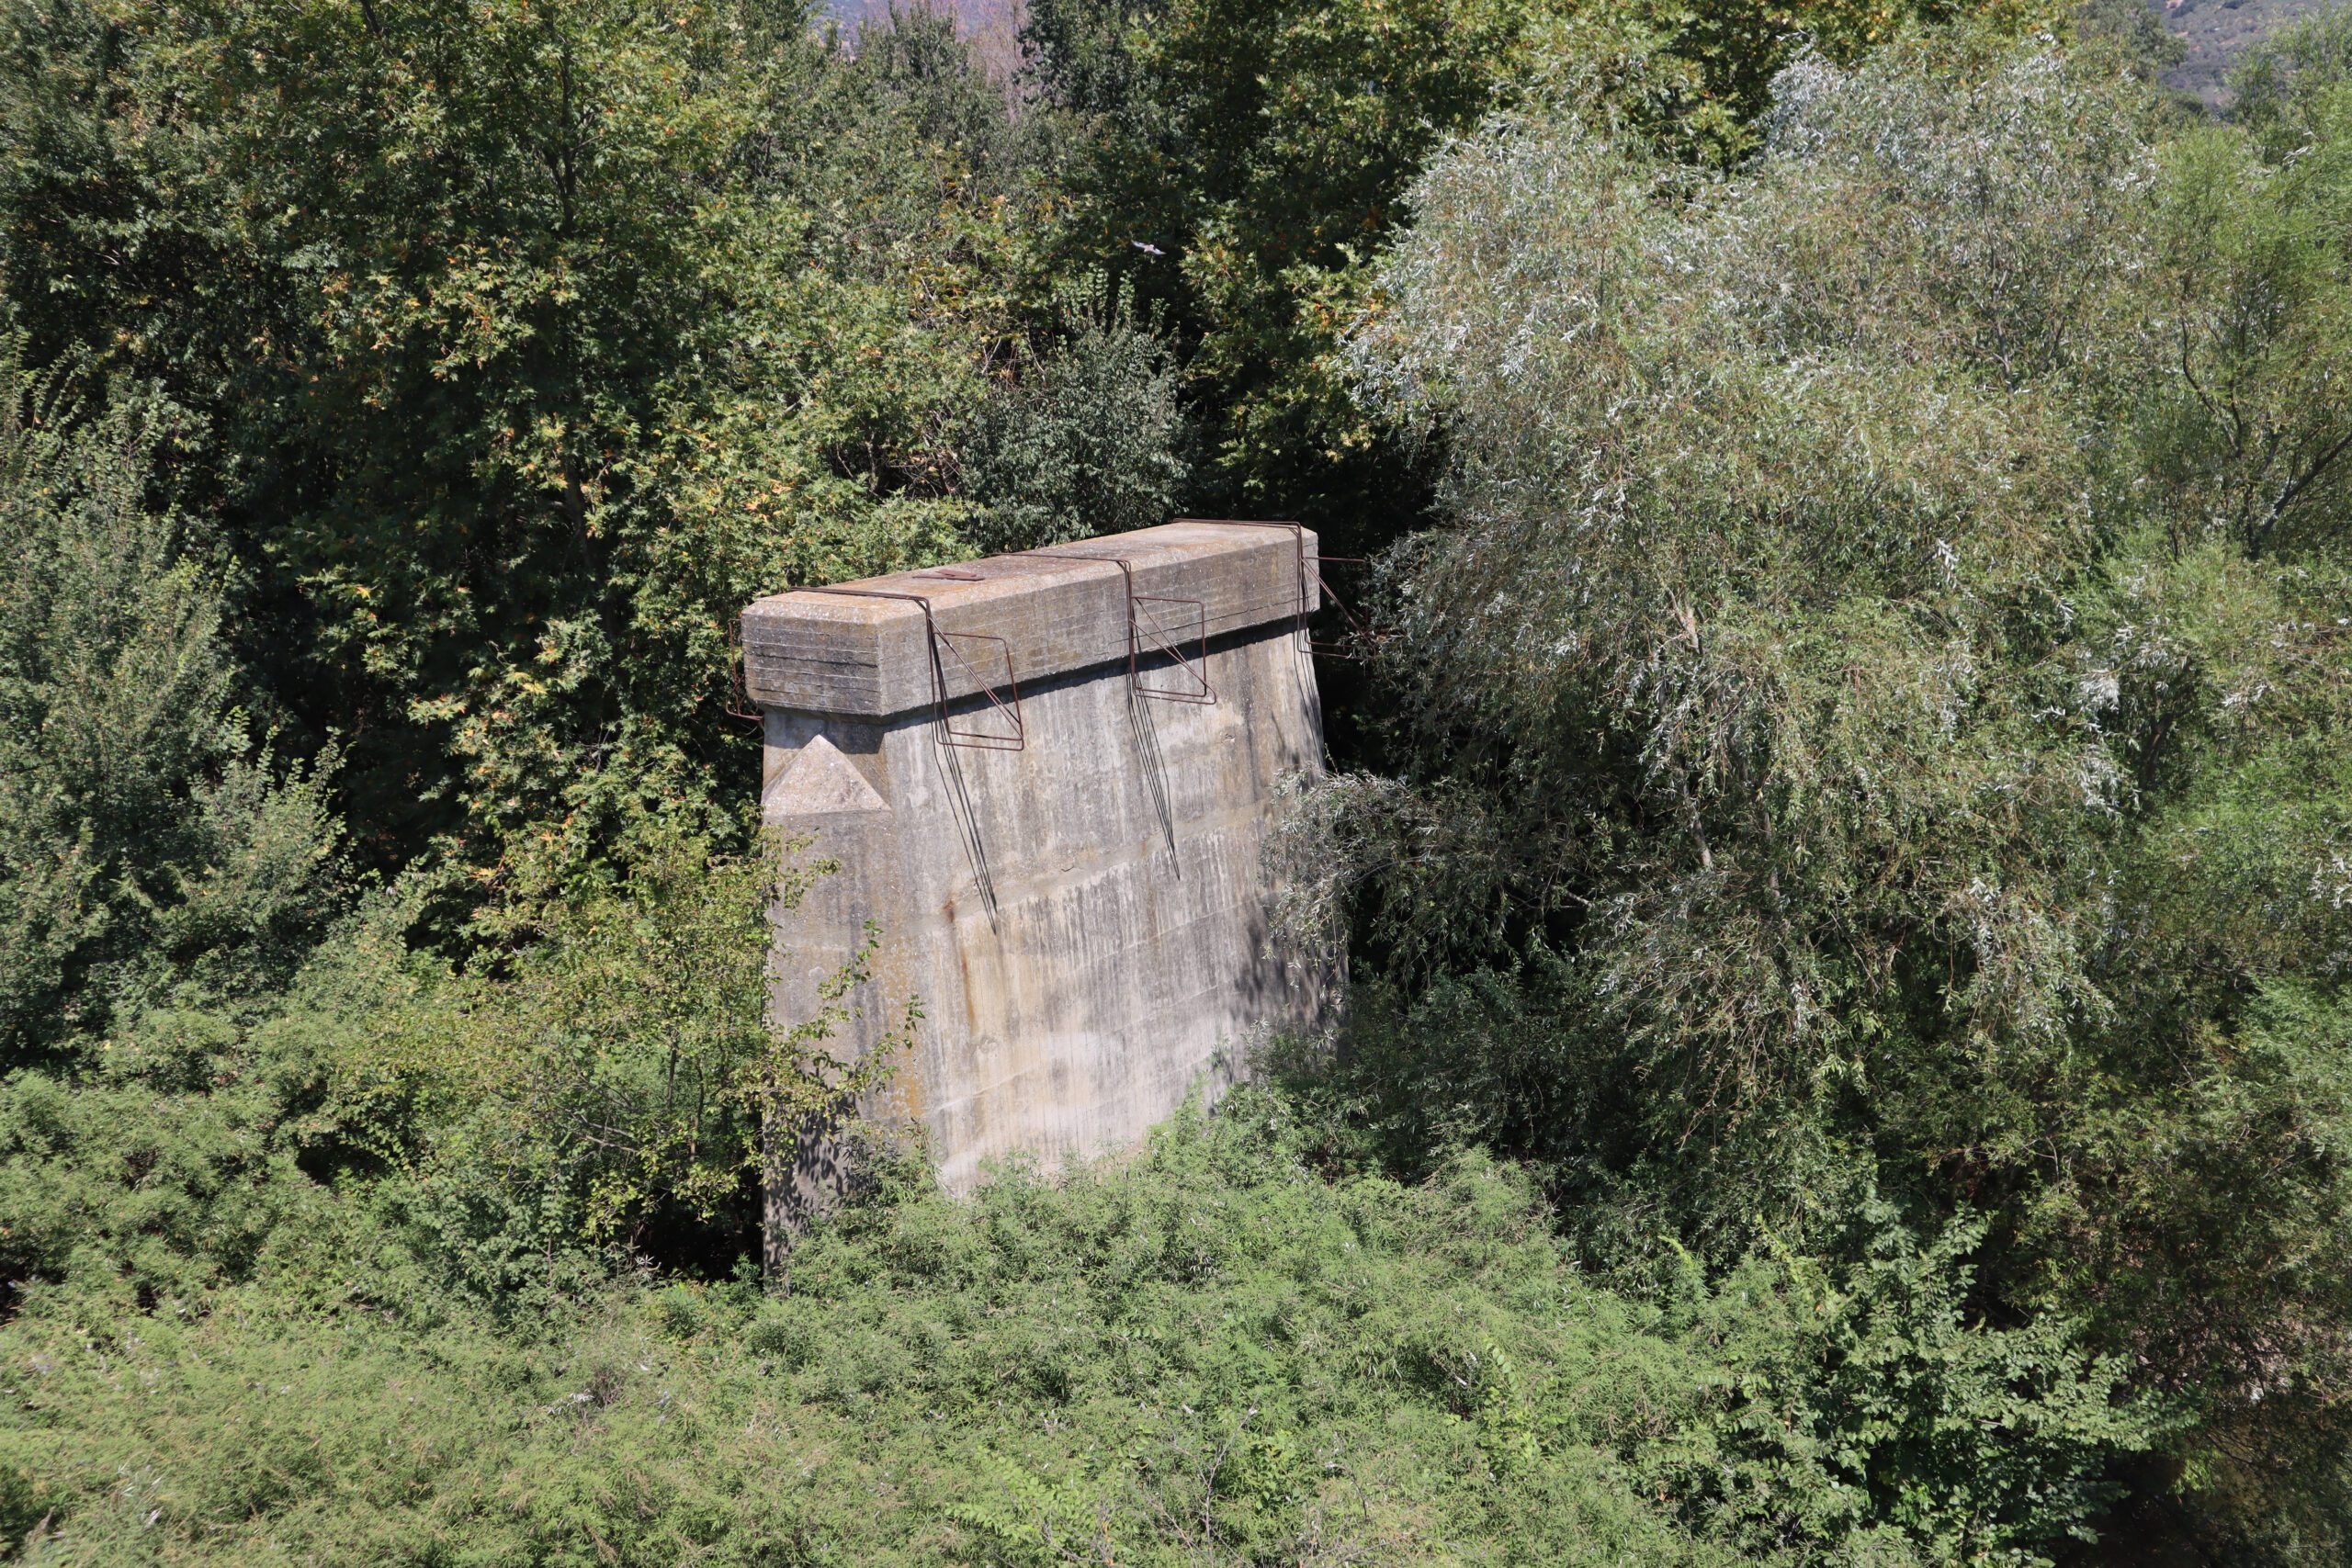

From the northern end of the bridge you can see the railway line, leading into the railway bridge. This was also demolished prior to the battle. From here, drive to the low level bridge, on the river flats further south-west.
Low Level Bridge
This is were German troops from the 1st Battalion, 143rd Infantry Regiment successfully crossed the river at around 5pm on the 18th April, 1941. They were opposed by Australian soldiers from A Company, 2/2nd Battalion. B Company 2/1st Battalion, and the Carrier platoons from the 2/5th and 2/11th Battalions.
Continue south along the track next to the river to the River flats where A Company 2/2nd Battalion were positioned.
A Company, 2/2nd Battalion Positions on the River Flats
Directions – A Company, 2/2nd Battalion Positions on the River Flats
This area saw fighting as the Germans launched a series of feint attacks, prior to their successful crossing just north of here in the early evening.
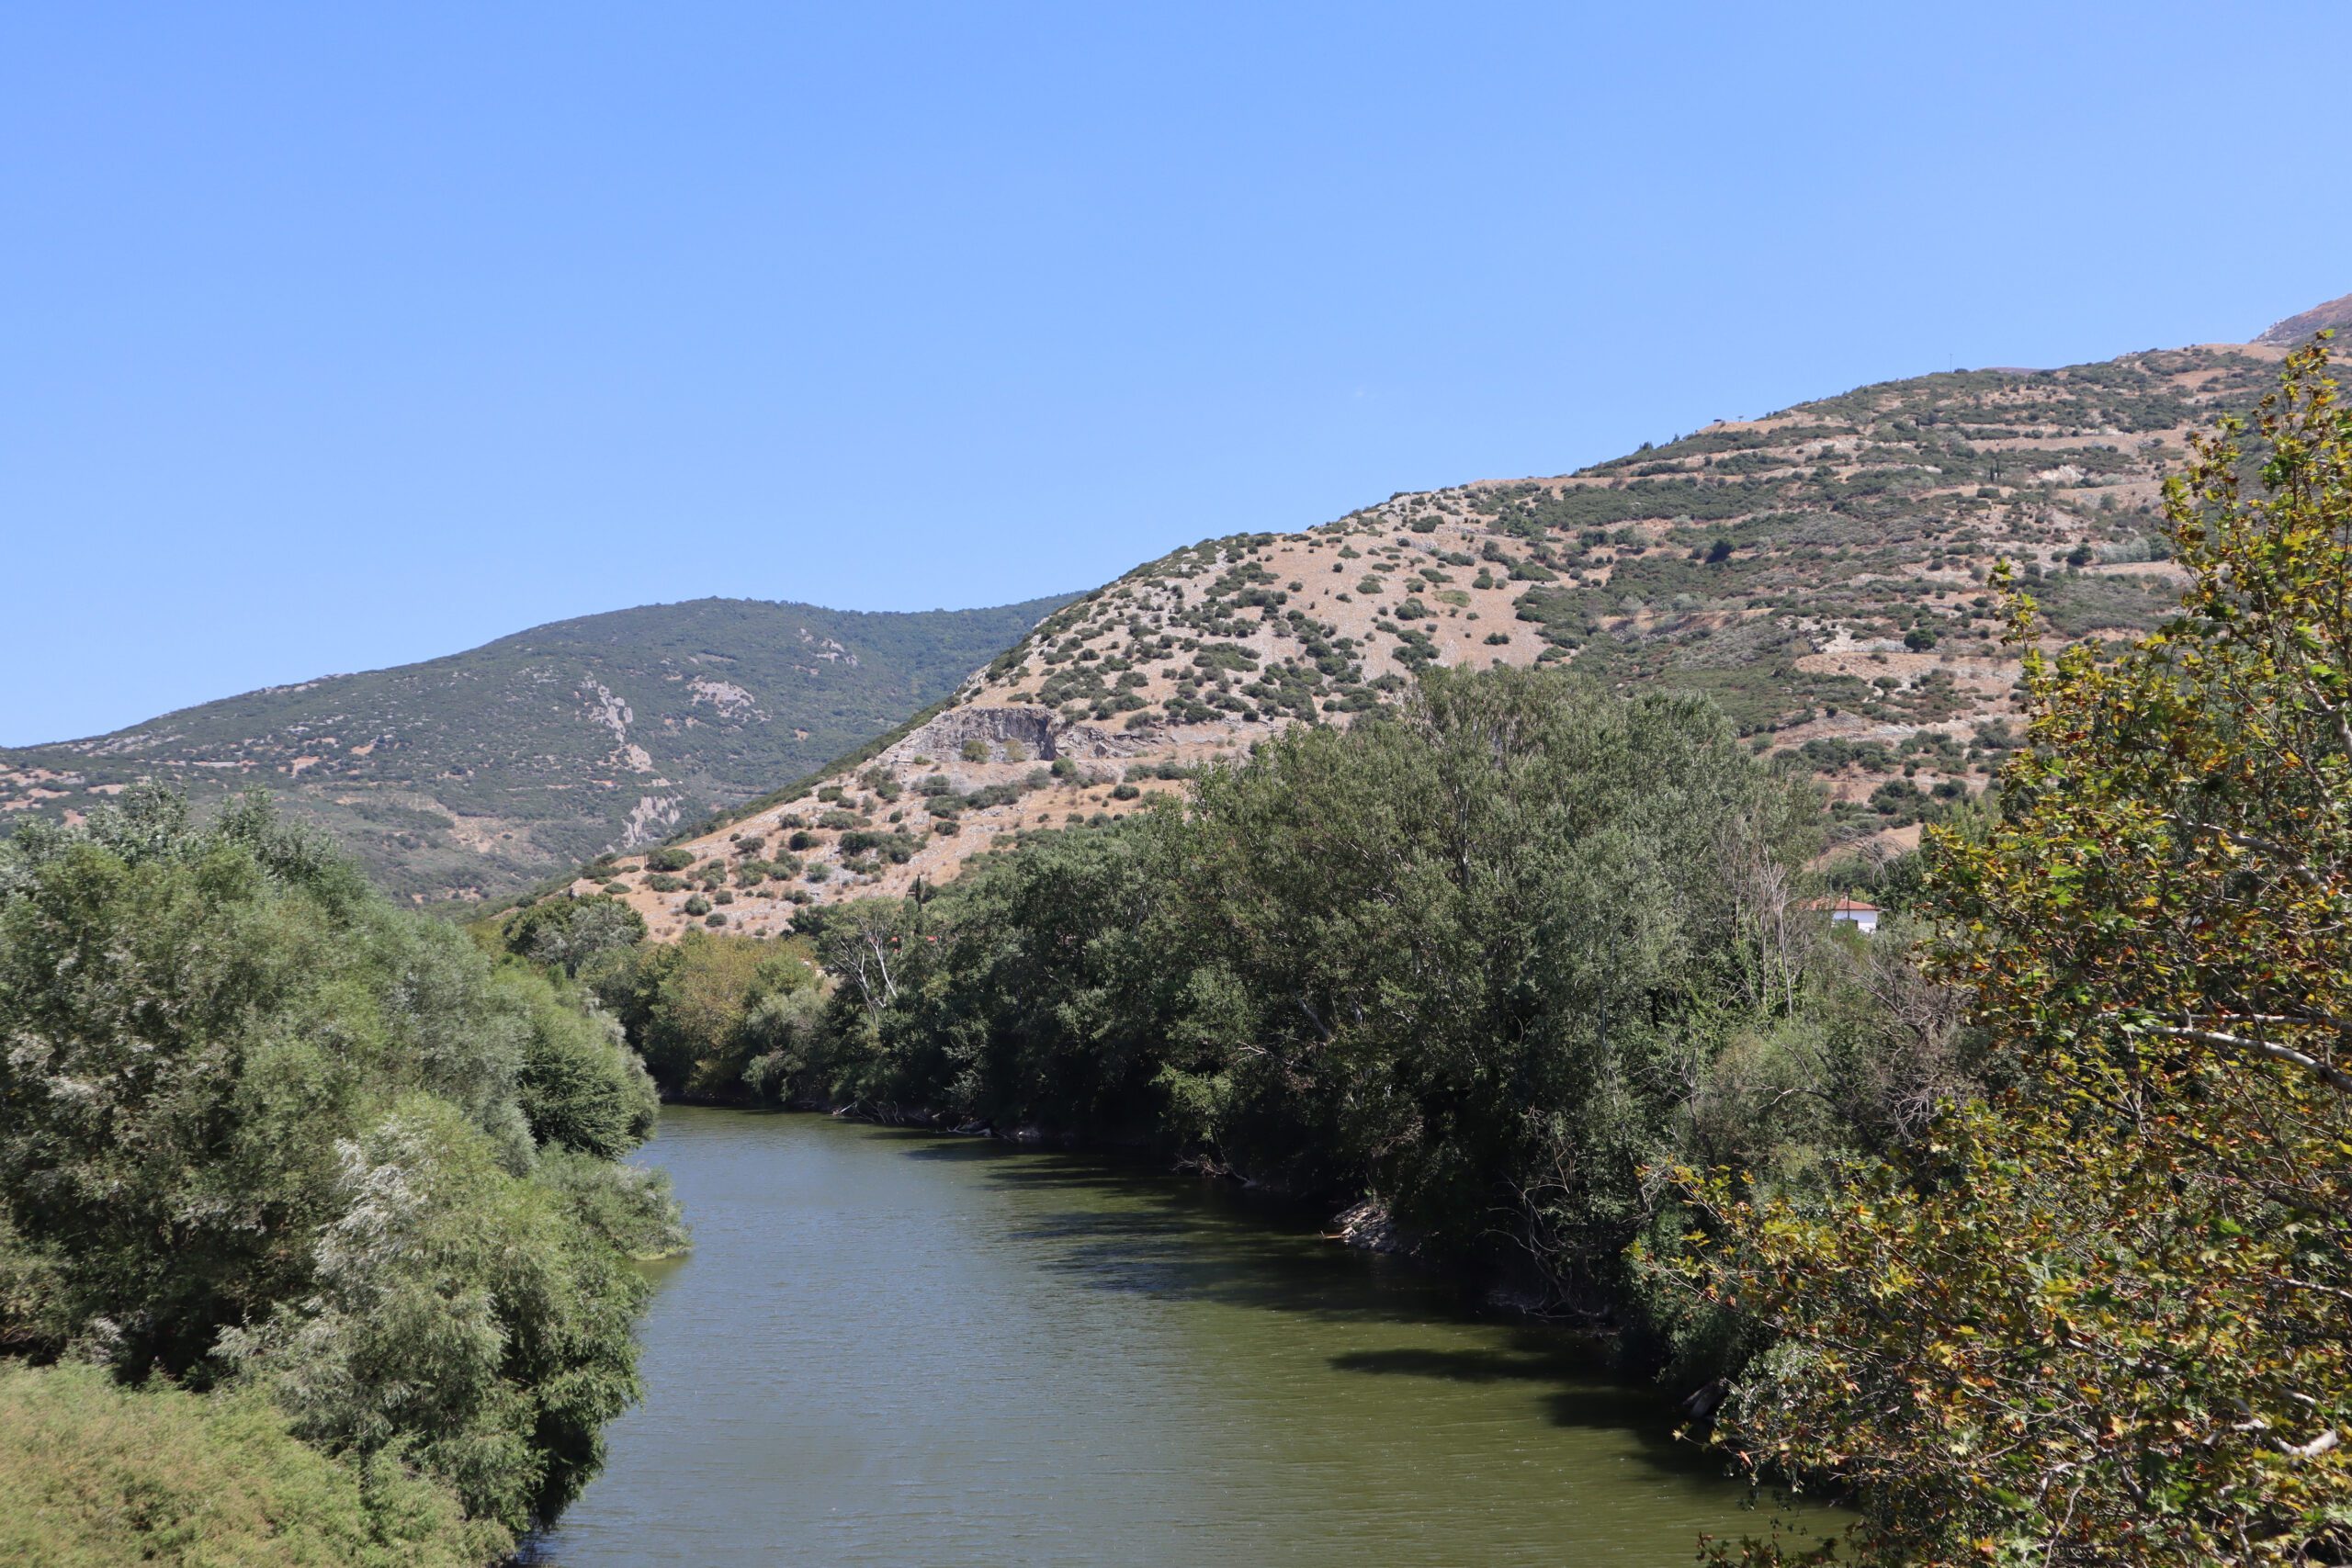
Continue south along the track next to the river to the river bend area.
River Bend, Carrier Platoon Positions
Directions – River Bend, Carrier Platoon Positions
This is where the Carrier Platoons of the 2/5th and 2/11th Battalions, and one platoon of the 2/2nd Battalion were defending. This was an area that would have benefited from more Australian troops defending it.
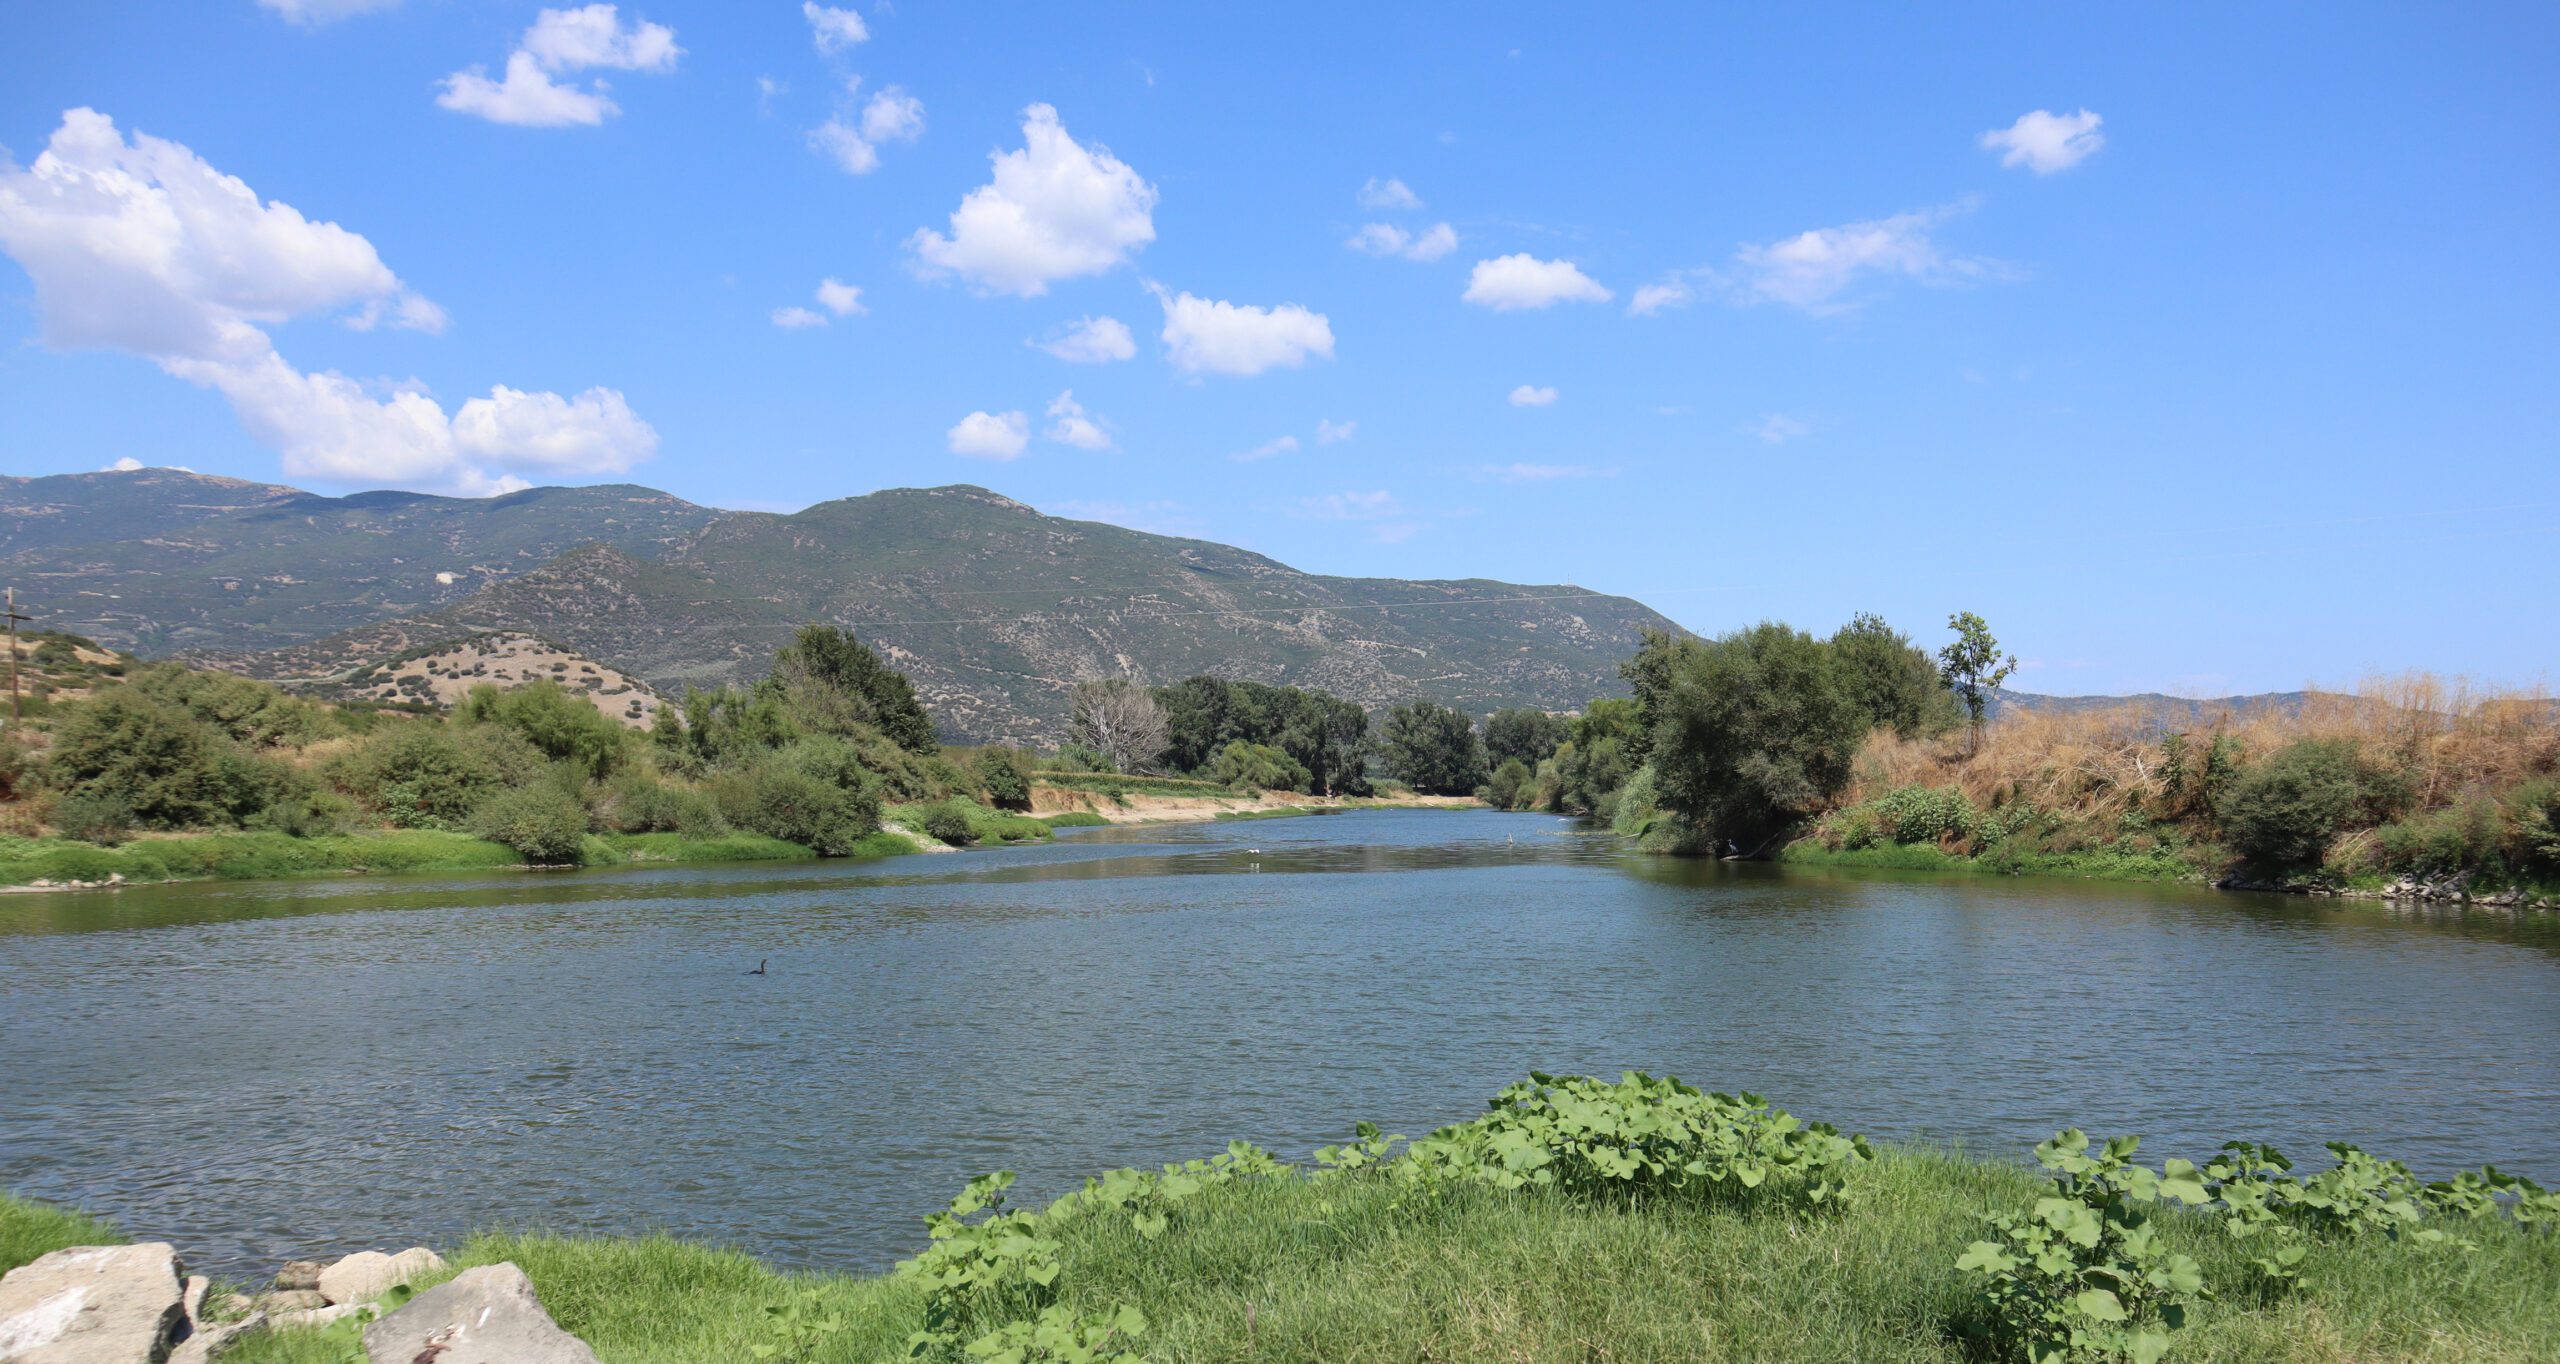
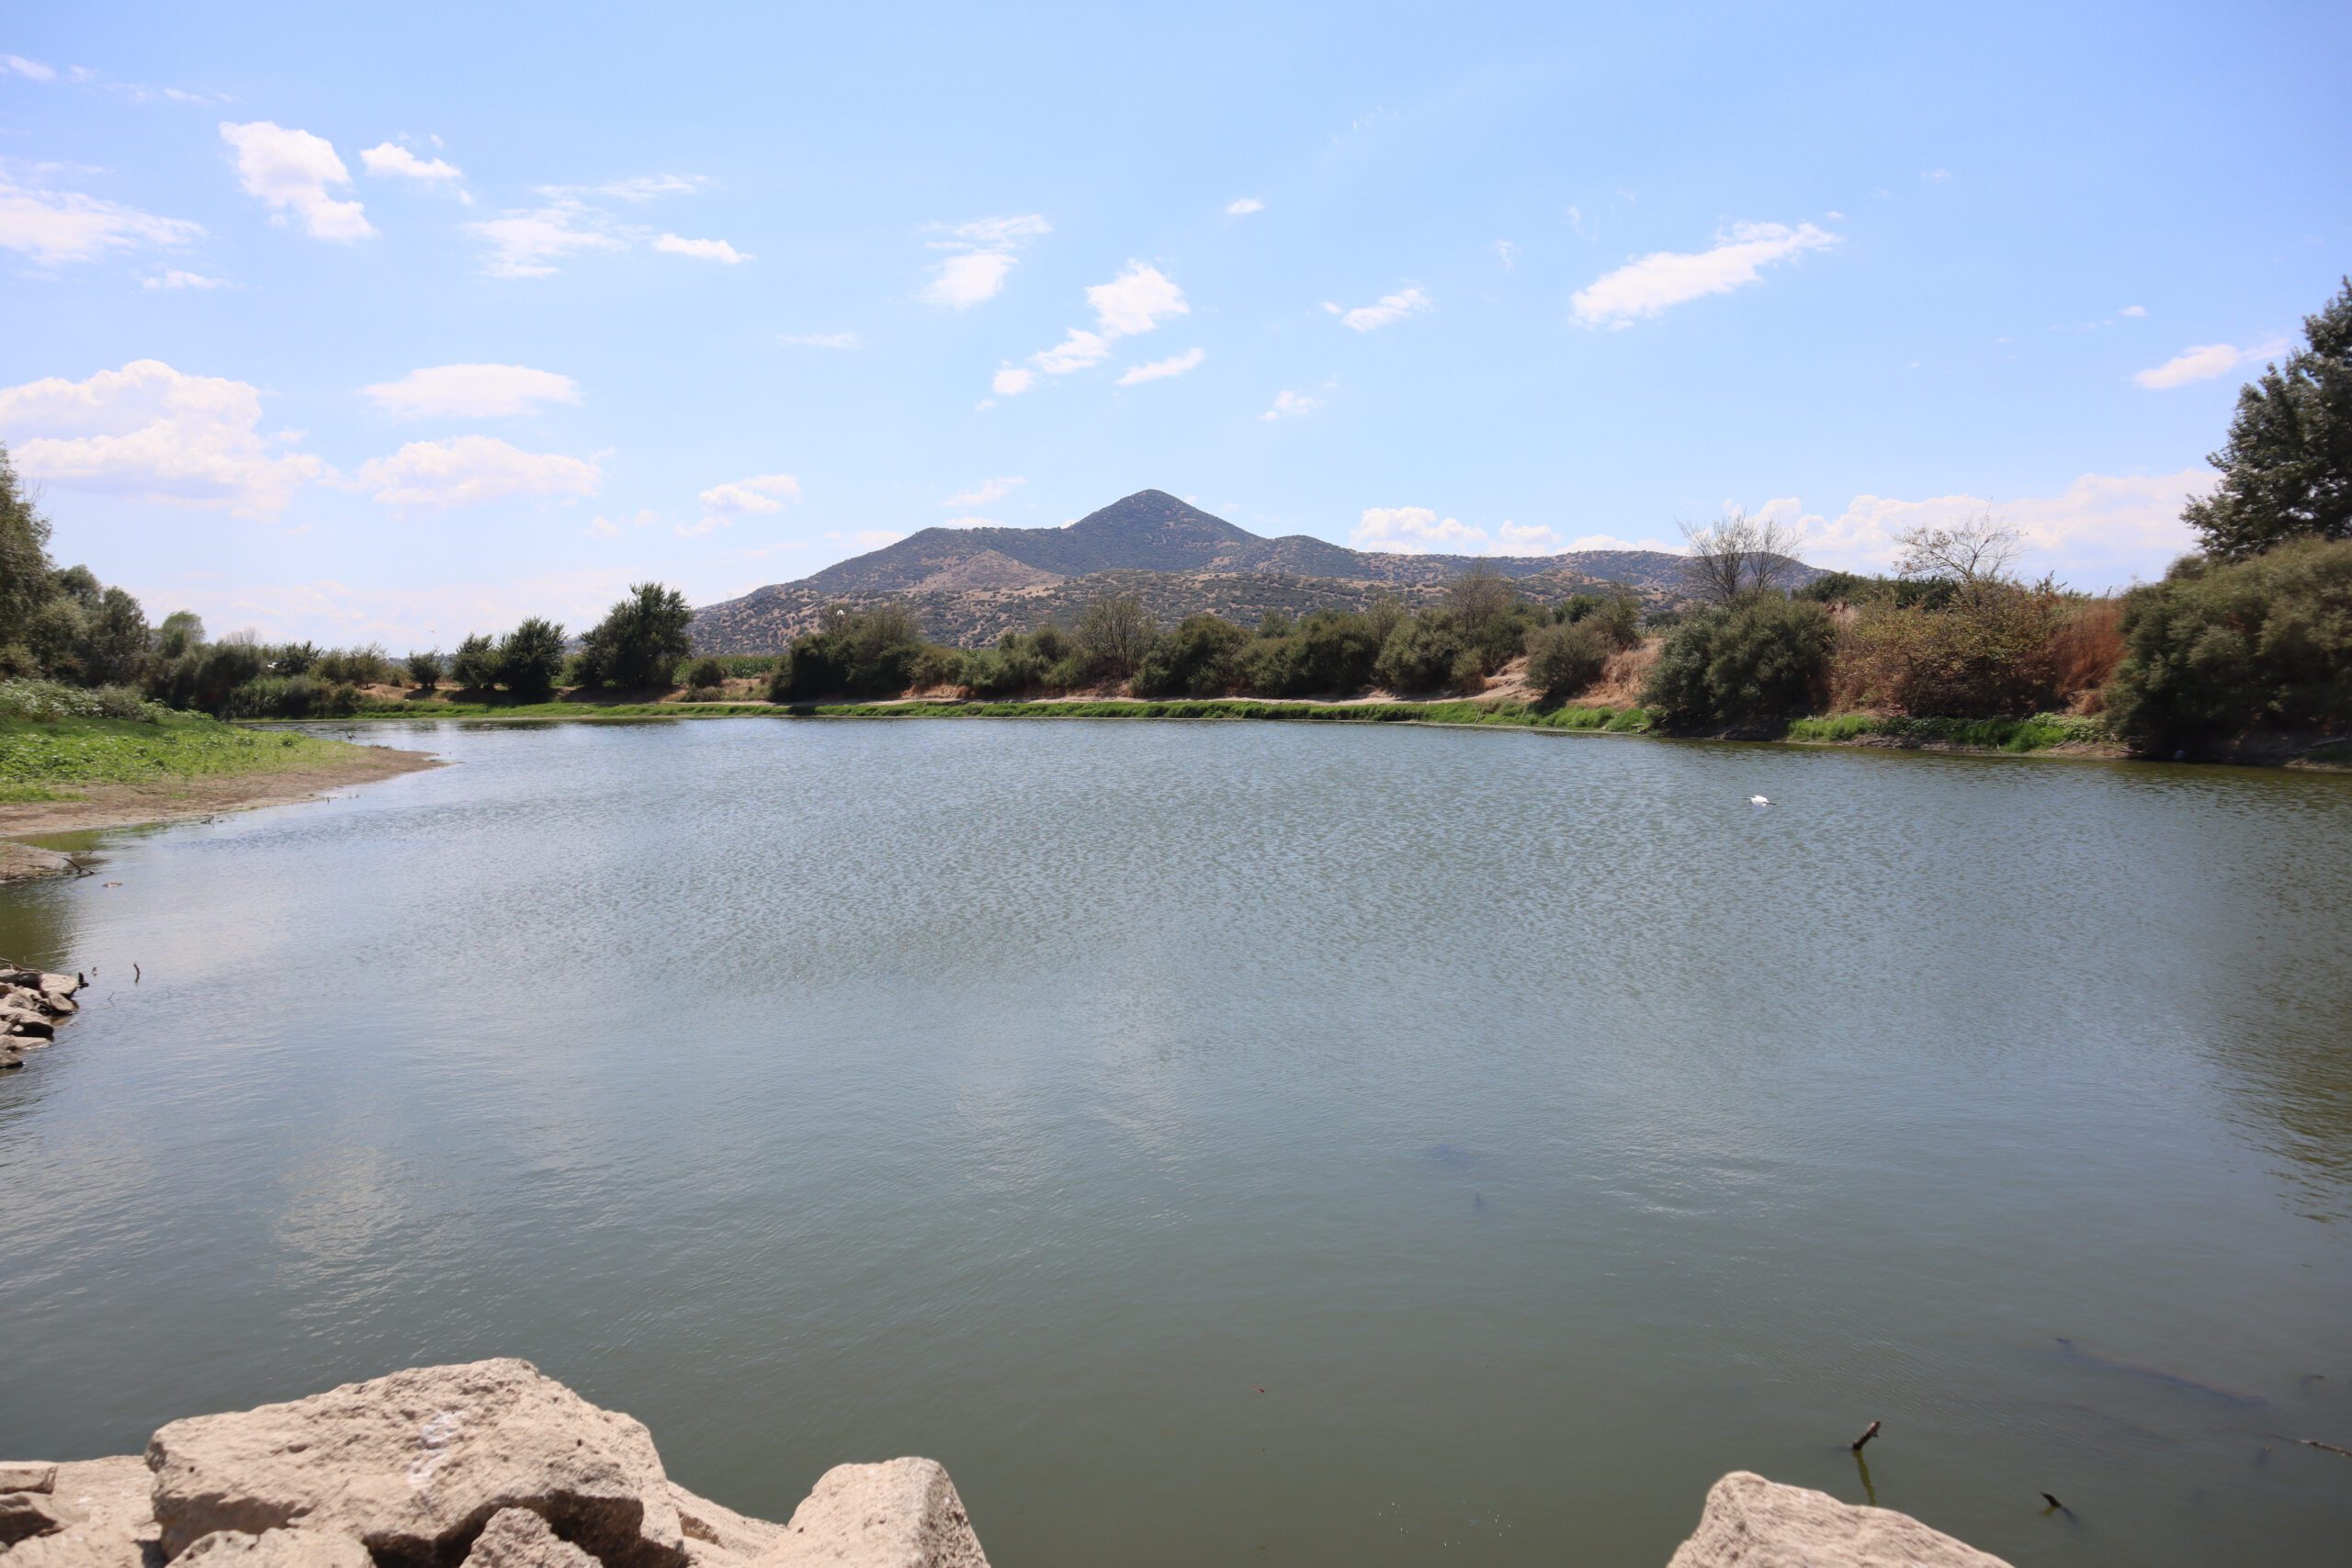
You can walk all the way down to the river’s edge here, and a gravel bank allows you to get a good view along the river in both directions. You can see how the river varies in this area, some of it is quite shallow and would have been easy to ford, in other places it is deep and wide. Given sufficient time to reconnoitre during their feint attacks, the Germans were able to find suitable places to cross.
From here drive south, away from the river’s edge and rejoin the main road, where you will make a right turn towards Parapotamos Bridge.
Parapotamos Bridge
Directions – Parapotamos Bridge
The river here was defended by D Company, 2/2nd Battalion. They had a clear view across the river, and inflicted casualties on the Germans as they approached from Gonnoi. The German 141st Infantry Regiment successfully crossed the river here at around 2pm on the 18th April, 1941. They forced the Australians back towards Makrychori, and the road to Larissa. Germans of the 3rd Battalion, 143rd Infantry Regiment crossed further west of Parapotamos and moved south through the steep, low hills to the west of the Australian positions.
Drive south to the North Makrychori Hills.
North Makrychori Hills
Directions – North Makrychori Hills
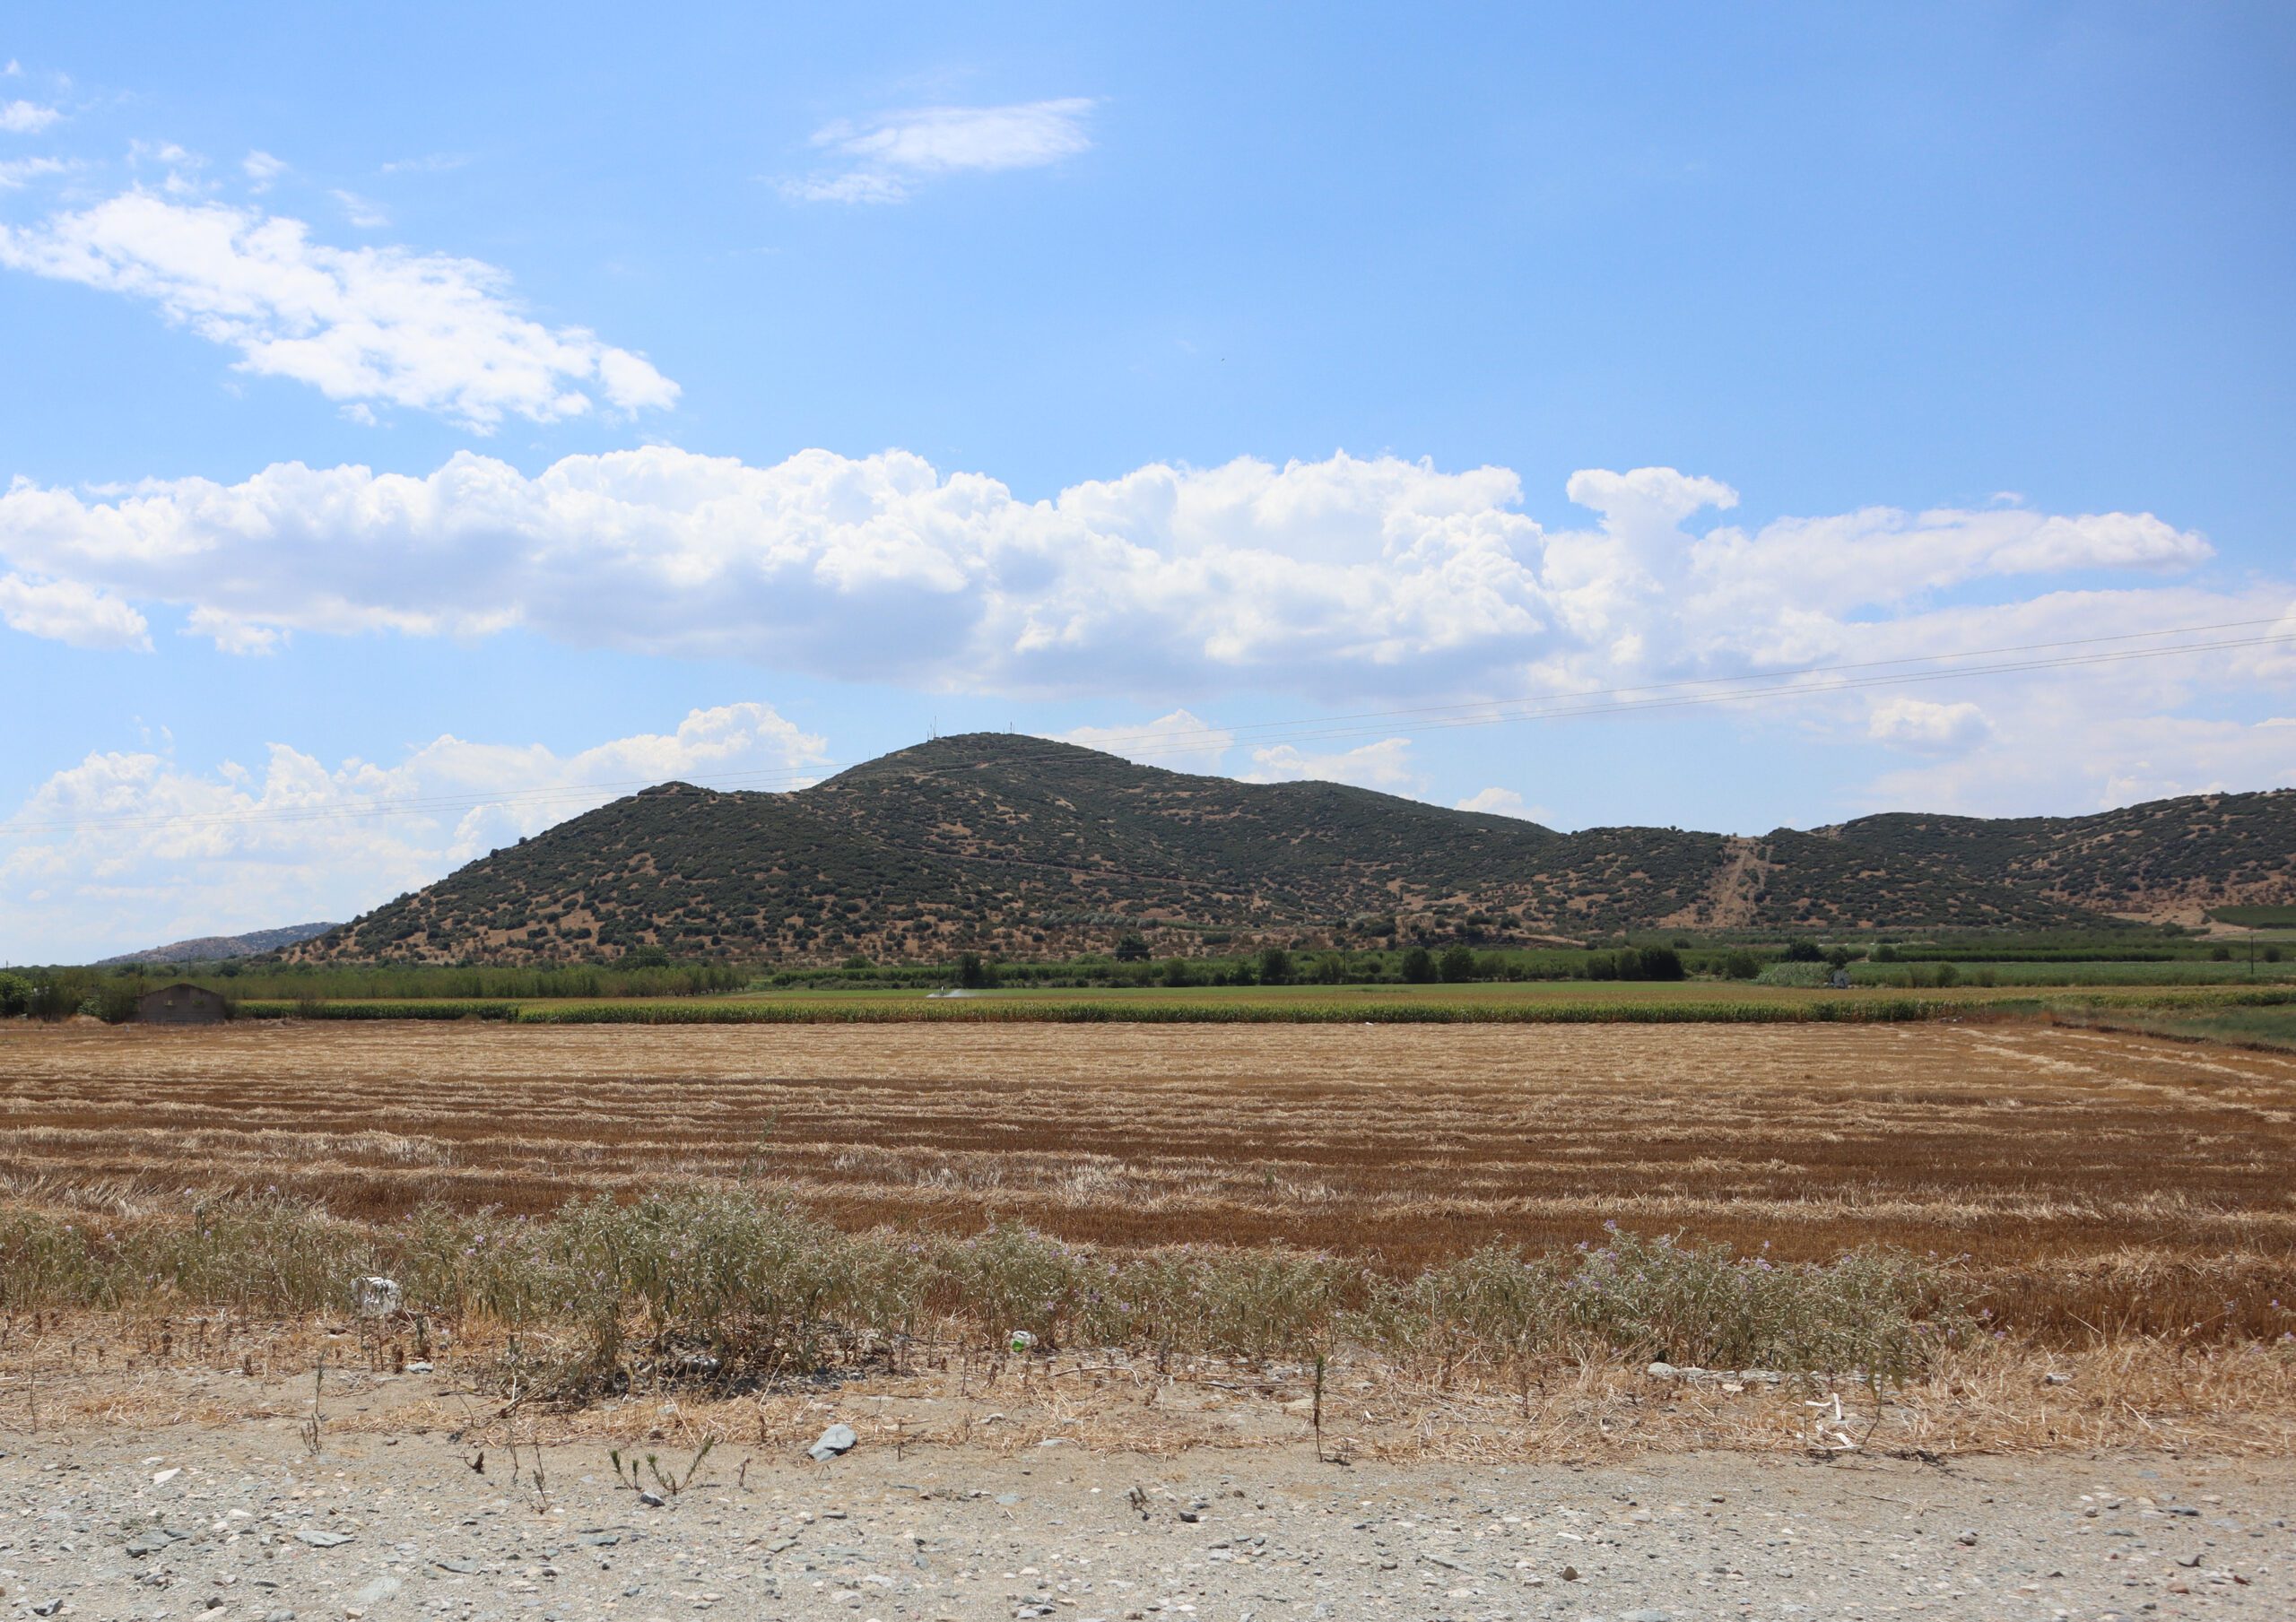
The steep hills to the west are where C Company, 2/3rd Battalion had their positions. They slowed the advance of the Germans who had crossed the river, before eventually joining the rest of the Australian forces withdrawing along the road to Larissa.
Drive south through Makrychori, then cross the freeway and railway line to the East Makrychori Hills.
East Makrychori Hills
Directions – East Makrychori Hills
This position was vital for controlling the exit from the Pinios Gorge. It dominated the road and railway line. B Company, 2/3rd Battalion had their positions, deployed on the low ridge to the East. This gave them a commanding position for both fire and observation to the North. There is also a small blockhouse on the edge of the road here, sited to be able to fire on the road and railway.
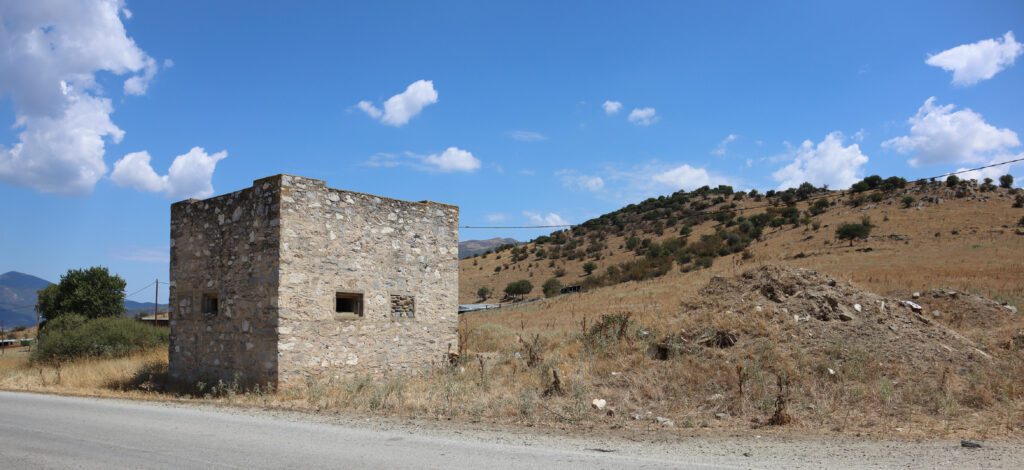
Looking south from here you can see the areas were 16 Brigade Headquarters and D Company, 2/3rd Battalion were sited. These troops were in reserve during the battle, as well as defending against German troops infiltrating through the hills both to the East and West.

Drive North towards Evangelismos. This will take you through the main artillery positions, sited to cover the battlefield from the tunnel demolition in the gorge, through to Gonnoi.
Evangelismos
This area is some of the key terrain of the battlefield. It is where the East side of the valley narrows between the river and the hills. This is where B Company, 2/1st Battalion was defending, with A Company, 2/2nd Battalion just to the North of them. To their rear, just south, was the Headquarters 2/2nd Battalion and the artillery positions.

A Company, 2/2nd Battalion Positions
Directions – A Company, 2/2nd Battalion Positions
A Company, 2/2nd Battalion, along with C Company, 2/2nd Battalion to their North, bore the brunt of the thrust by the German tanks from the 1st Battalion, 3rd Armoured Regiment. Continue to the North to Tempi, you have completed a circuit of the main points of the Pinois Gorge Battlefield.
Once you’ve visited the battlefield area, there are plenty of reasons to hang around to see more of the fascinating parts of this region, here is a brief guide to the Pinios Gorge region that will get you started with recommendations about what to see and do.
Interactive Map of the Battle of Pinios Gorge
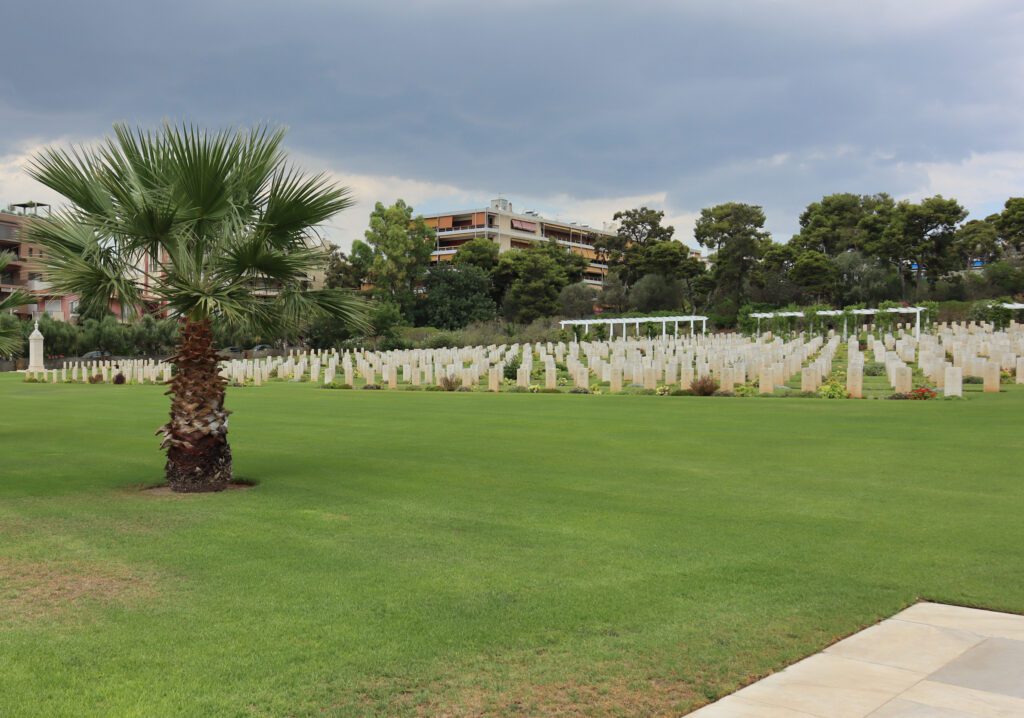
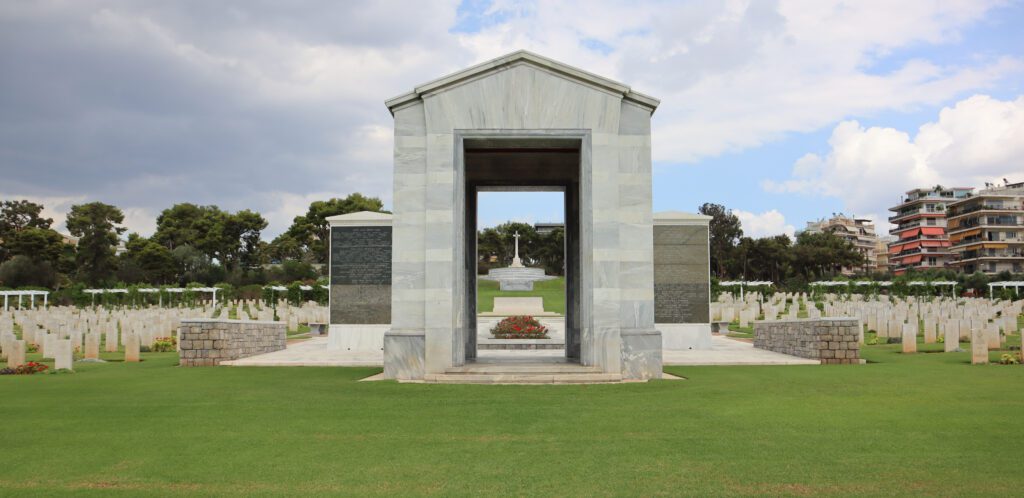
Phaleron War Cemetery
Directions – Phaleron War Cemetery
If you transit through Athens on your way to or from the battlefield you can visit the Phaleron War Cemetery, where many of the Australians killed in Greece are buried. This is a short drive from either the airport or downtown Athens, or you can also reach it via the A2 bus from close to the Acropolis. Many of the Australians who were killed in this battle were exhumed from where they were buried immediately after the battle, and re-buried at this cemetery.
This quiet, contemplative place has 2,029 Commonwealth servicemen of the Second World War buried or commemorated in the cemetery, including 172 Australians.
If you visit the cemetery prior to the Pinios Gorge battlefield, you will find the graves of Australians who were killed here. You can then follow in their footsteps, and reflect on their experiences and that of their comrades.
Follow in the footsteps of an Australian who fought here
You can gain a fuller understanding of the experiences of the Australians who fought here by following the journey and story of individual Australian serviceman who fought in Greece. Please get in touch with us through the form below when you’re planning a to visit the Pinios Gorge battlefield. Our volunteers will be happy to provide you with information about one or two of the Australians who fought here.
Podcasts about Australians in the Mediterranean during WW2
The text of this article was commissioned by History Guild as part of our work to improve historical literacy. If you would like to reproduce it please get in touch via this form.