Reading time: 15 minutes
In May of 1941, as the German invasion of Crete threatened to swamp the island, a single Australian Army Brigade would find itself fighting for its life around Rethimno and its landing strip. Approaching Rethimno was the best of the best of the German army: 1,700 paratroopers of the I and III Battalions, 2nd Parachute Regiment, 7th Air Division, XI Air Corps. This battle saw the Australians fighting courageously, managing to deny the Germans the critical airstrip and prevent them from establishing a bridgehead on this part of Crete. This feat is considered to be ‘Unsurpassed in the Annals of Australian Arms‘.
Visiting a battlefield is the best way to understand what took place there. Walking the ground gives you an appreciation that no amount of reading can.
I’m a big believer that to really understand what happened in a battle or campaign, it is best to walk the ground.
James Holland, Historian.
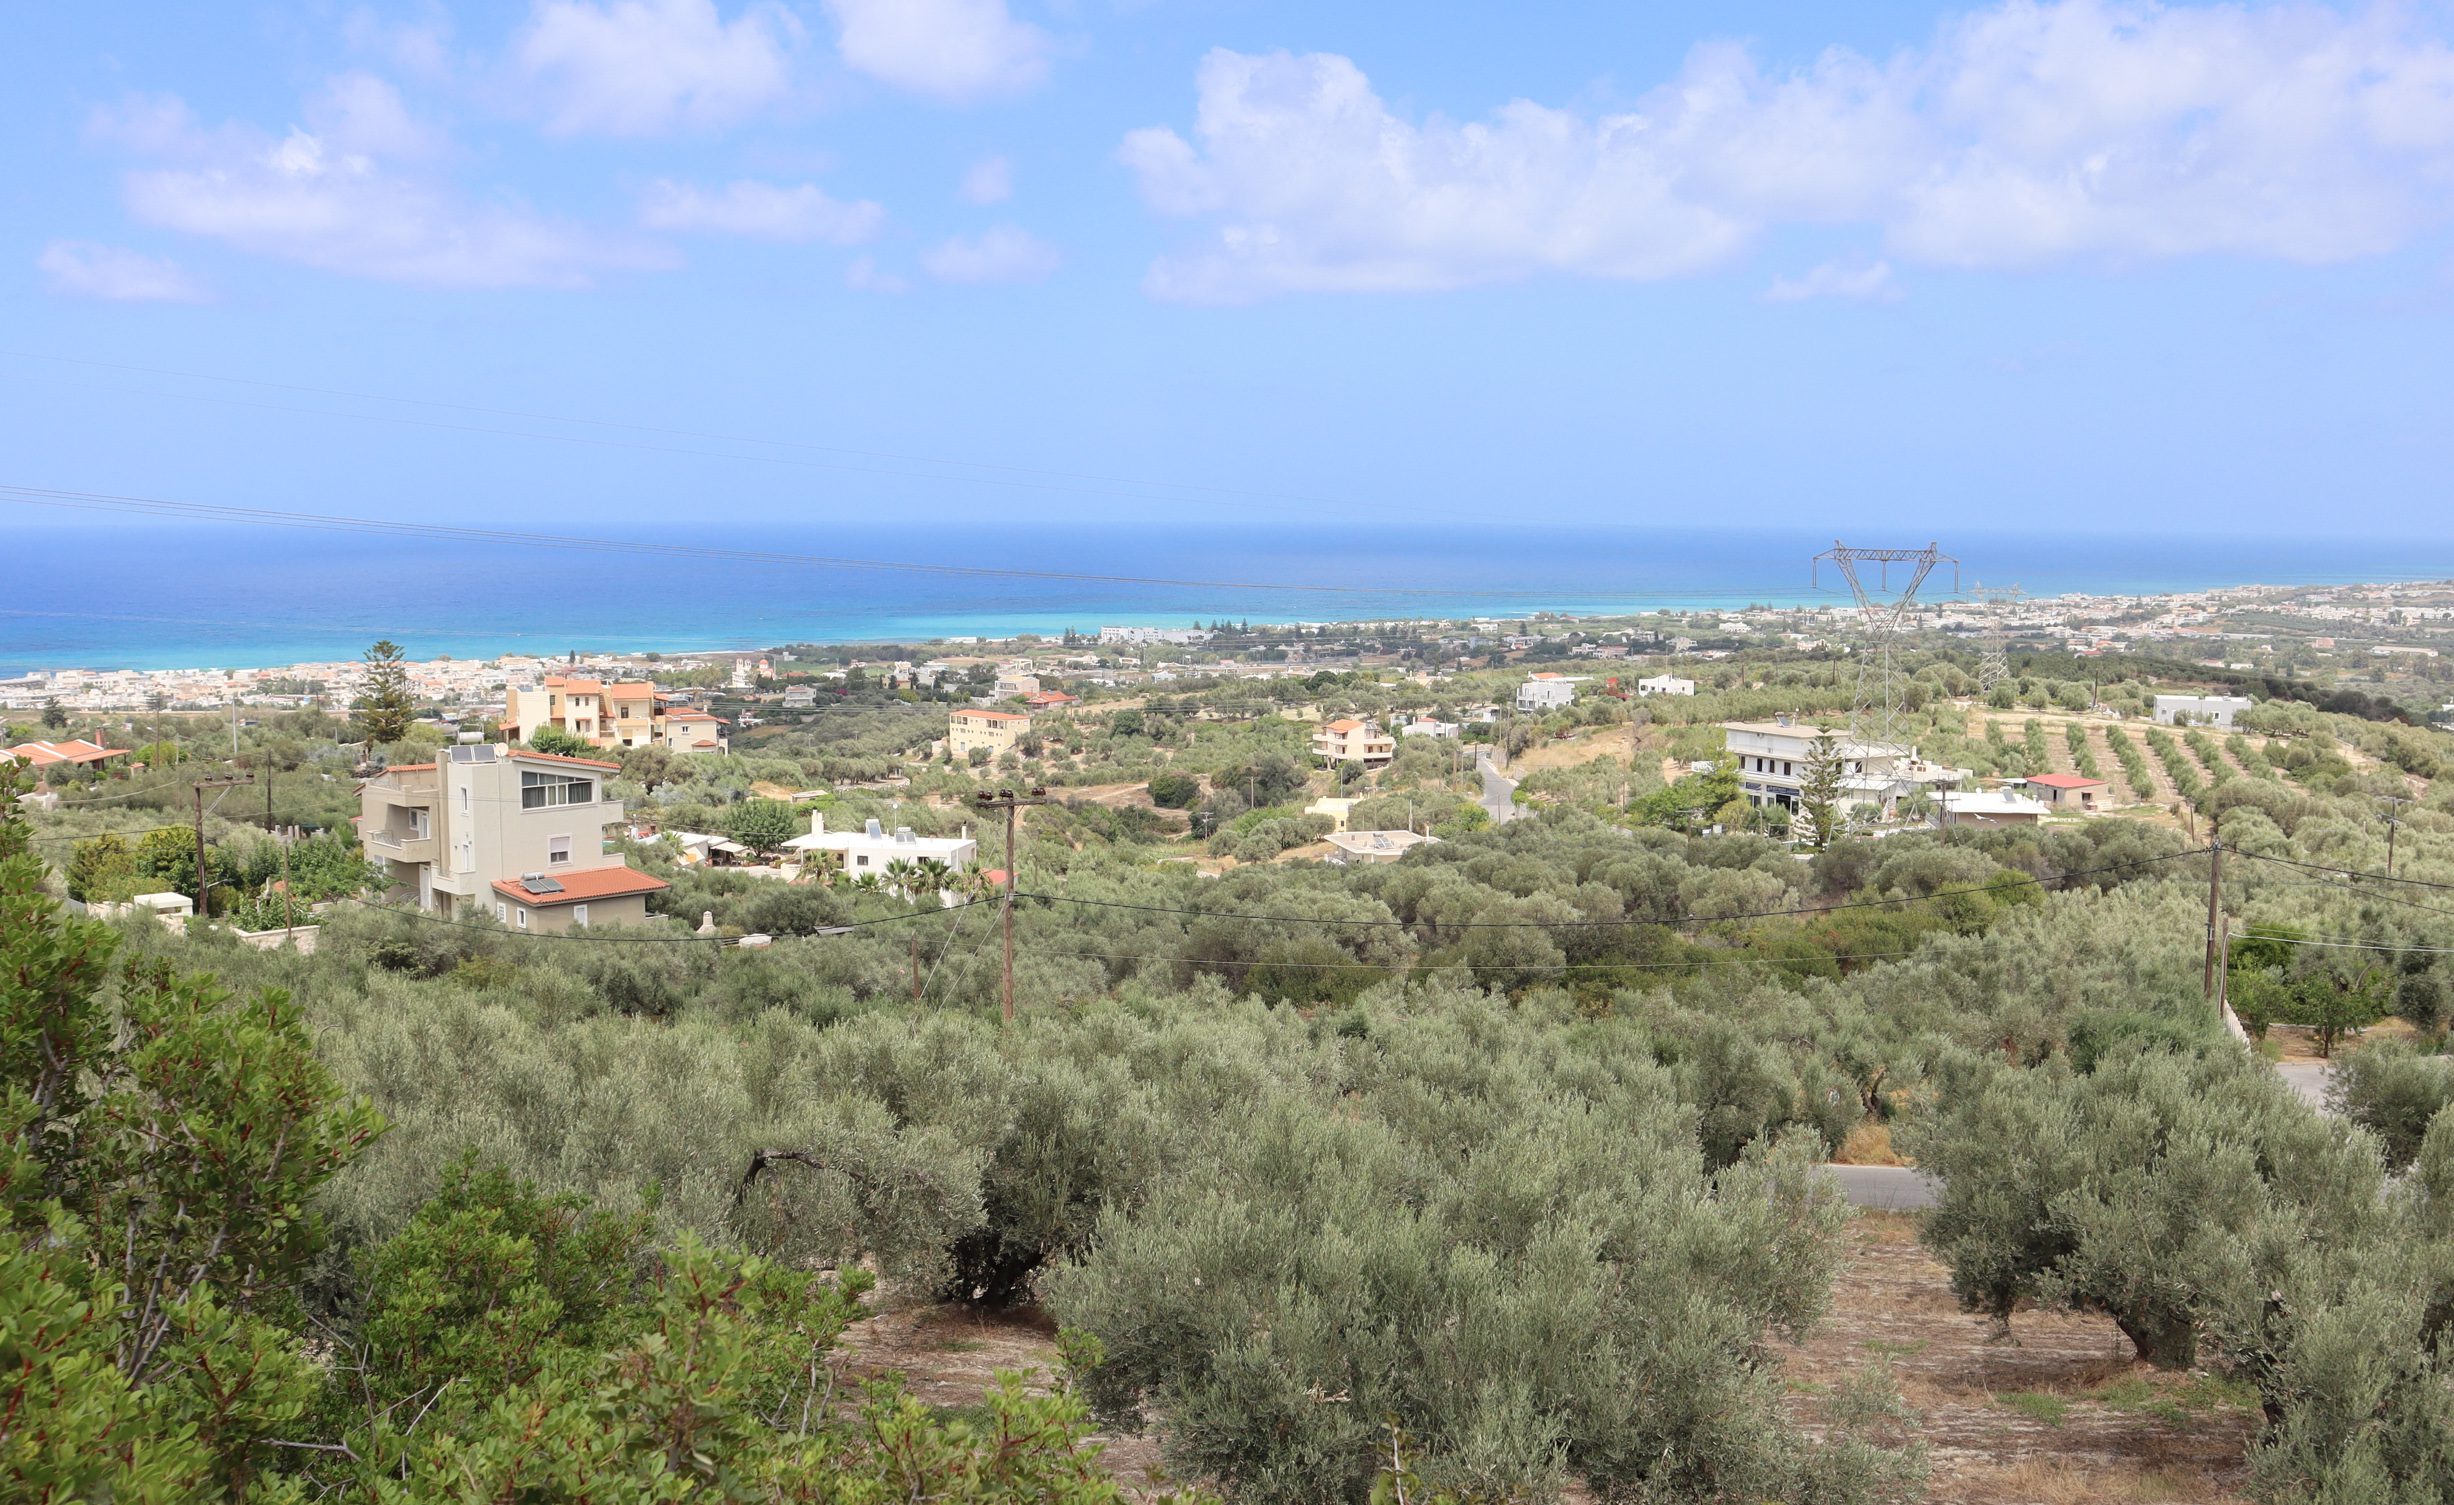
The Rethimno area is a beautiful part of the world, with lots to see and do. It is easy to plan a visit that allows you to see where the Australians fought, as well as enjoying a holiday on a lovely Greek island.
Hills and Wadis of the Battlefield
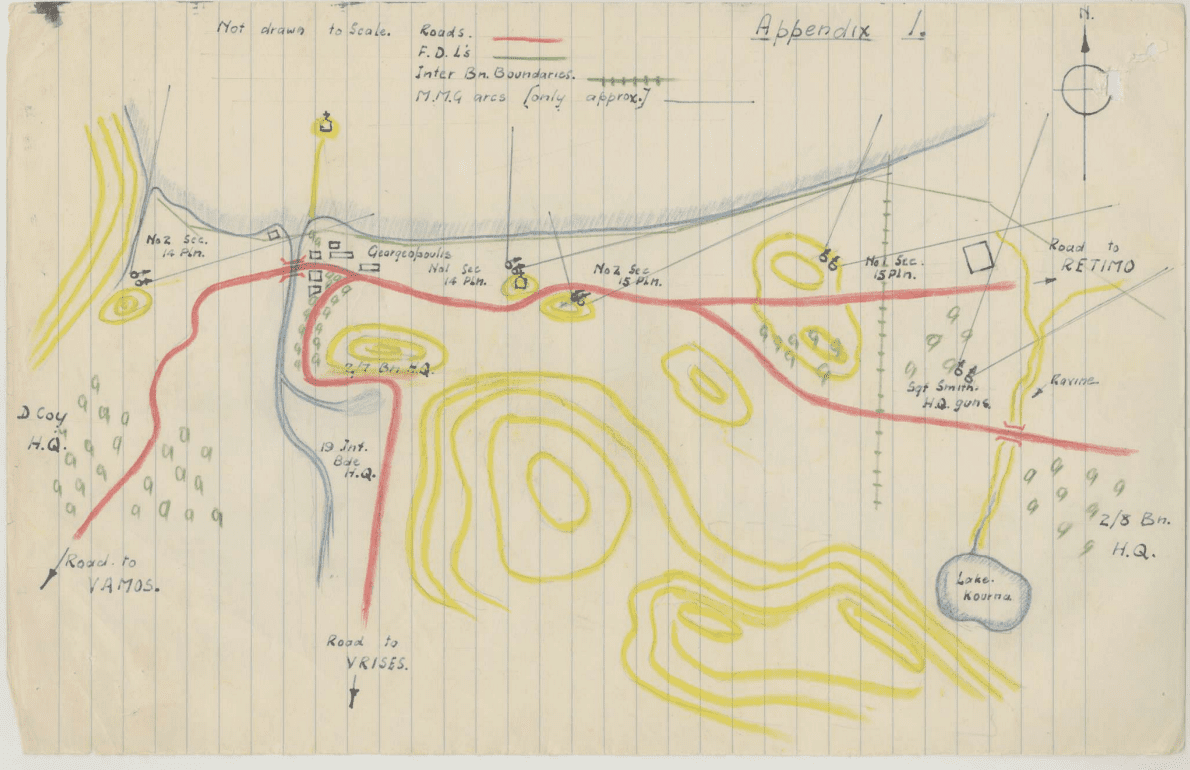
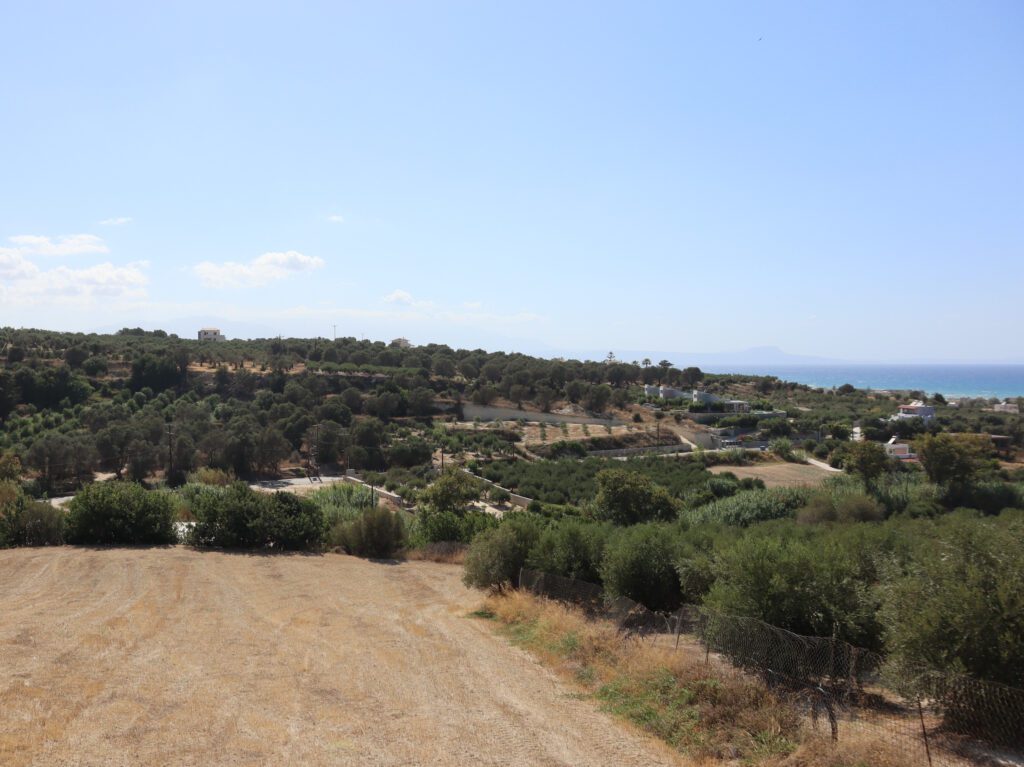
The Battlefield is defined by a series of hills and wadis, a gully or riverbed that is dry except after rain. Each of these saw fighting back and forth over the course of the battle, and allow you to orient yourself in the battlefield. We will traverse the battlefield from west to east, beginning in the Georgopoulos area, between the cities of Chania and Rethimno.
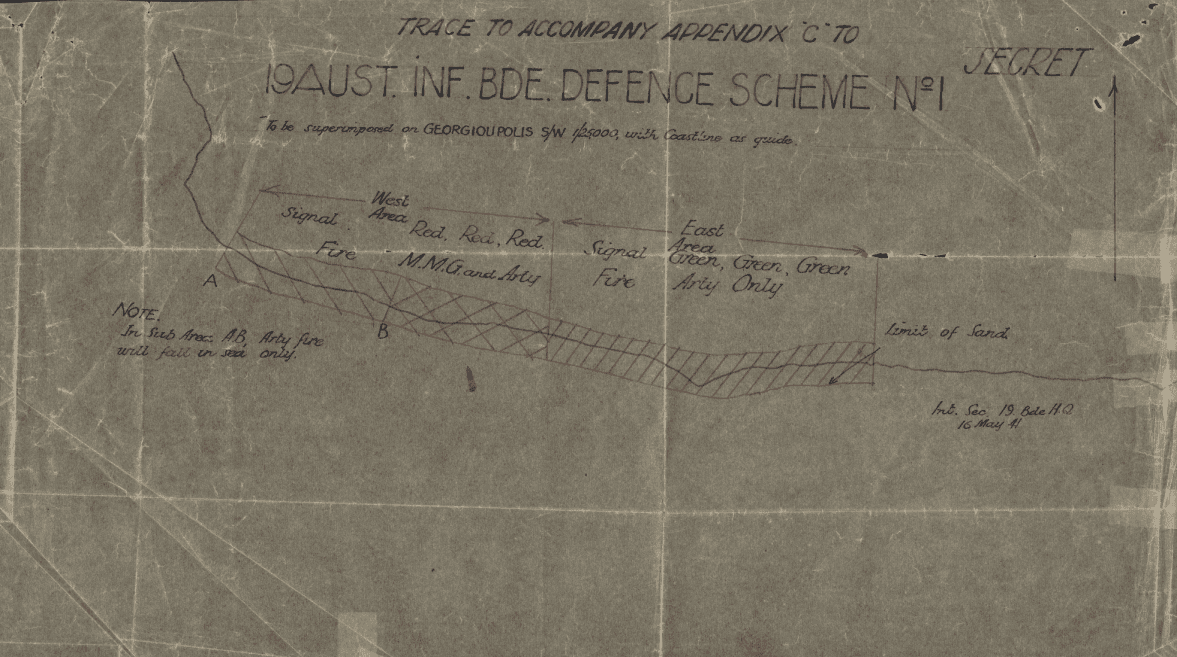
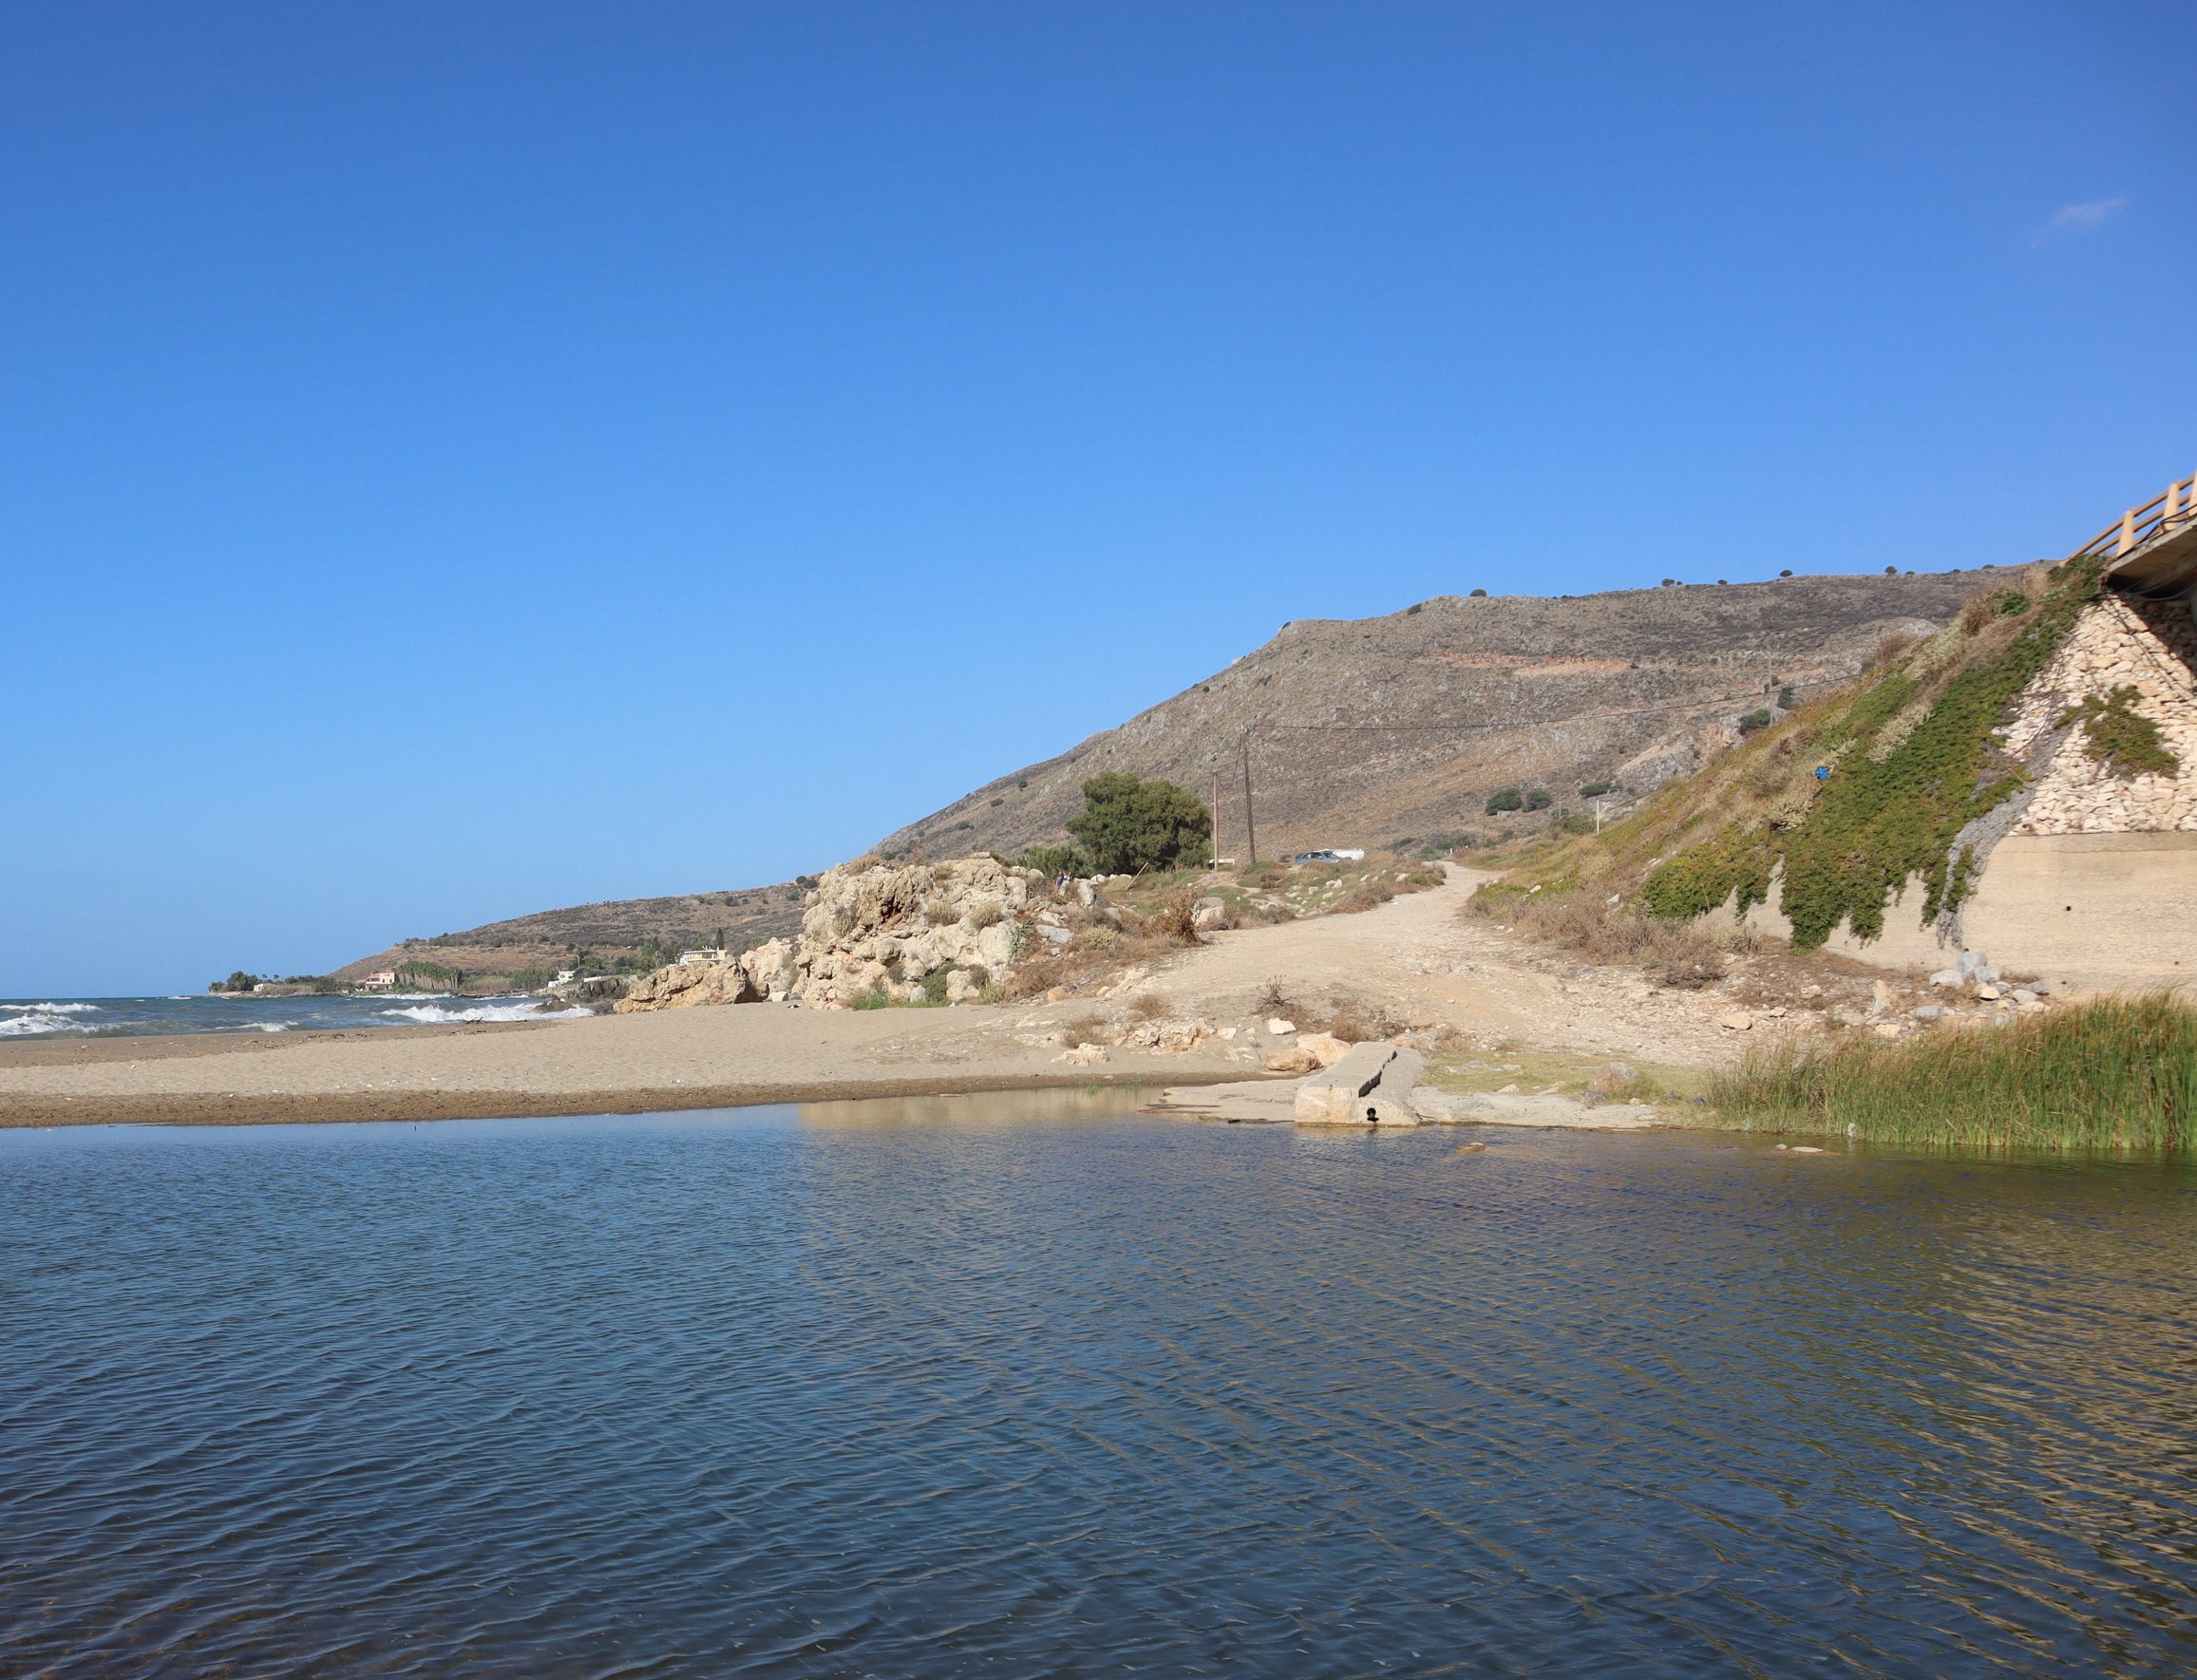
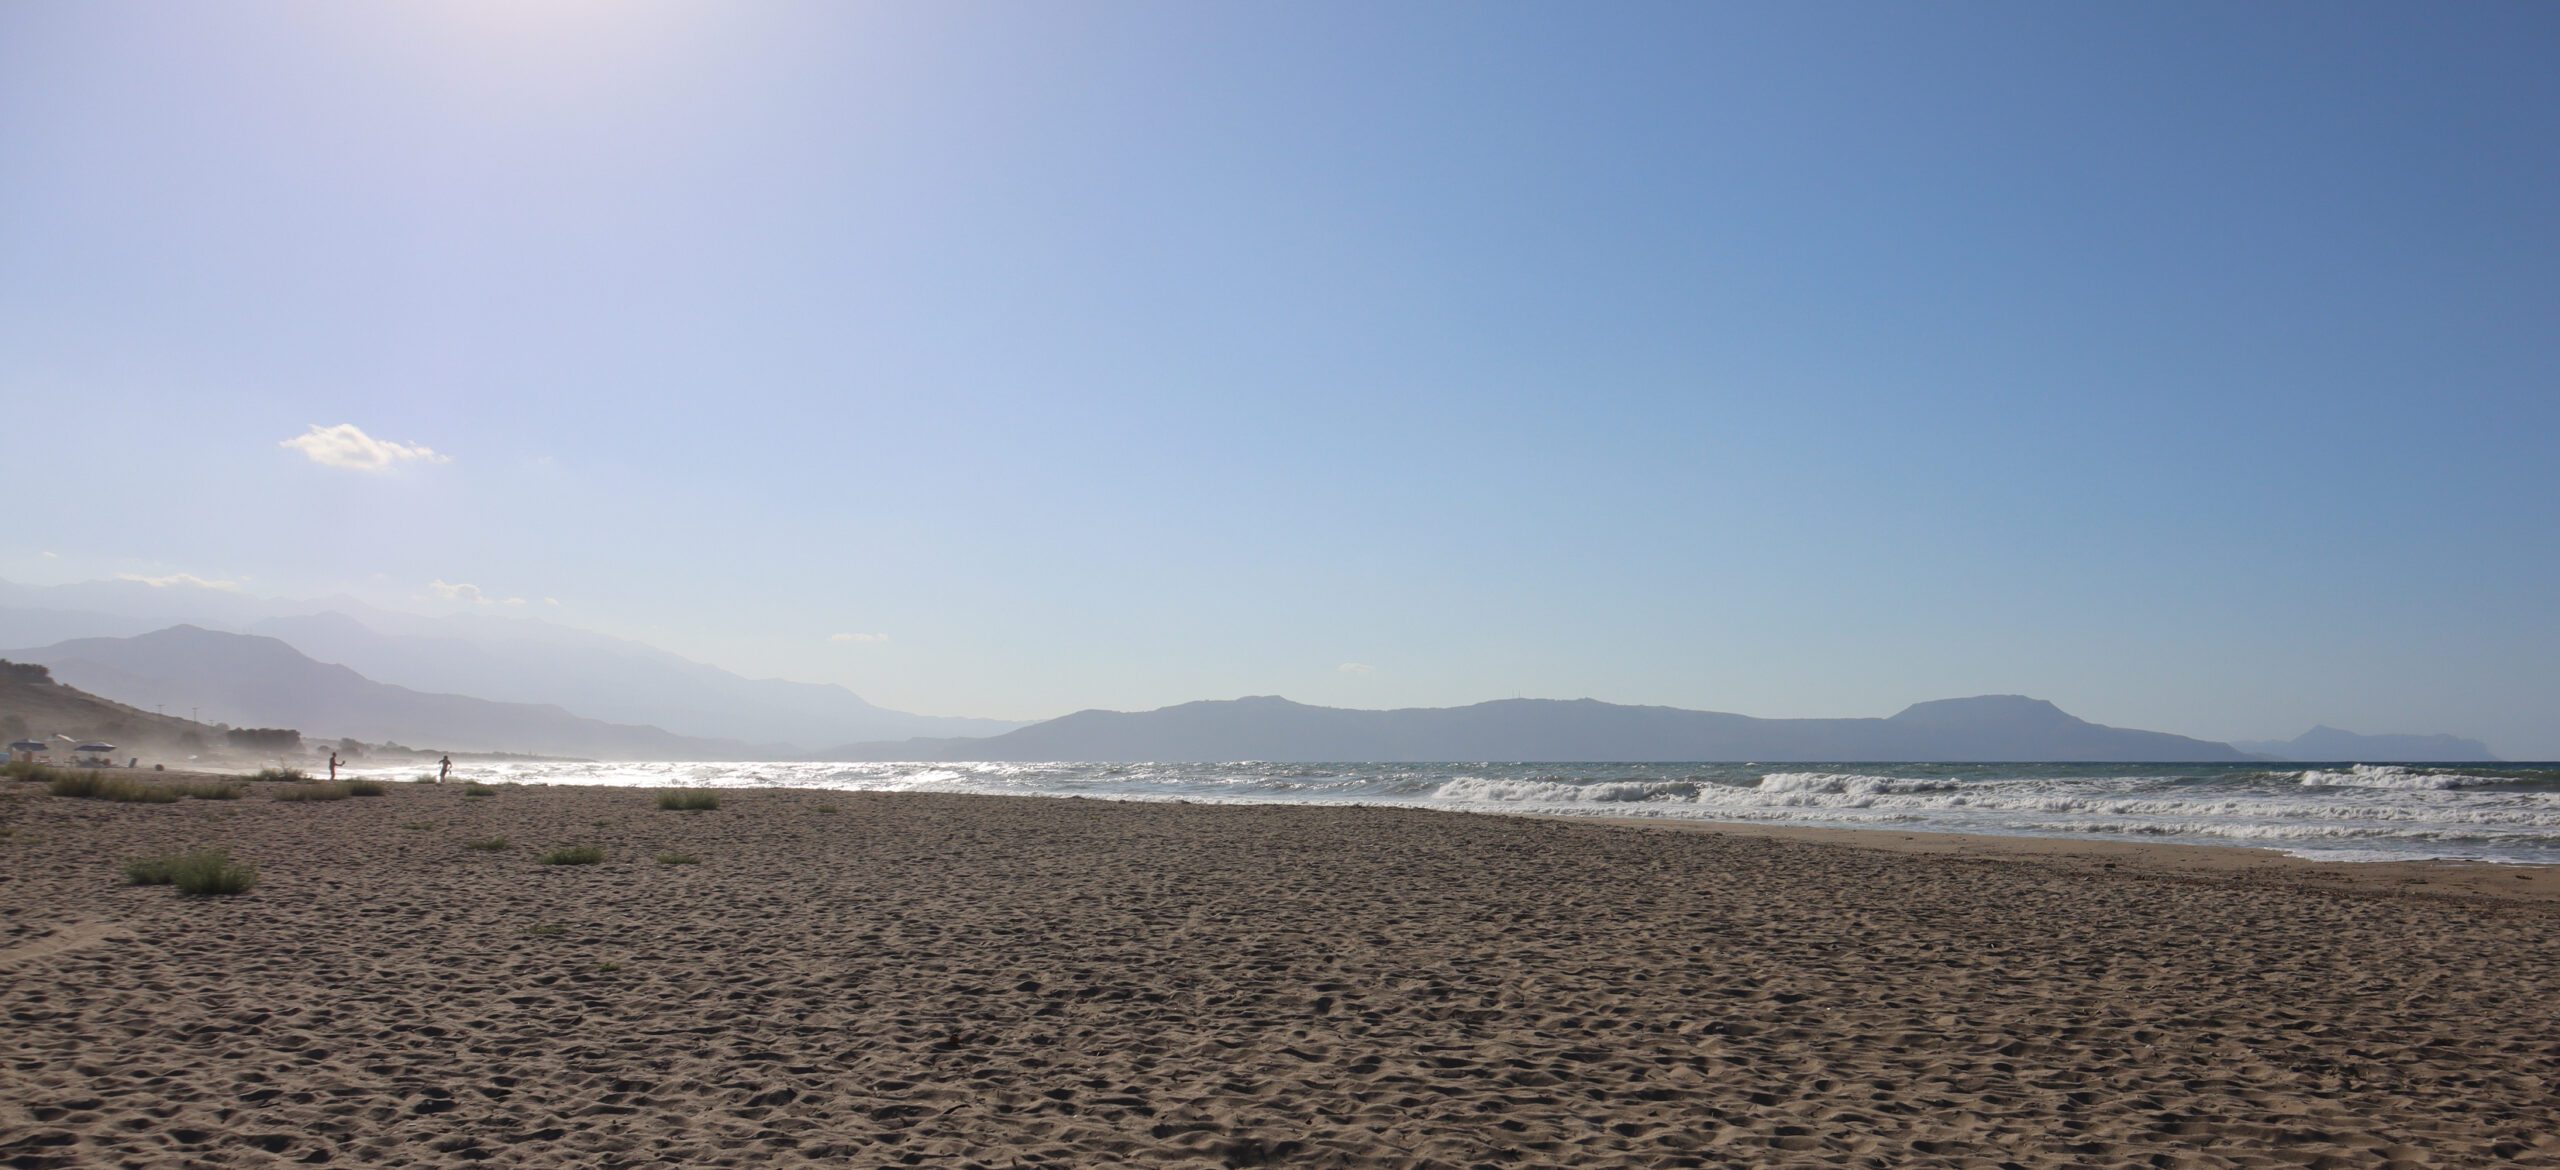
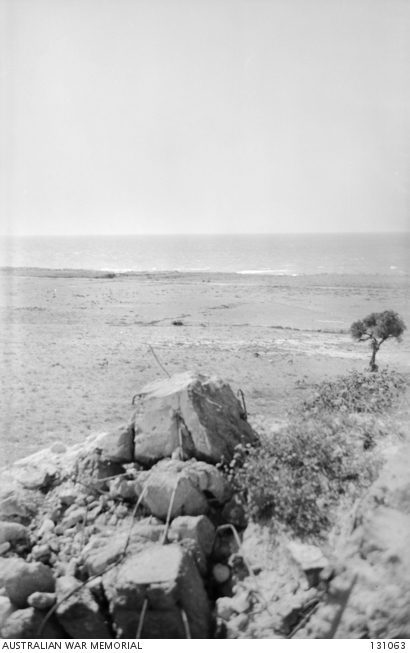
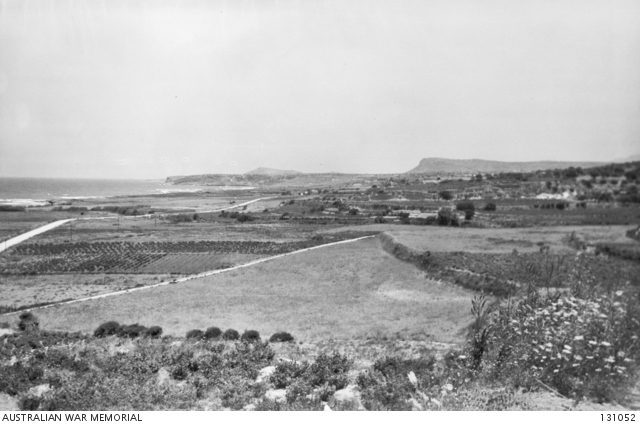
Episkopi Beach
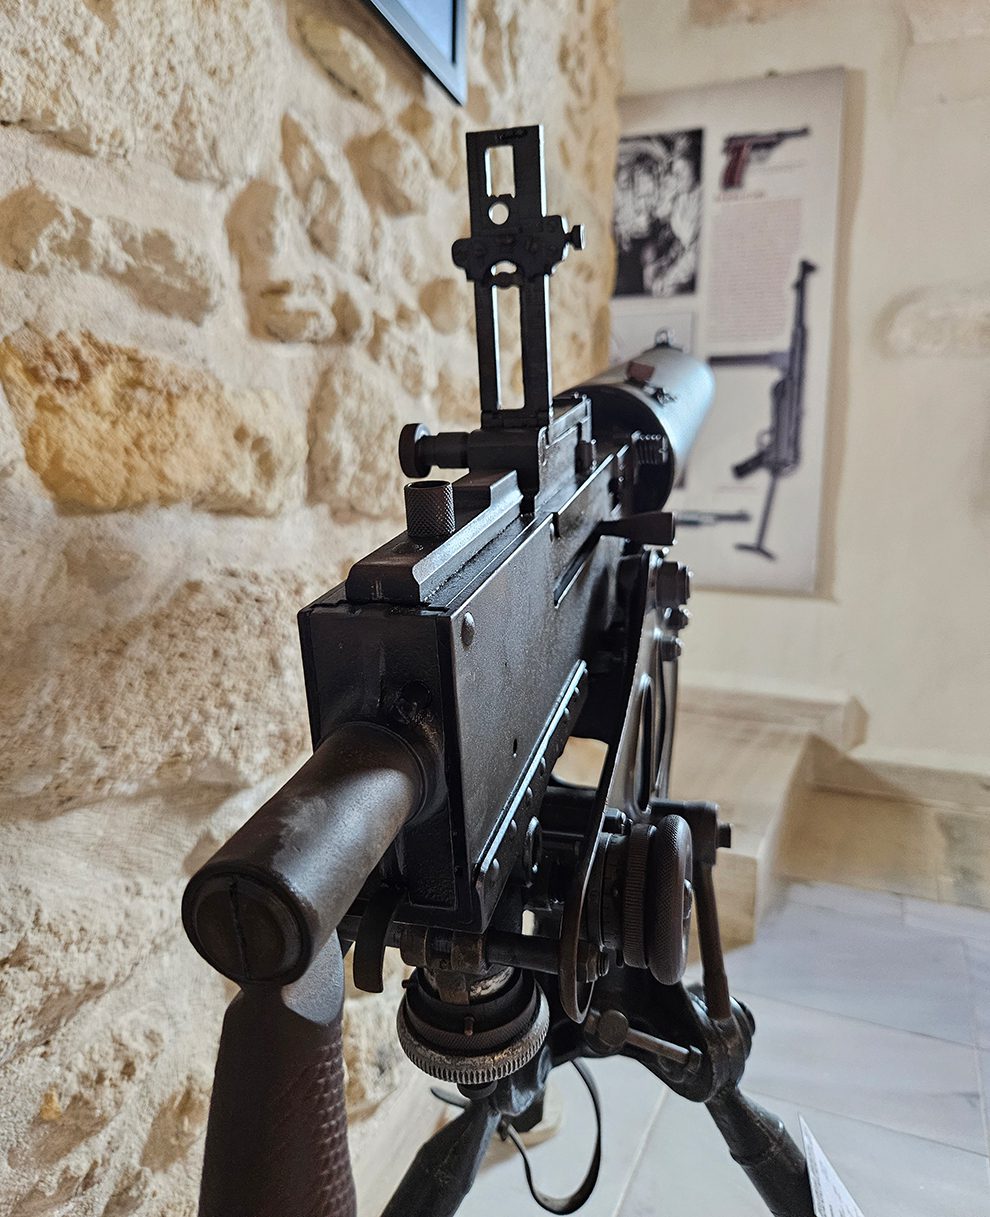
A key aspect of the battle for Crete was Allied concerns about a seaborne invasion. And while a German/Italian invasion fleet did sail from Greece, it was repulsed by the Royal Navy and failed to reach Crete. Nonetheless, there were significant Allied units tasked with defending likely invasion beaches. This area was defended by Australians from the 2/7th and 2/8th Infantry Battalions, supported by the 2/3rd Field Regiment and the 2/1st Machine Gun Battalion.
We now come into the area of the battle proper. Drive east to Rethymno town.
Rethymno Town
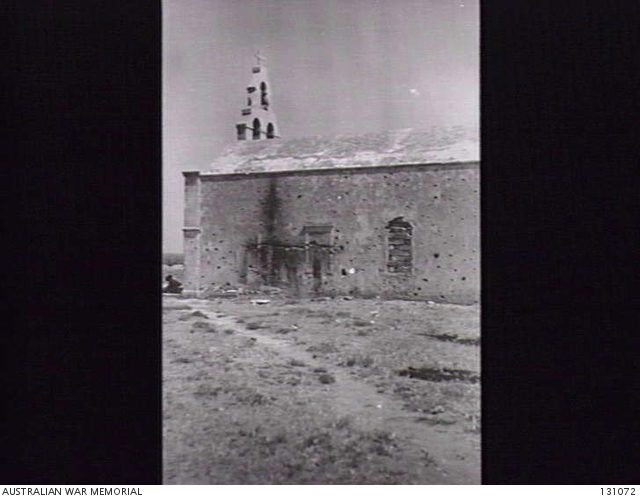
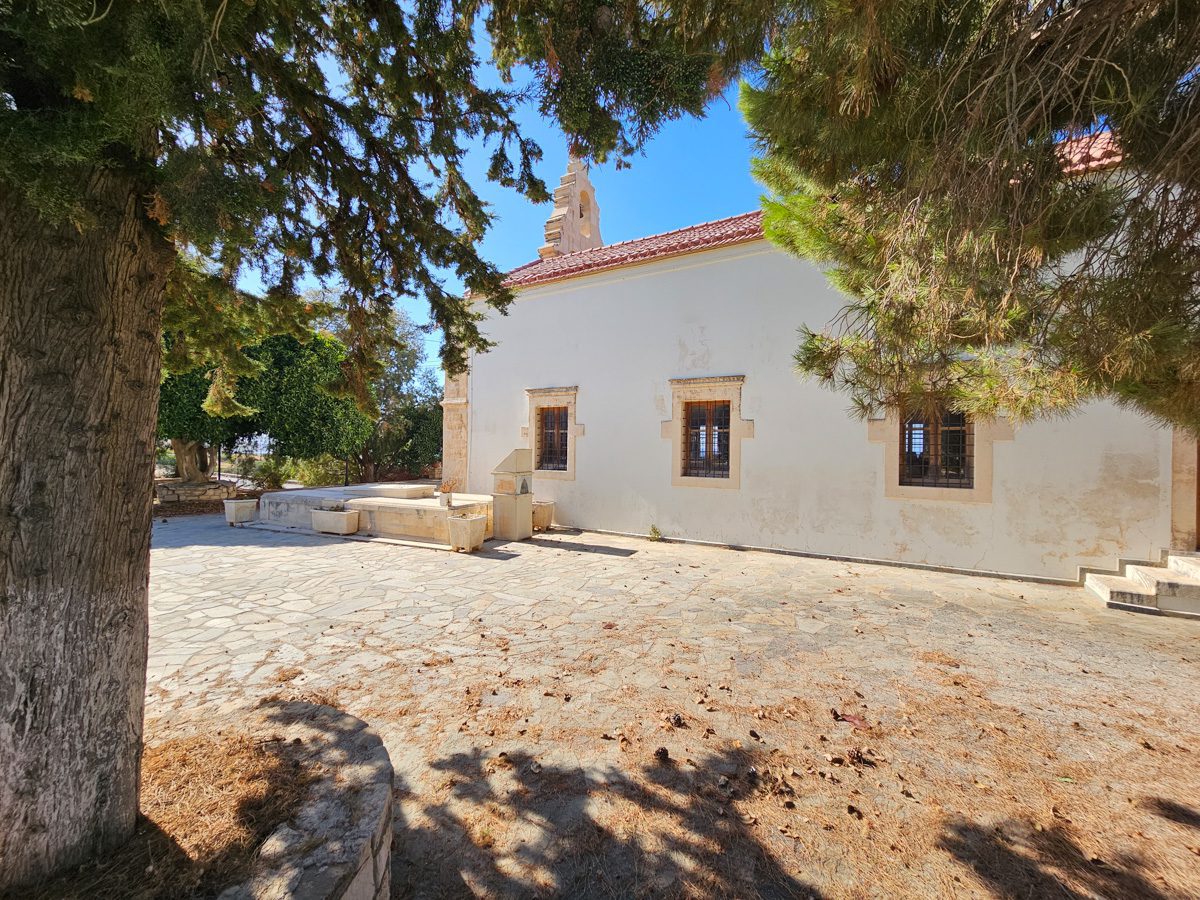
The elevated position here looks over the area that was defended by the Cretan Gendarmes, Greek Police and Cretan civilians. They fought hard, preventing the Germans of Kraftegruppe Wiedemann from advancing into the built up area.
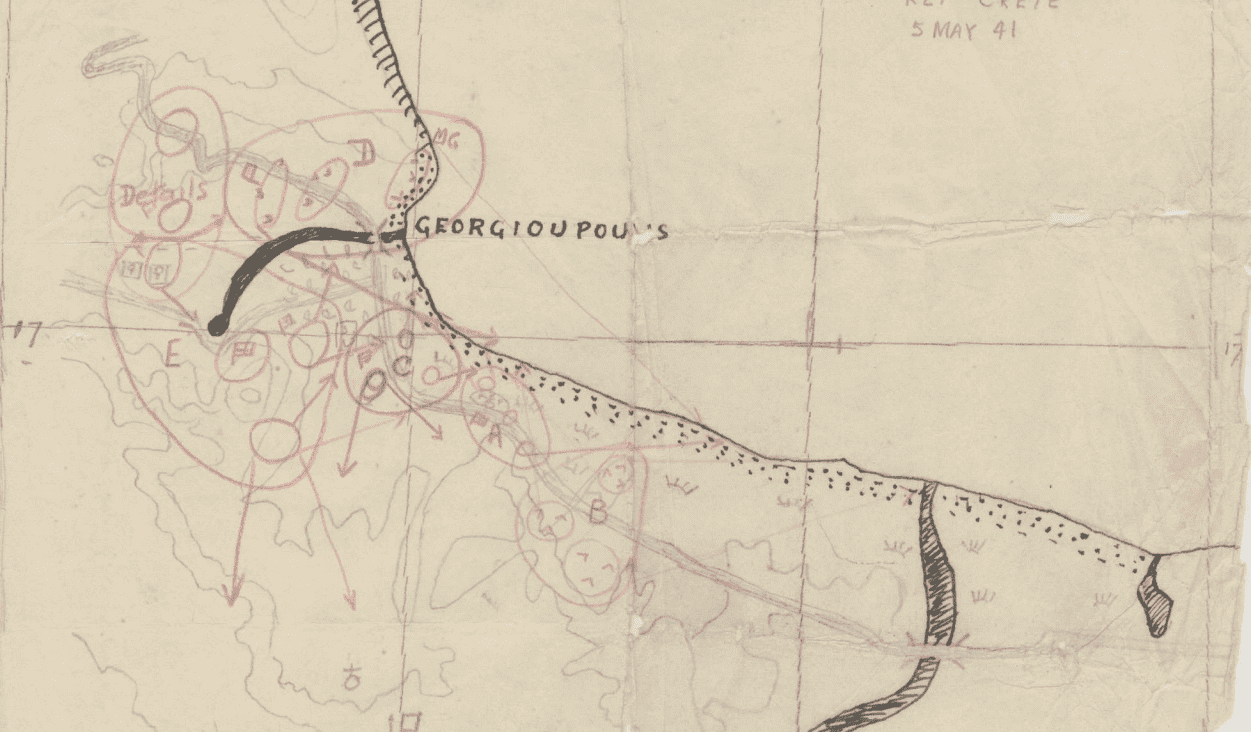
Now is a good time to take in the overall picture of the battle. The German paratroopers landed along a 10km stretch of coastline, east from here. The map below shows this in detail, along with the positions of the defending Australian and Greek troops.
Hellenic-Australian Memorial Park
Directions – Hellenic-Australian Memorial Park
A joint project built to commemorate the 60th anniversary of the battle, this is a memorial to the Australians and Greeks who fought and died in the battle.
The design for the memorial symbolically represents the Greek people fighting side by side with Australians during the battle for Crete in 1941, with the Australian forces are portrayed by the central pillar clad in a polished black granite from South Australia and Greek soldiers and civilians represented by two flanking pillars, clad in a rough-surfaced local limestone.
Map of the Battle of Rethimno
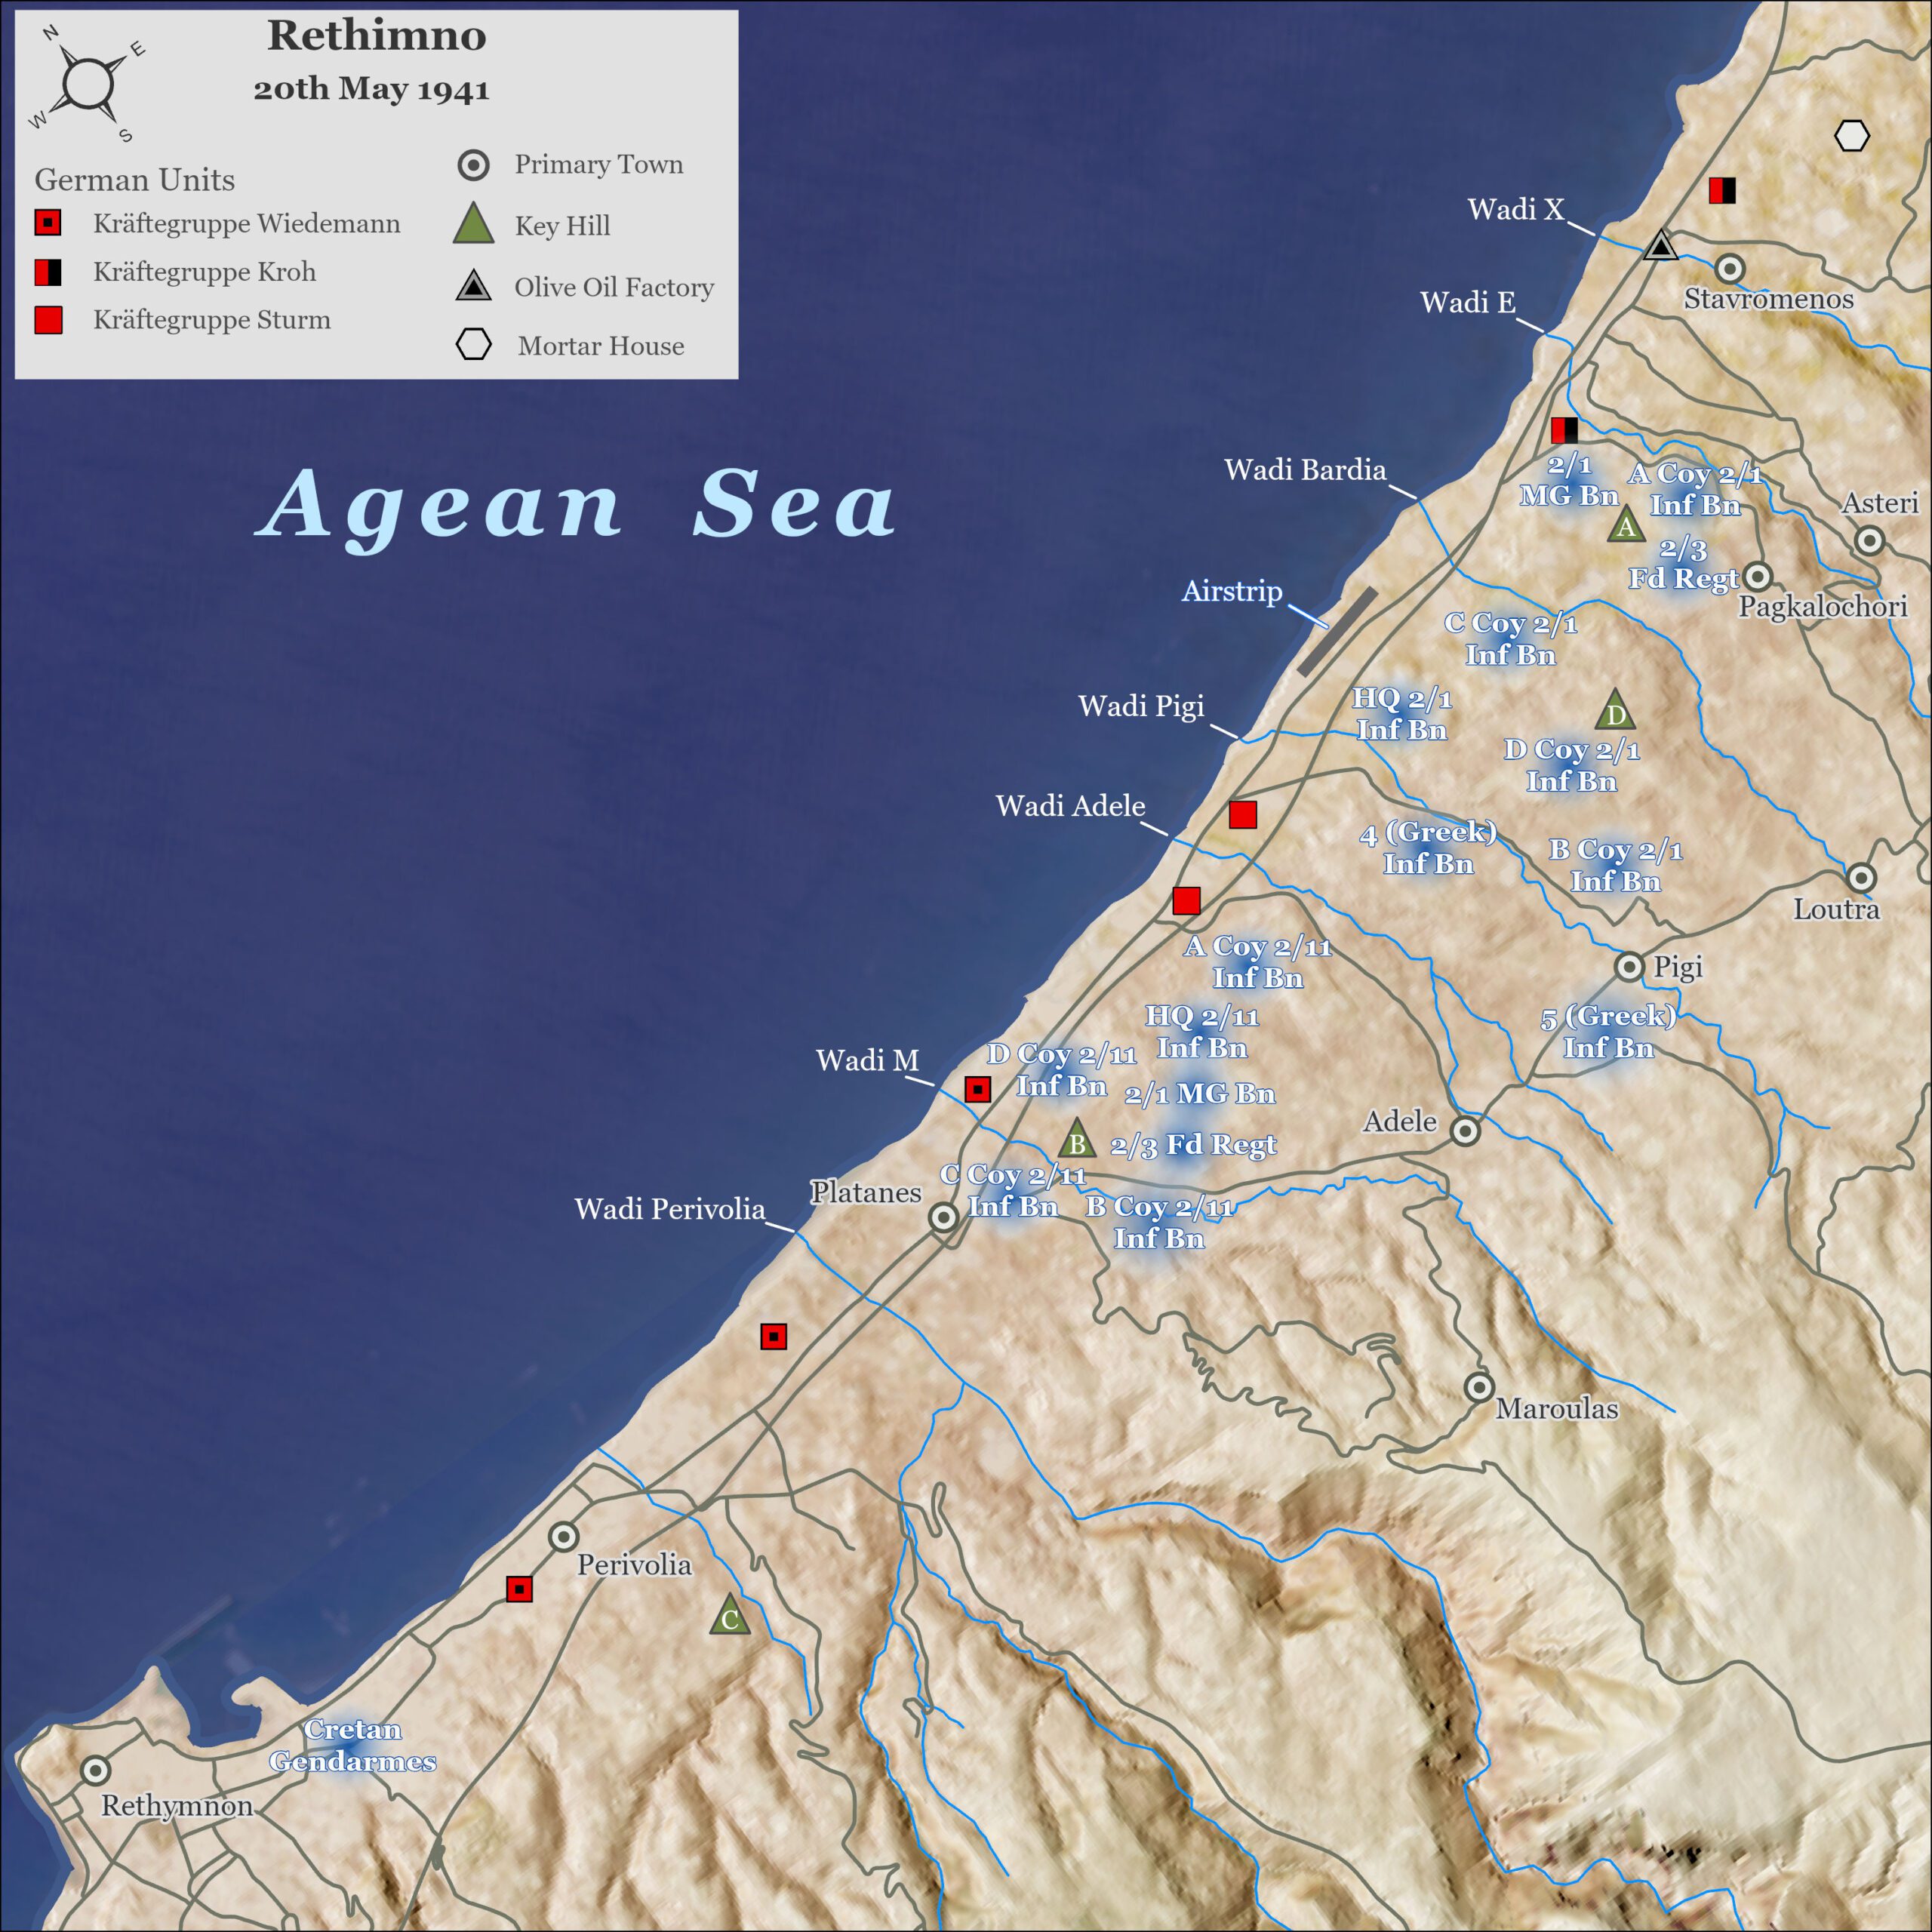
Interactive Map of the Battle for Rethimno
Military Museum of Chromonastiri
Directions – Military Museum of Chromonastiri
Occupying a Venetian era villa, the museum has a great collection relating to the fighting in this area during the battle, as well as plenty of information about other periods of history. Below is an excellent virtual tour of the museum.

Hill C
This area saw much fighting between Australians of the 2/11th Battalion and German forces that were sandwiched between them and the Cretan Gendarmes, Greek Police and Cretan civilians in Rethymno town.
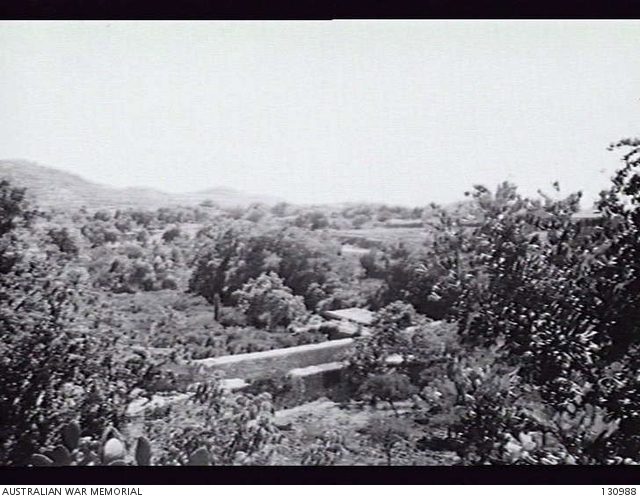
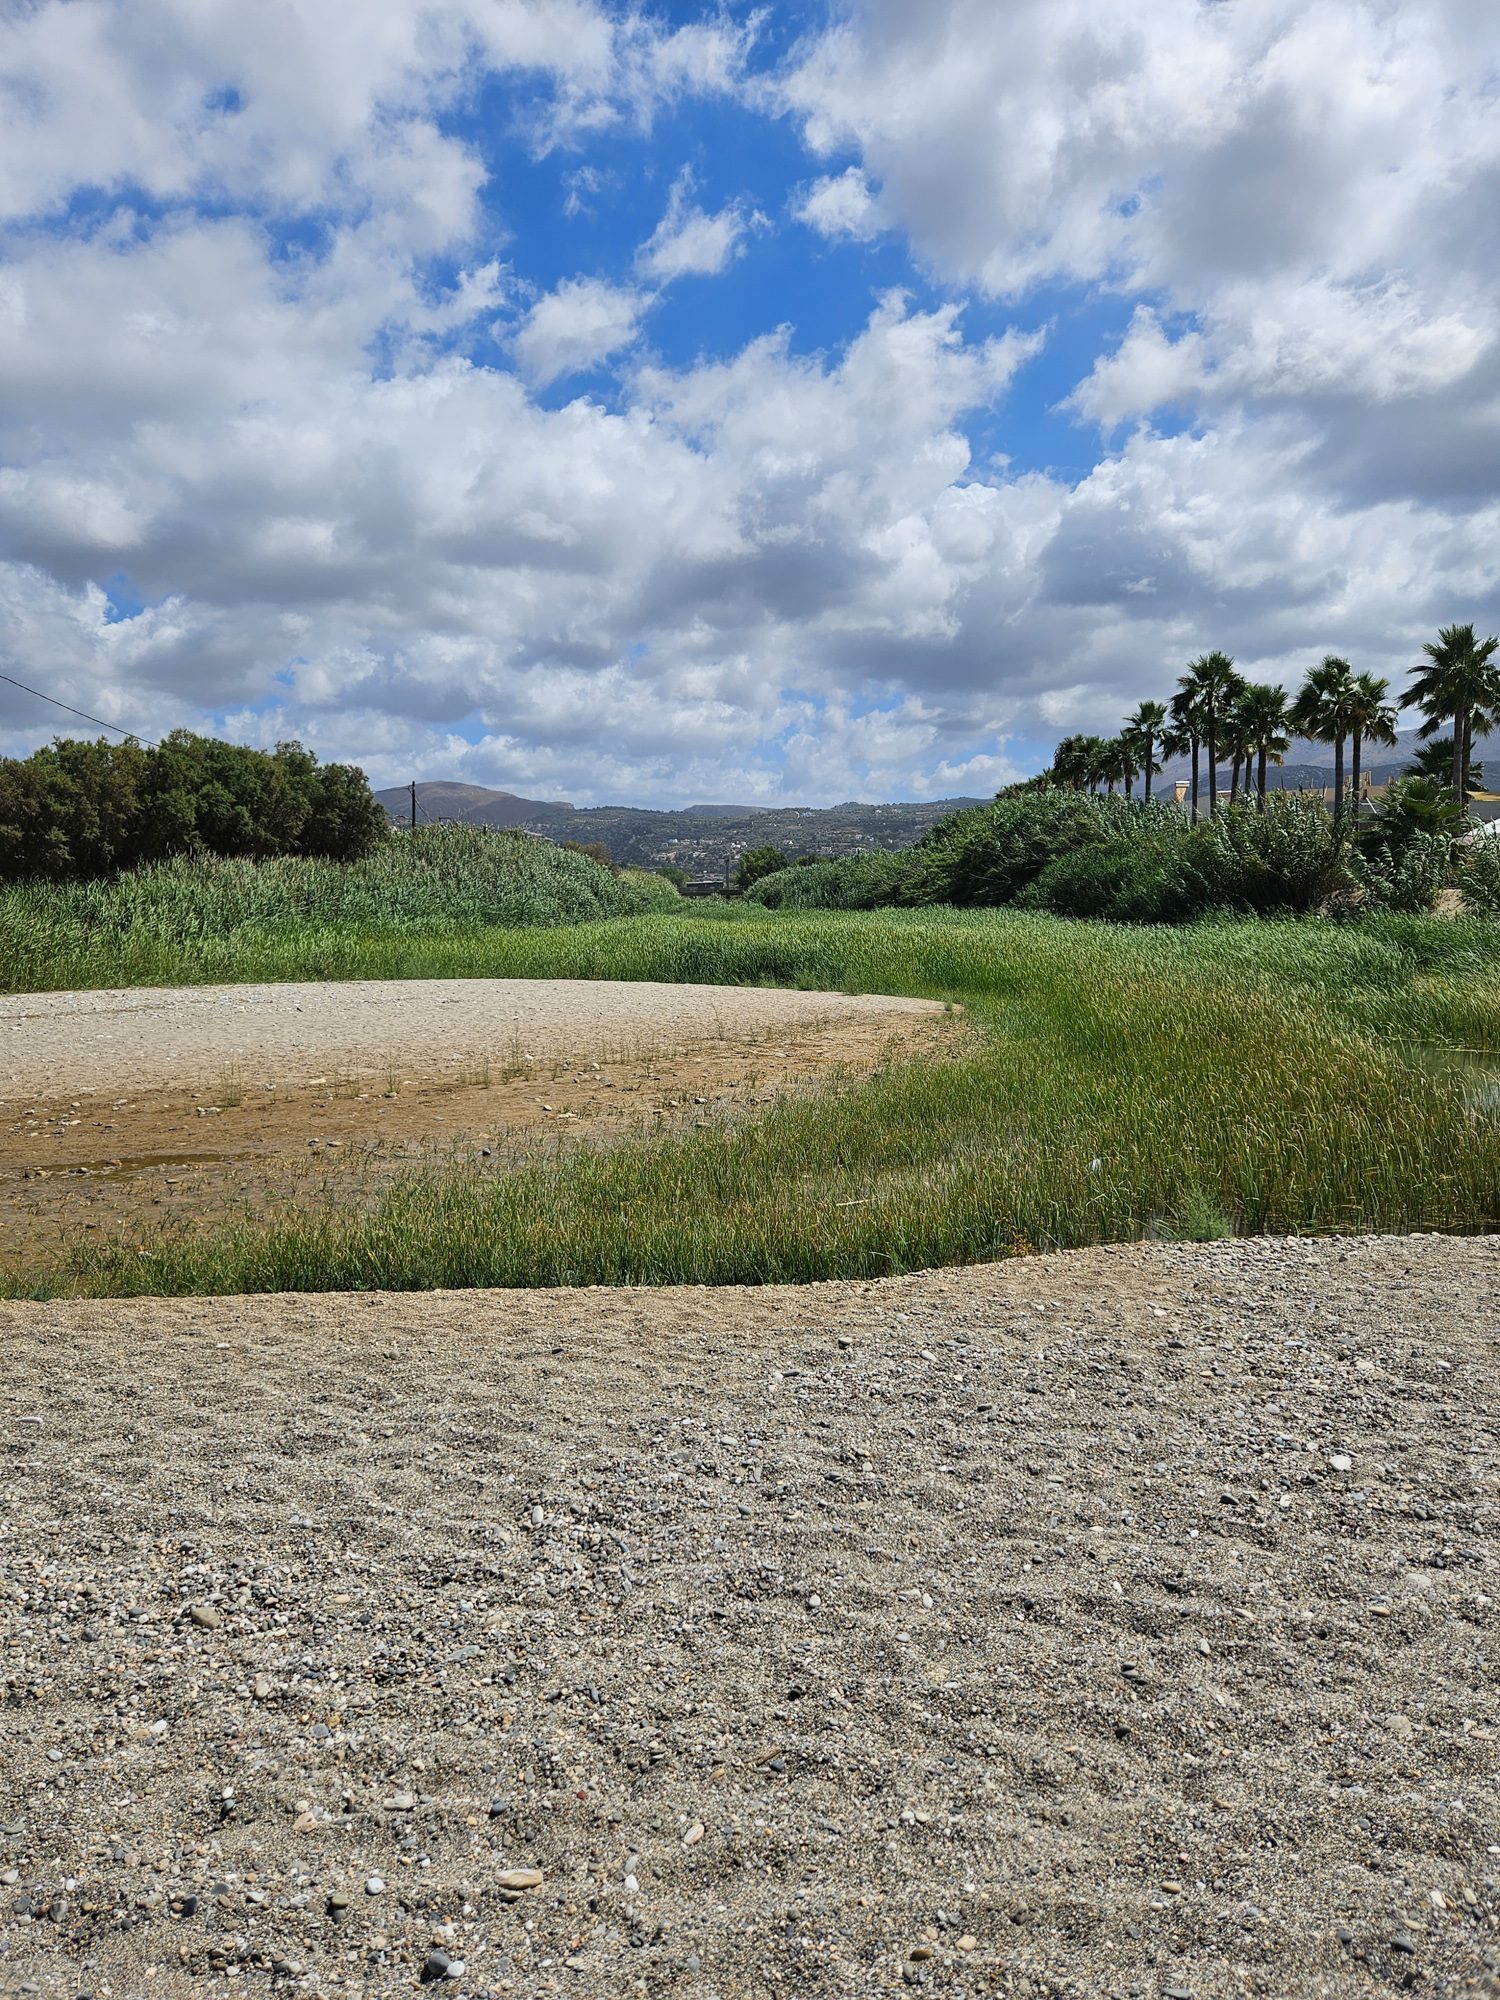
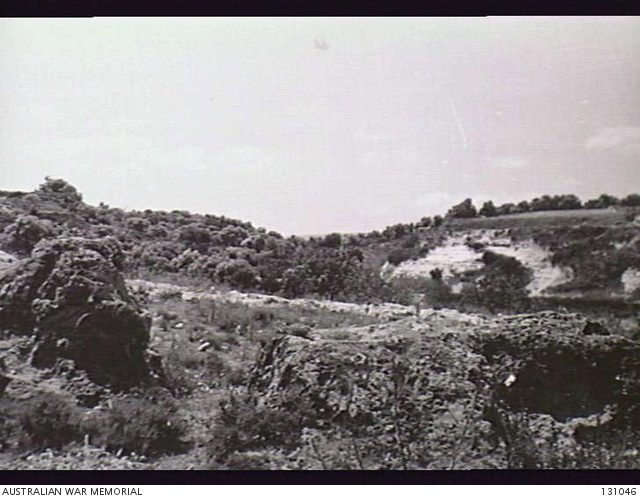
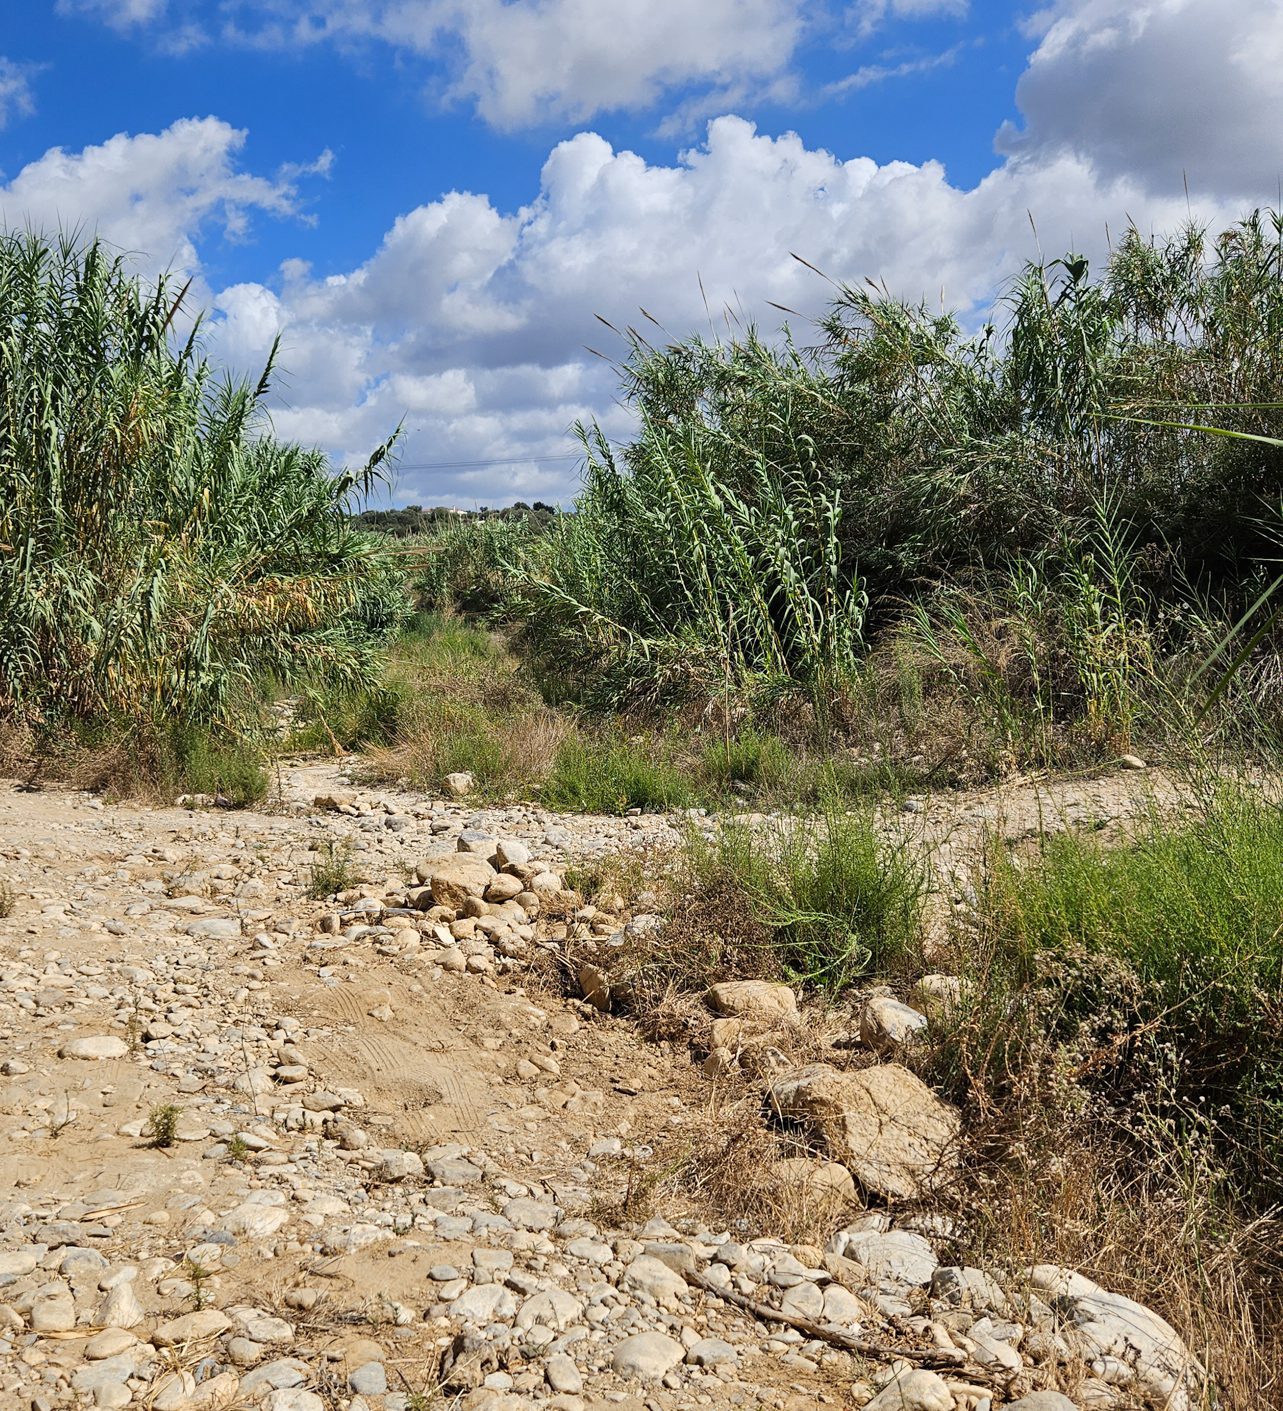
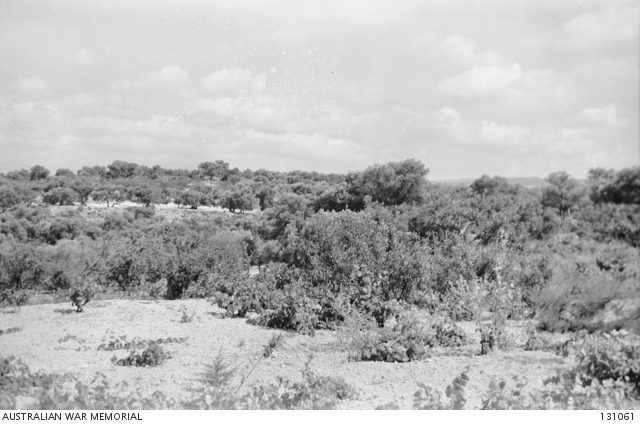
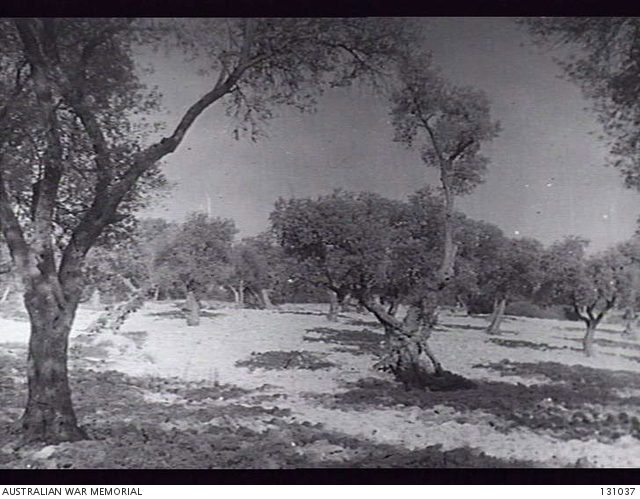
Wadi Perivolia
This wadi formed part of the forward positions for C and B Companies, 2/11th Battalion. It was deeper than the following wadis to the east, and provided good cover.
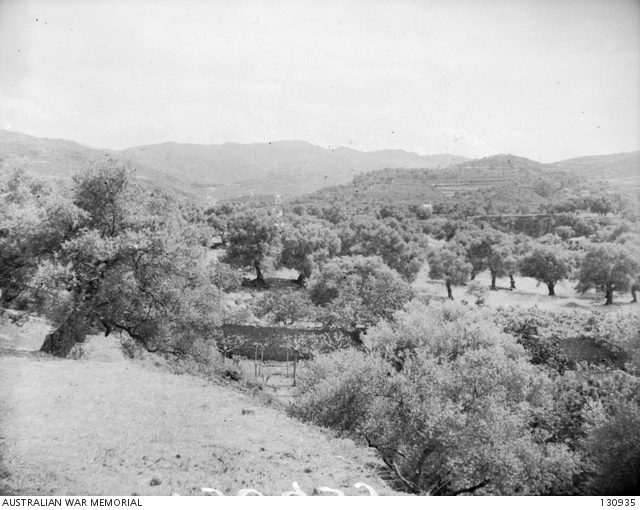
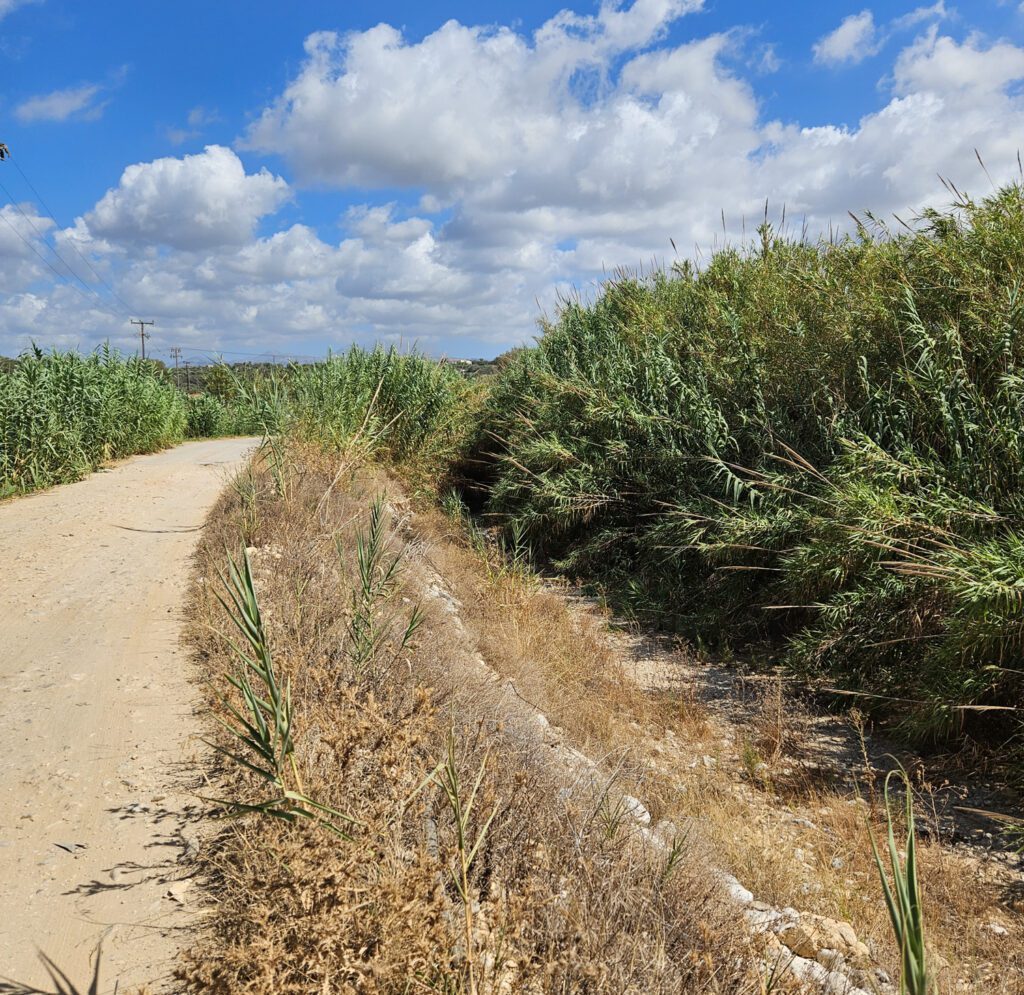
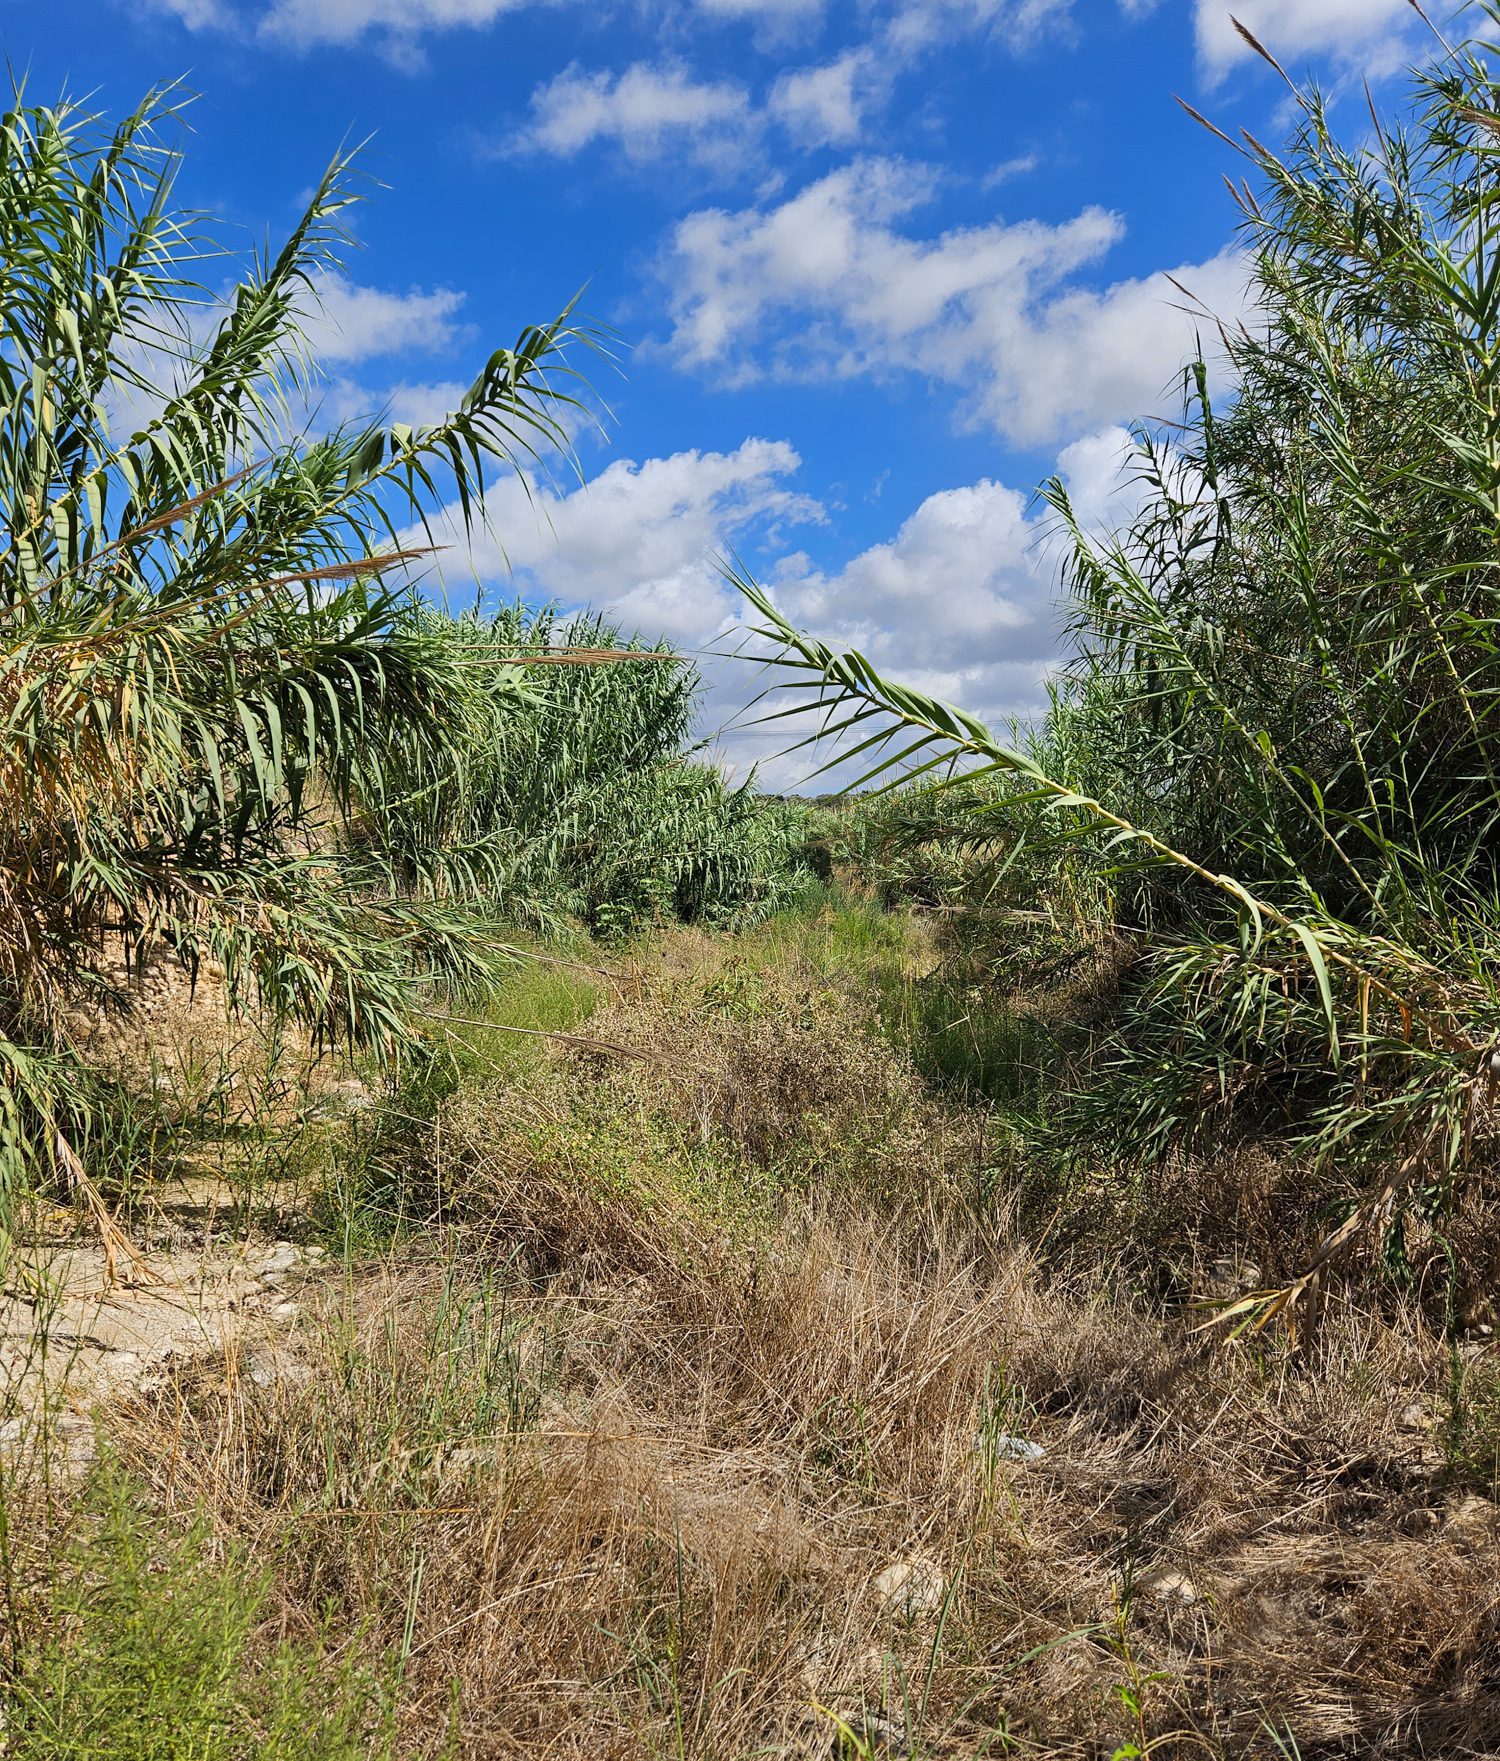
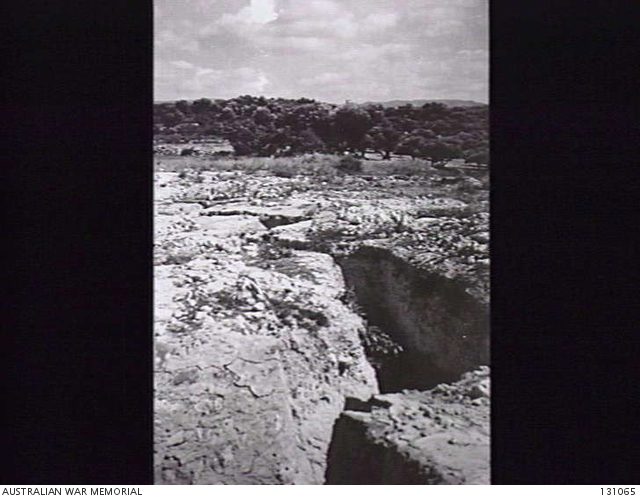
Wadi M
Running along the eastern side of the slopes of Hill B, wadi M was a key defensive position, with C and B Companies, 2/11th Battalion deployed along it in carefully camouflaged positions.
Planning a visit to this battlefield?
Fill in the form below and a History Guild volunteer can provide you with advice and assistance to plan your trip.
Hill B
This is the lynchpin of the defensive position set up by the 2/11th Battalion. D Company is just to the north, on the coastal slopes, C Company is to the west, B company to the south, and Headquarters is to the east. Heavy weapons support from 2/1st Machine Gun Battalion and 2/3rd Field Regiment is on or around Hill B.
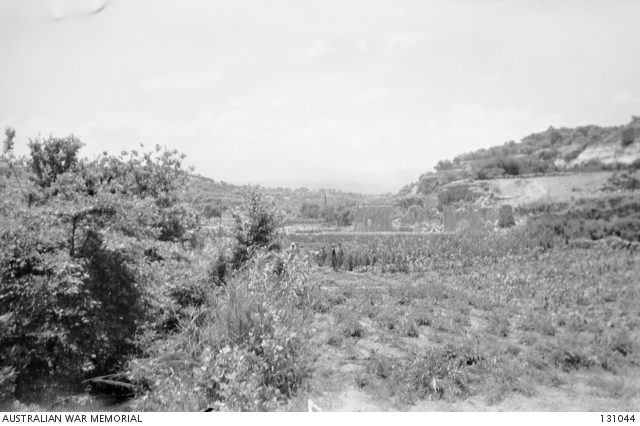
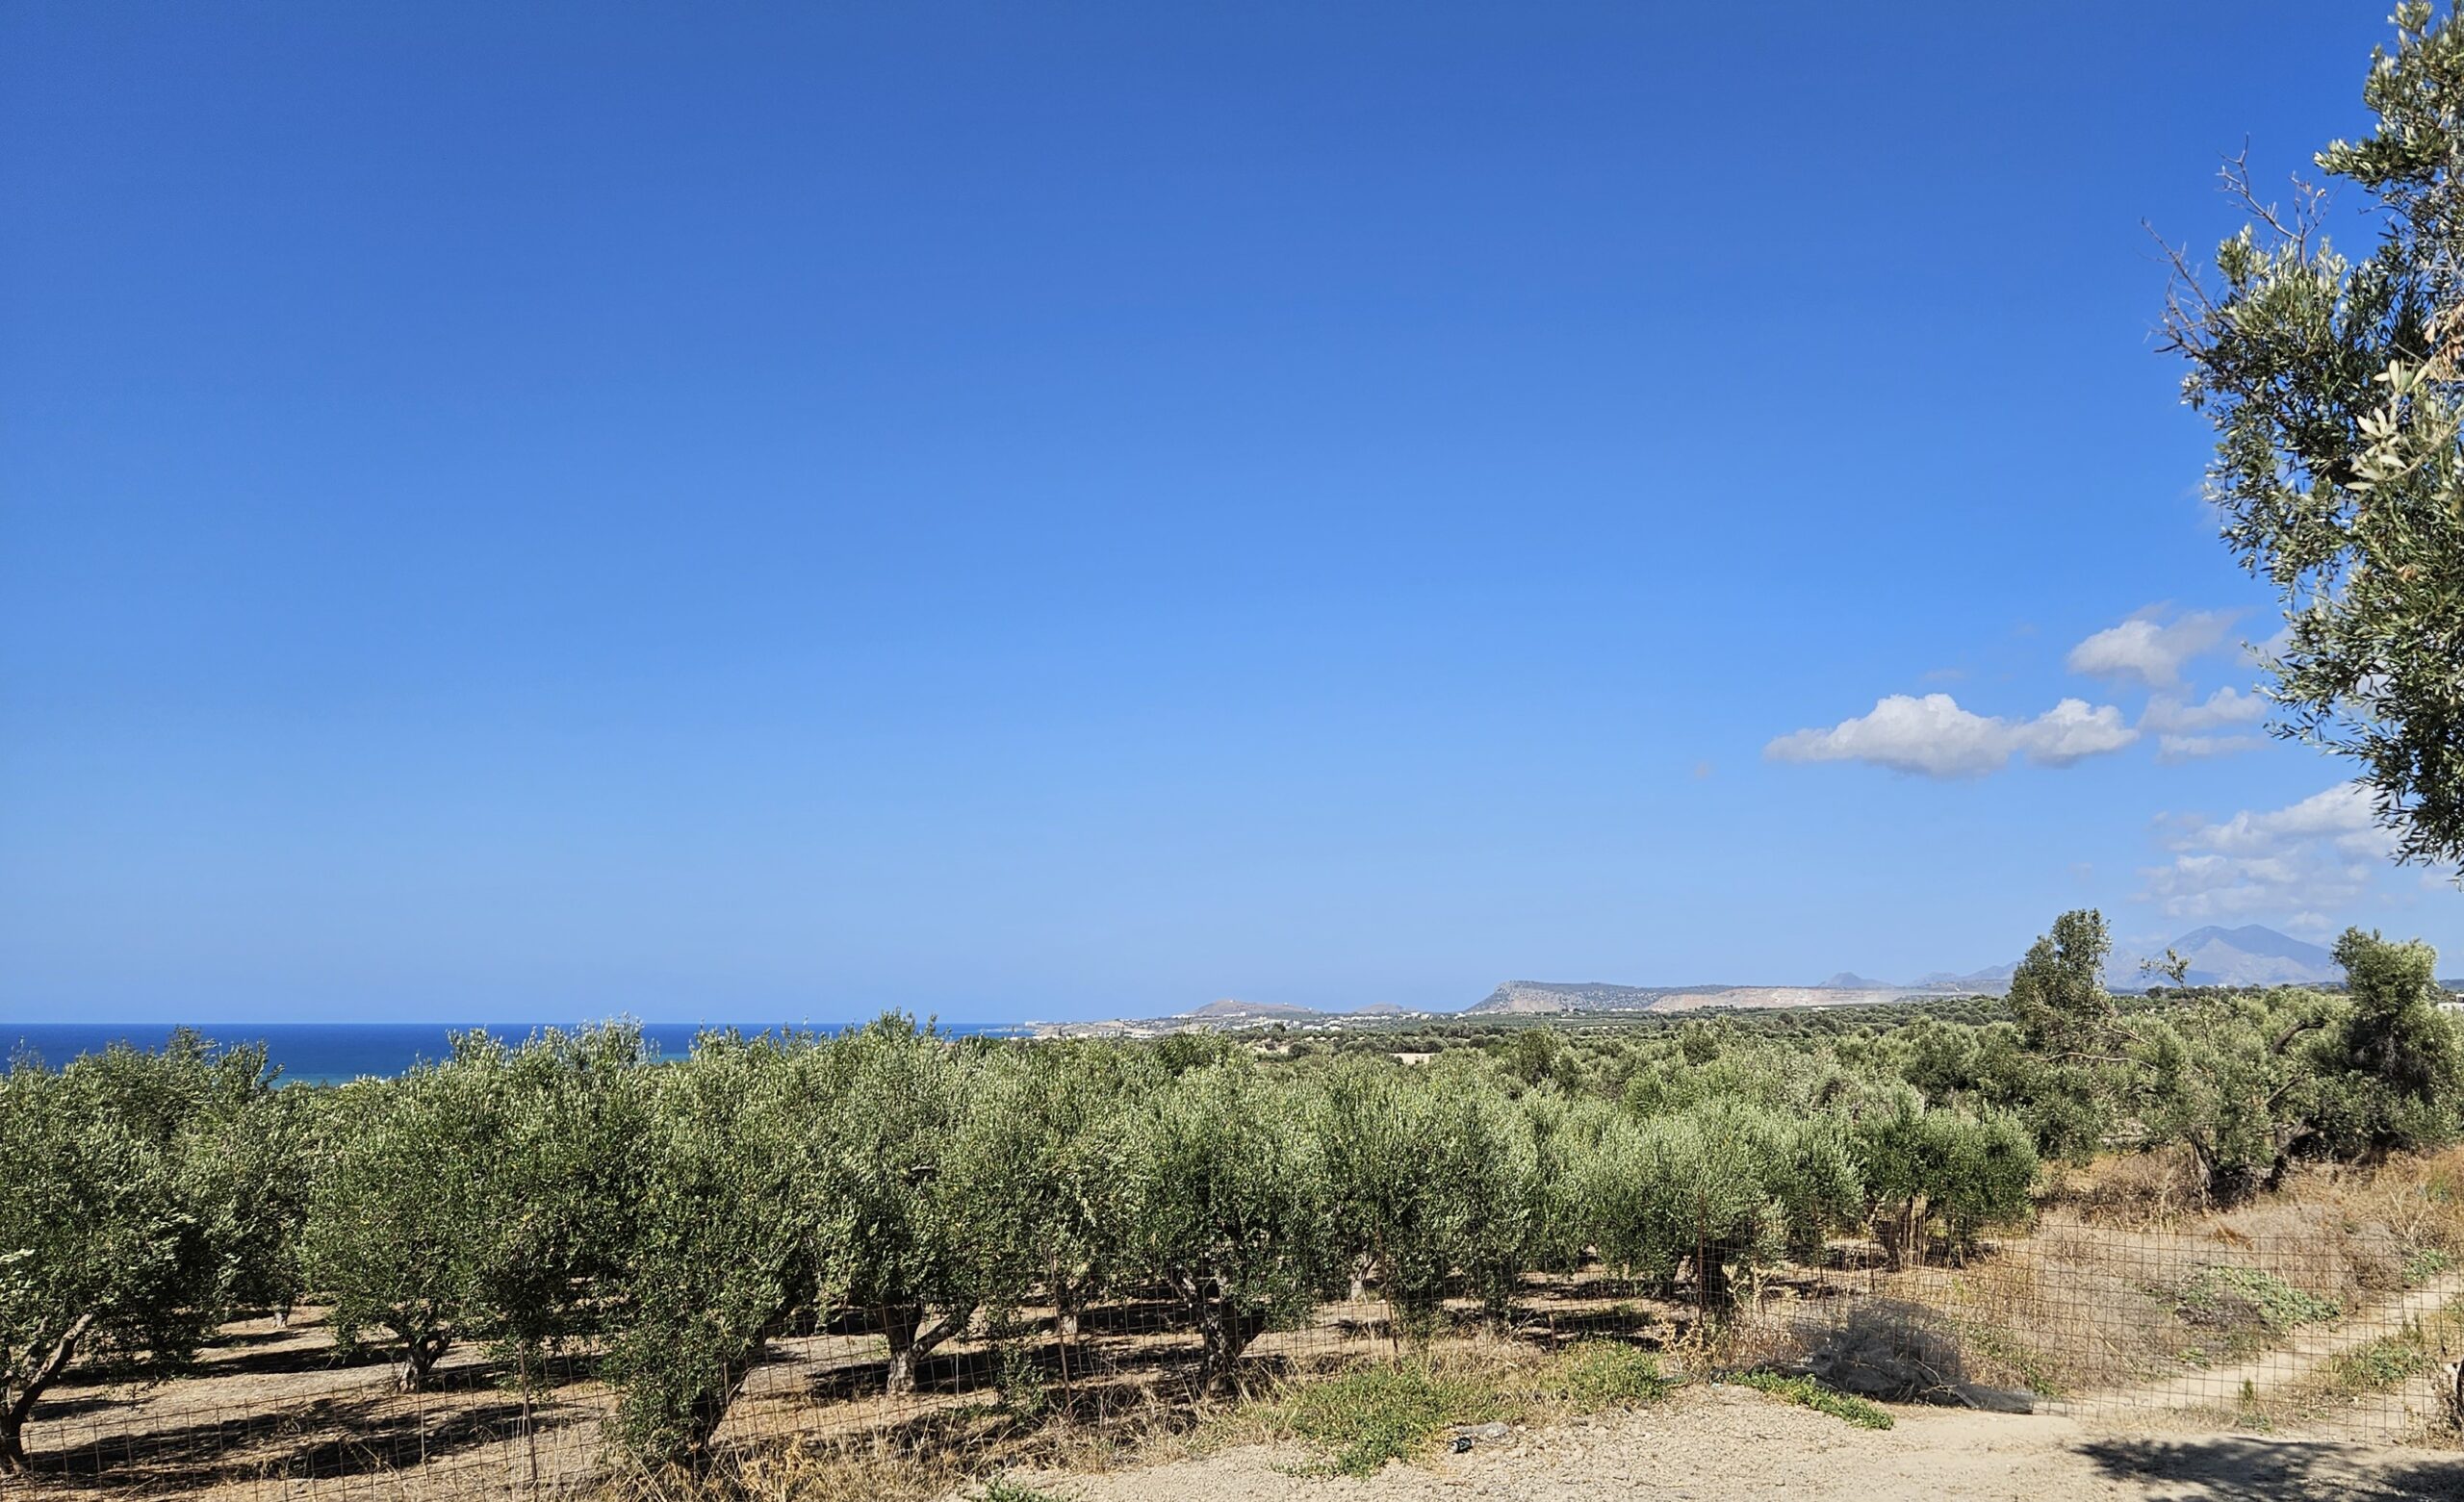
Wadi Pigi
An accessible and excellent example of the type of defensive terrain the Australians and Greeks used in the battle. The Headquarters of 2/1st Battalion was in this area, with the 4th Greek Battalion and B Company, 2/1st Battalion in defensive positions along the wadi.
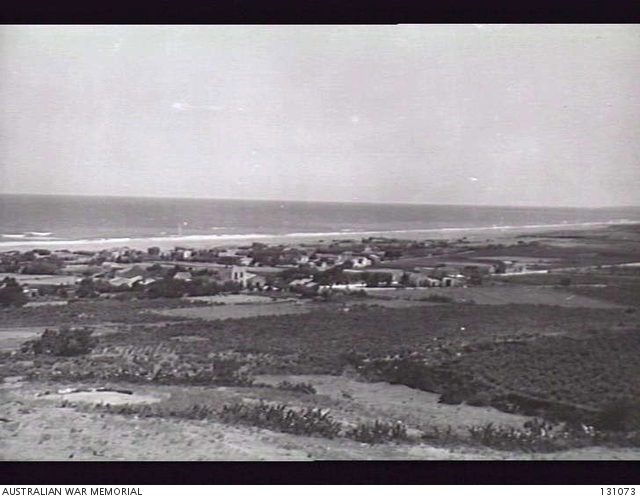
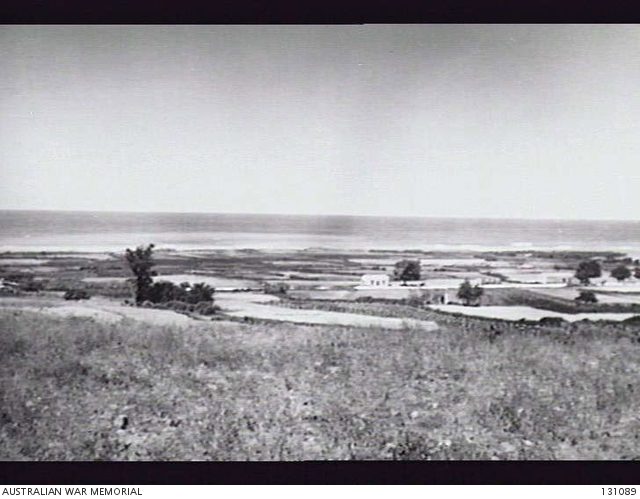
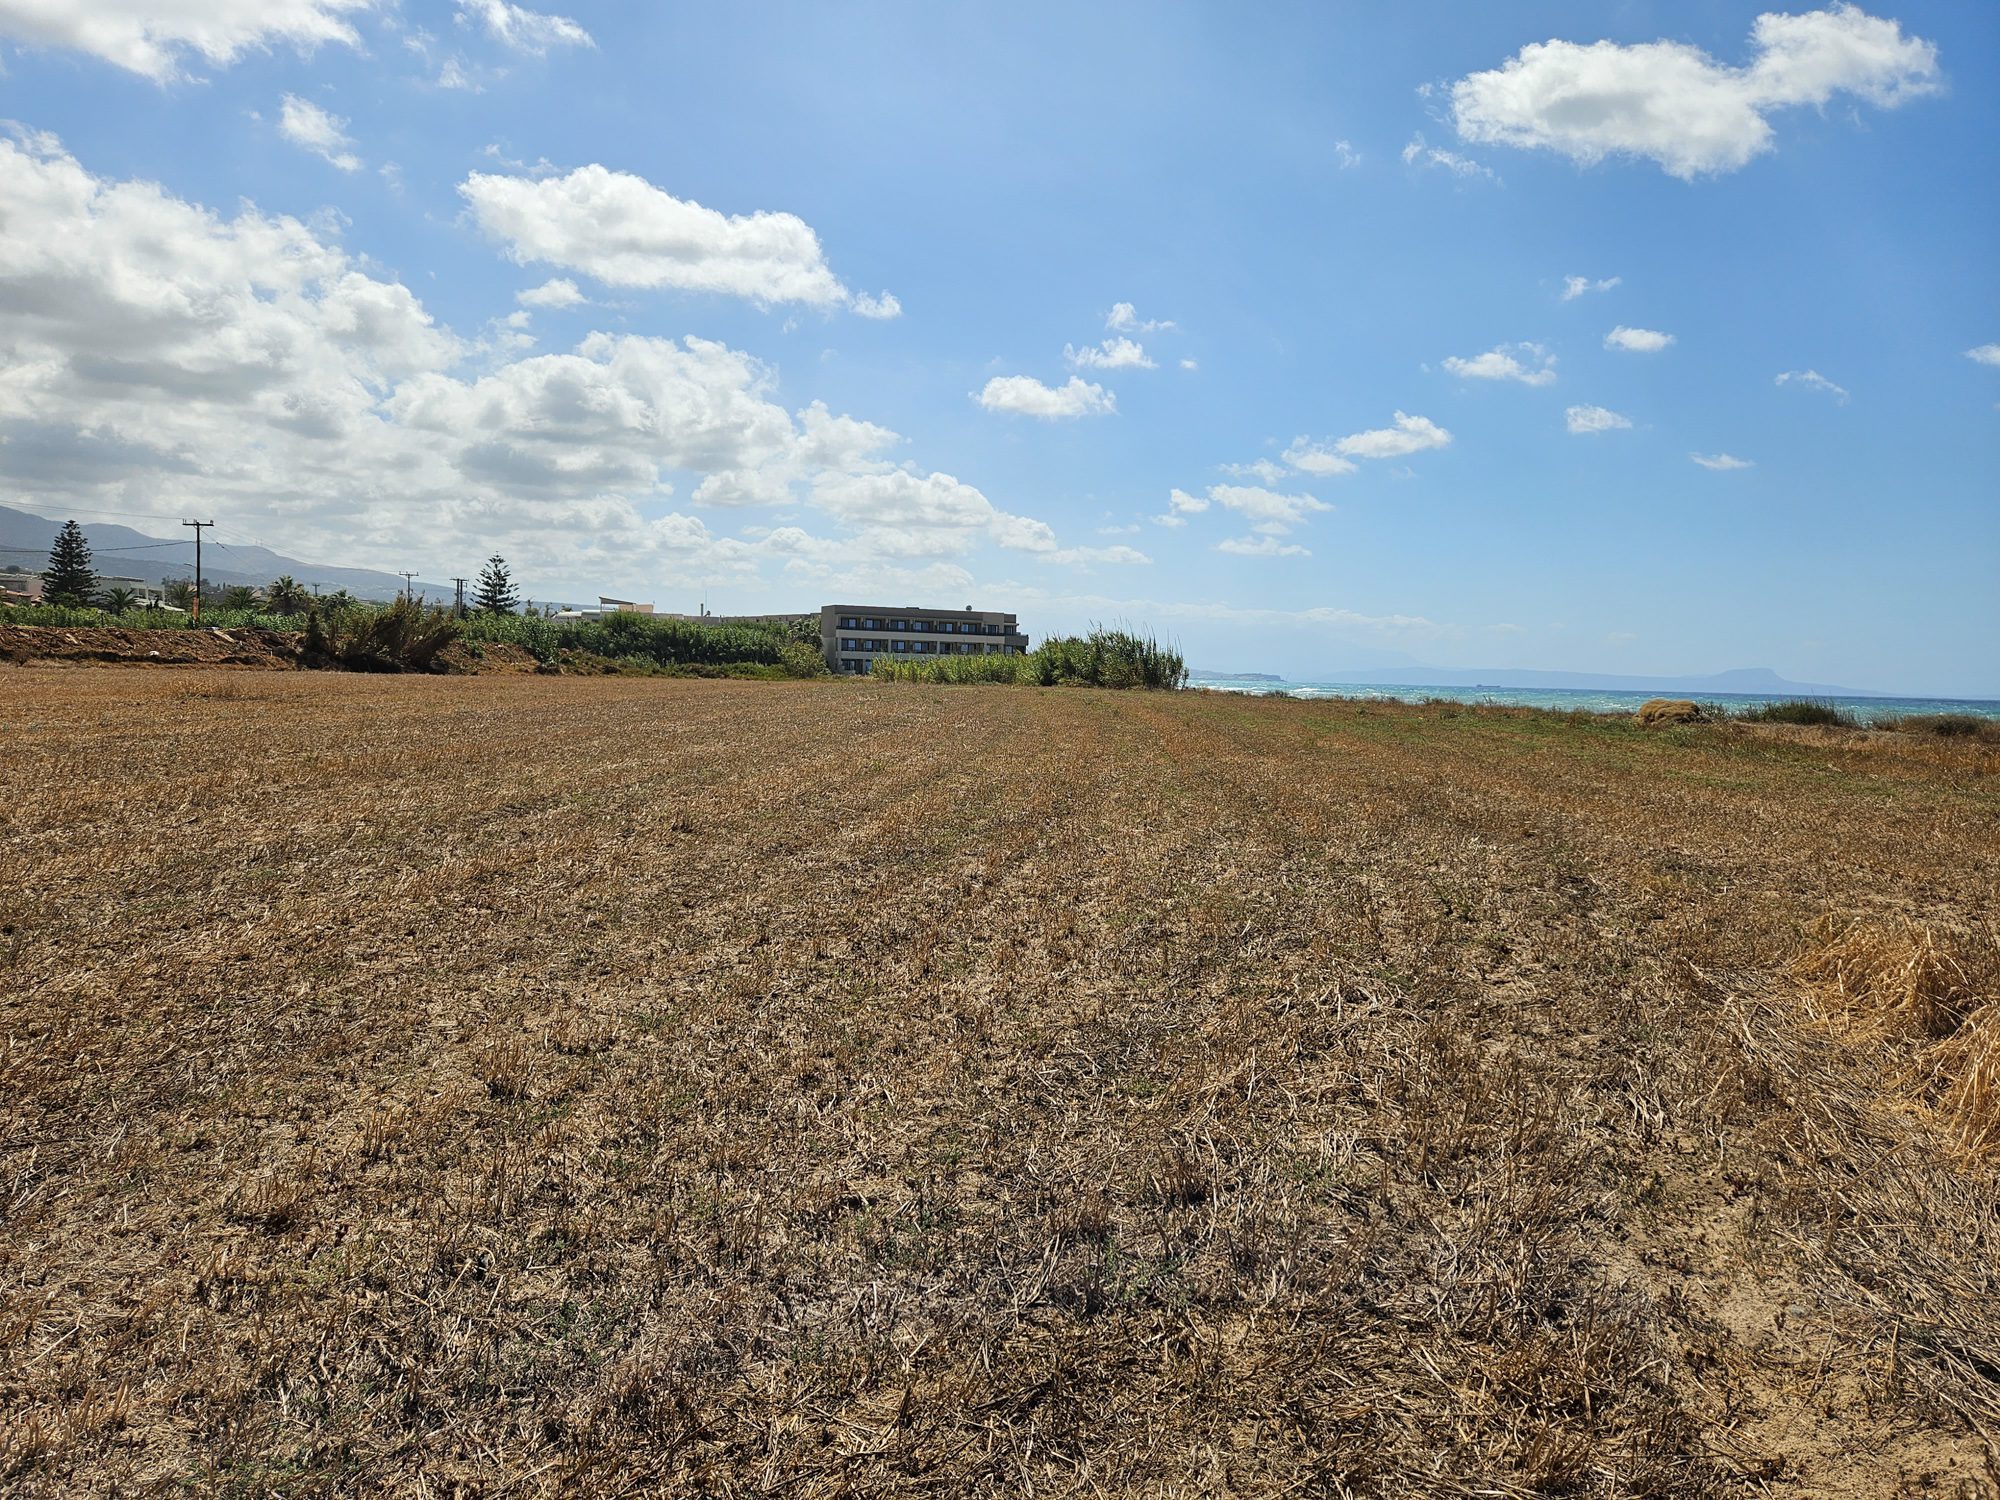
Airstrip
Little of the airstrip remains, it has mostly been covered by resort and apartment buildings. However, this area does show what the remainder of the airfield would have been like.

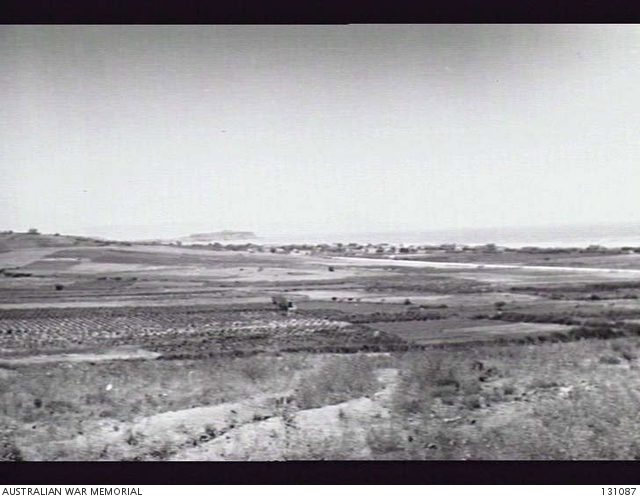
Hill D
The forward slopes of Hill D, towards the airstrip, was where the headquarters for 2/1st Battalion and C Company, 2/1st Battalion had their positions. This provided the direct observation and fire onto the airstrip, to prevent the Germans capturing it and using it to fly in reinforcements, which was their plan. The Australians maintained these positions for the entirety of the battle, denying the Germans access to the critical airstrip.
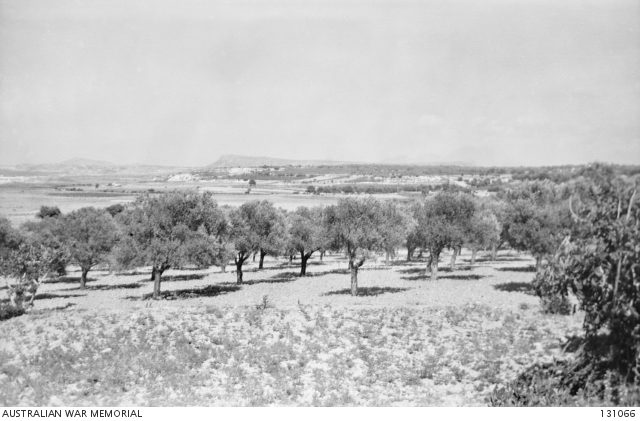
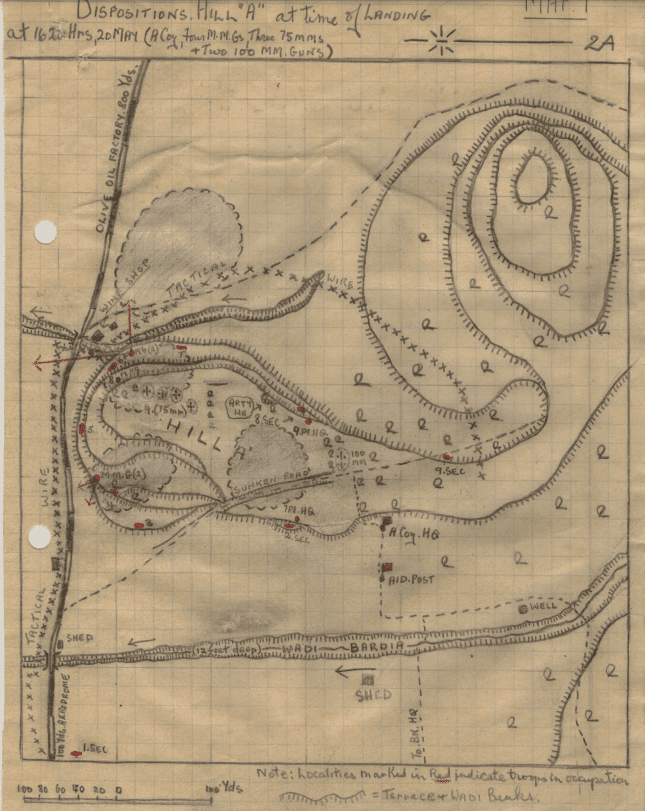
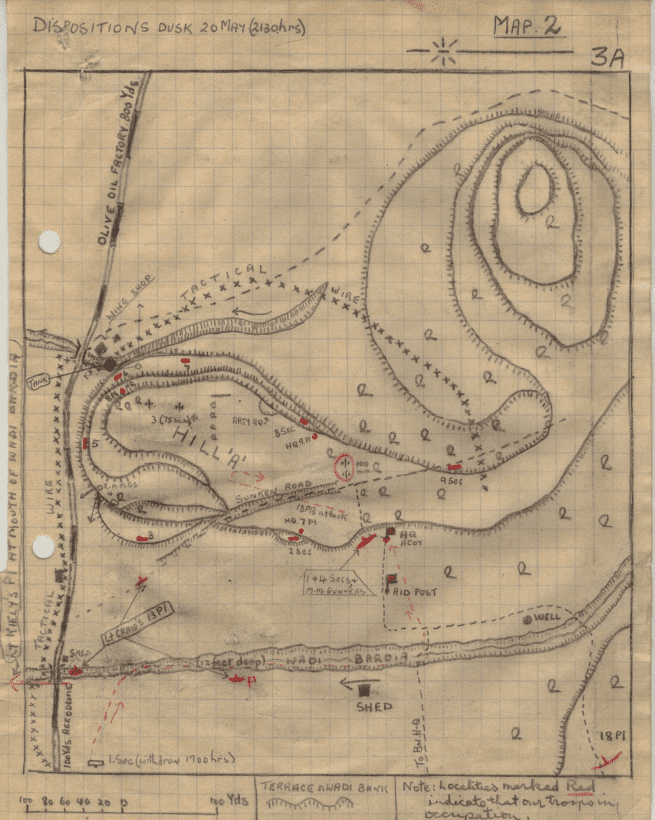
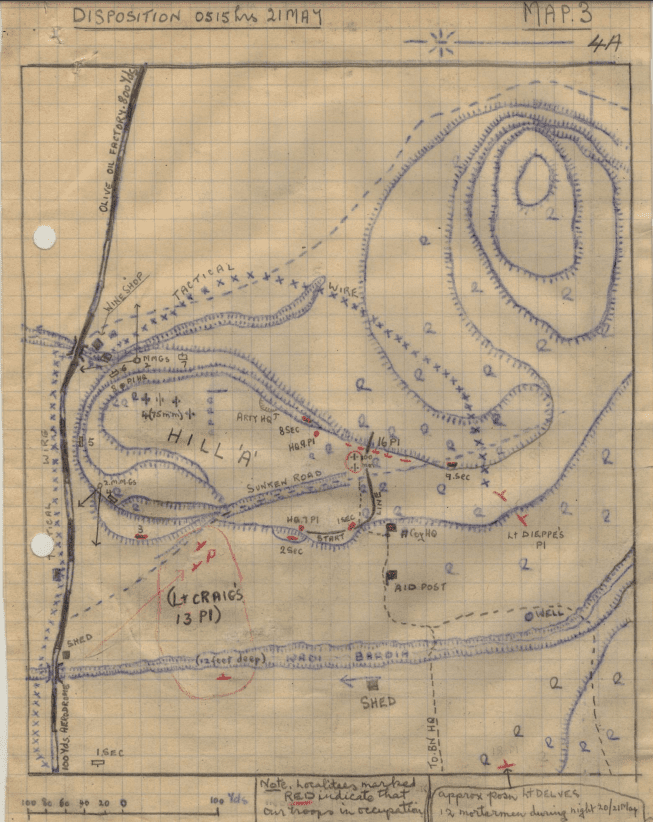
Hill A
Hill A was the site of some of the most intense fighting of the battle. Garrisoned by A Company, 2/1st Battalion and supported by the heavy weapons of 2/3rd Field Regiment and 2/1st Machine Gun Battalion, it was attacked and captured by German paratroopers from Kräftegruppe Kroh as soon as they landed, inflicting significant casualties on the Australians and forcing them off the hill. A series of Australian counter attacks saw them regain the position, killing and capturing many Germans in the process.
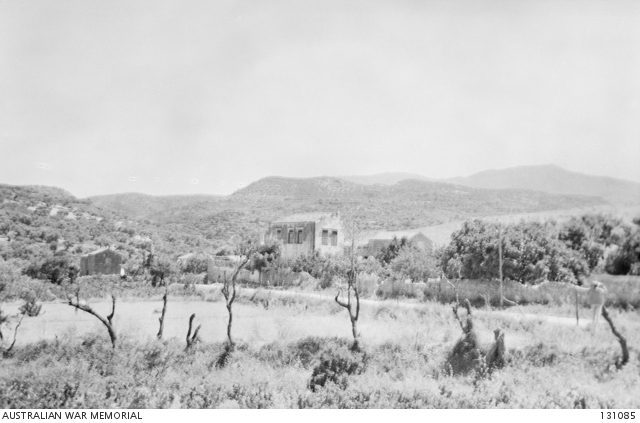
Adele
Your visit to the Rethimno battlefield concludes in the village of Adele, where an Australian dressing station treated Australian, Greek and German wounded.

You can read more about the Australians fighting in the Battle of Rethimno, as well as other things to see and do in this beautiful region.
Podcasts about Australians in the Mediterranean during WWII
Did my Relative Serve in these Battles?
Hundreds of thousands of Australians served in the Mediterranean during the Second World War. Some families know what their relative experienced during this often very important part of their life, but many do not. History Guild has a project where our volunteers research the service history of Australians who served in the Mediterranean. We have had a lot of interest in this service and have a large backlog of research to get through, so it currently closed to new entries.
We hope to re-open this service once we have finished our research on the current set of Australian servicemen and servicewomen.
The text of this article was commissioned by History Guild as part of our work to improve historical literacy. If you would like to reproduce it please get in touch via this form.